
\\ THE MOOSE - CHAPPiE - Model Resin Kit - Part 2 \\
Before I had merely broken it, now I have ruined it with paint!
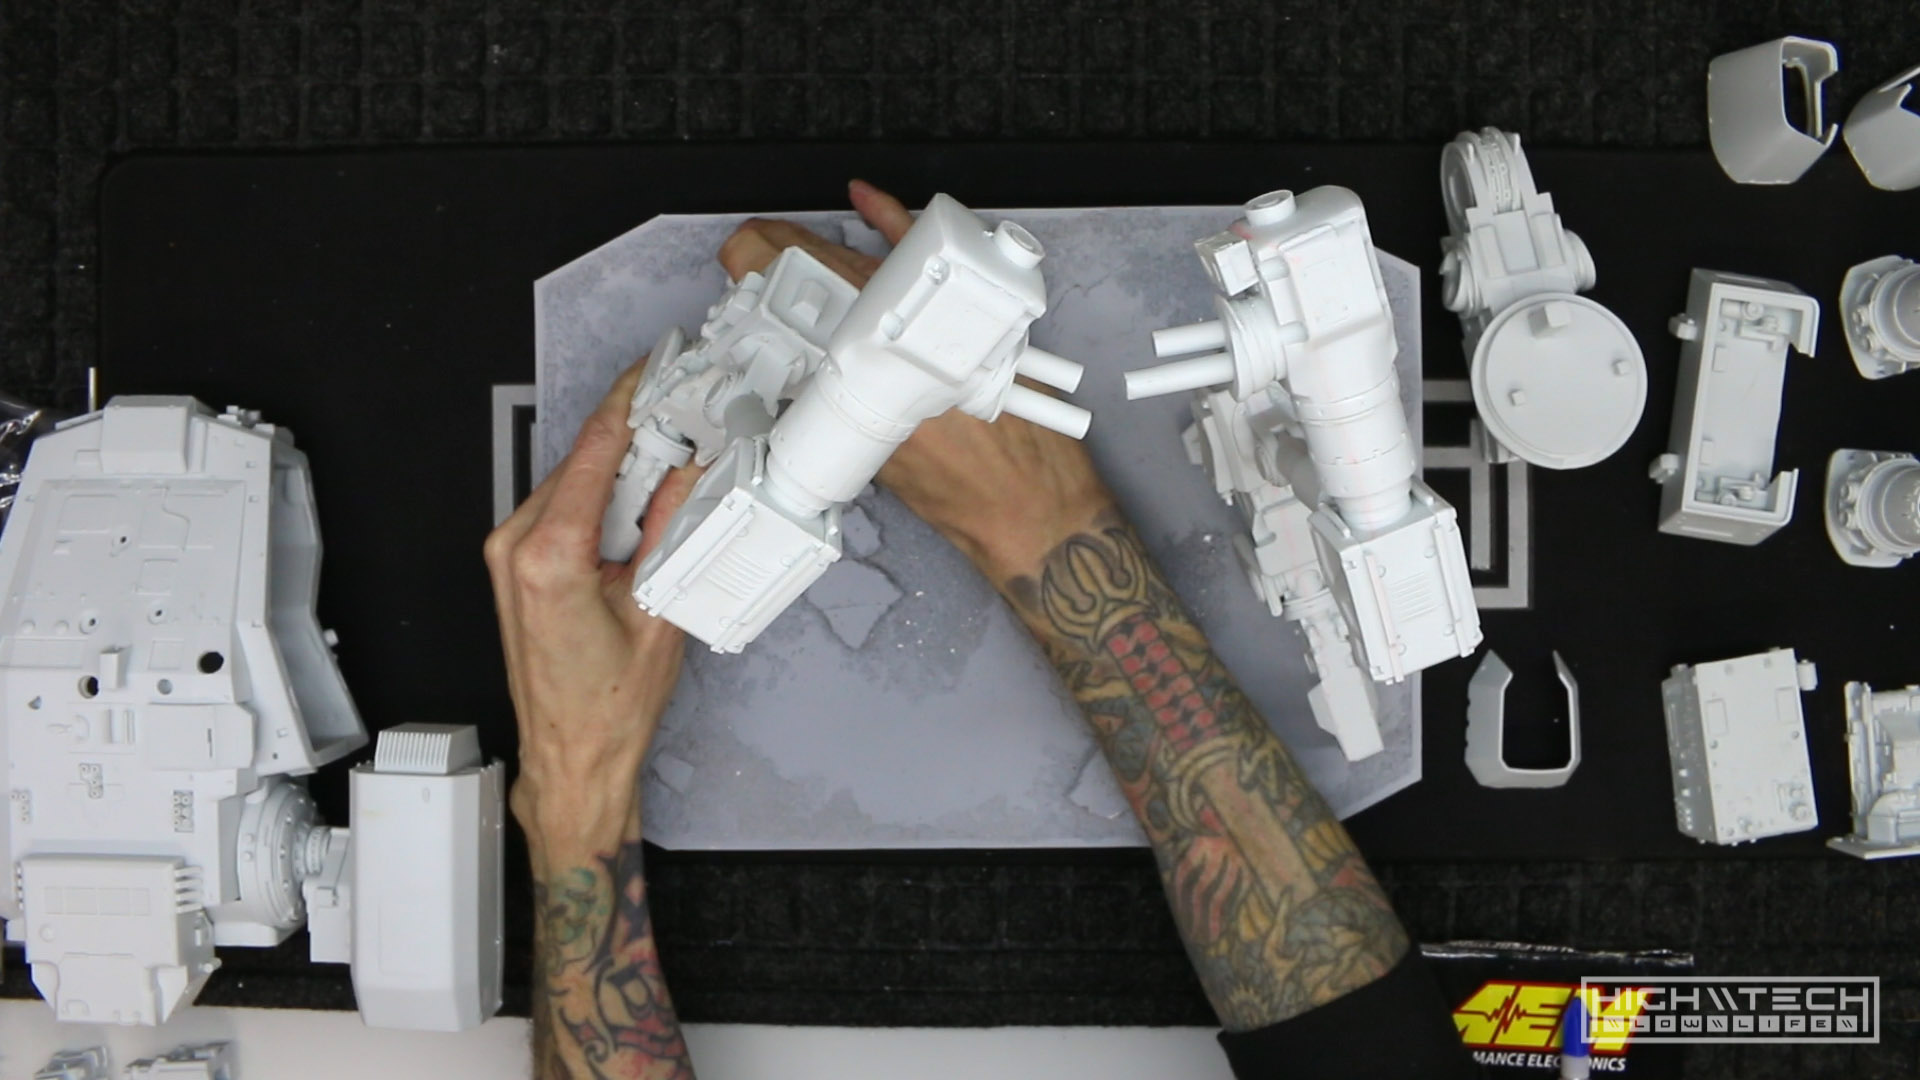
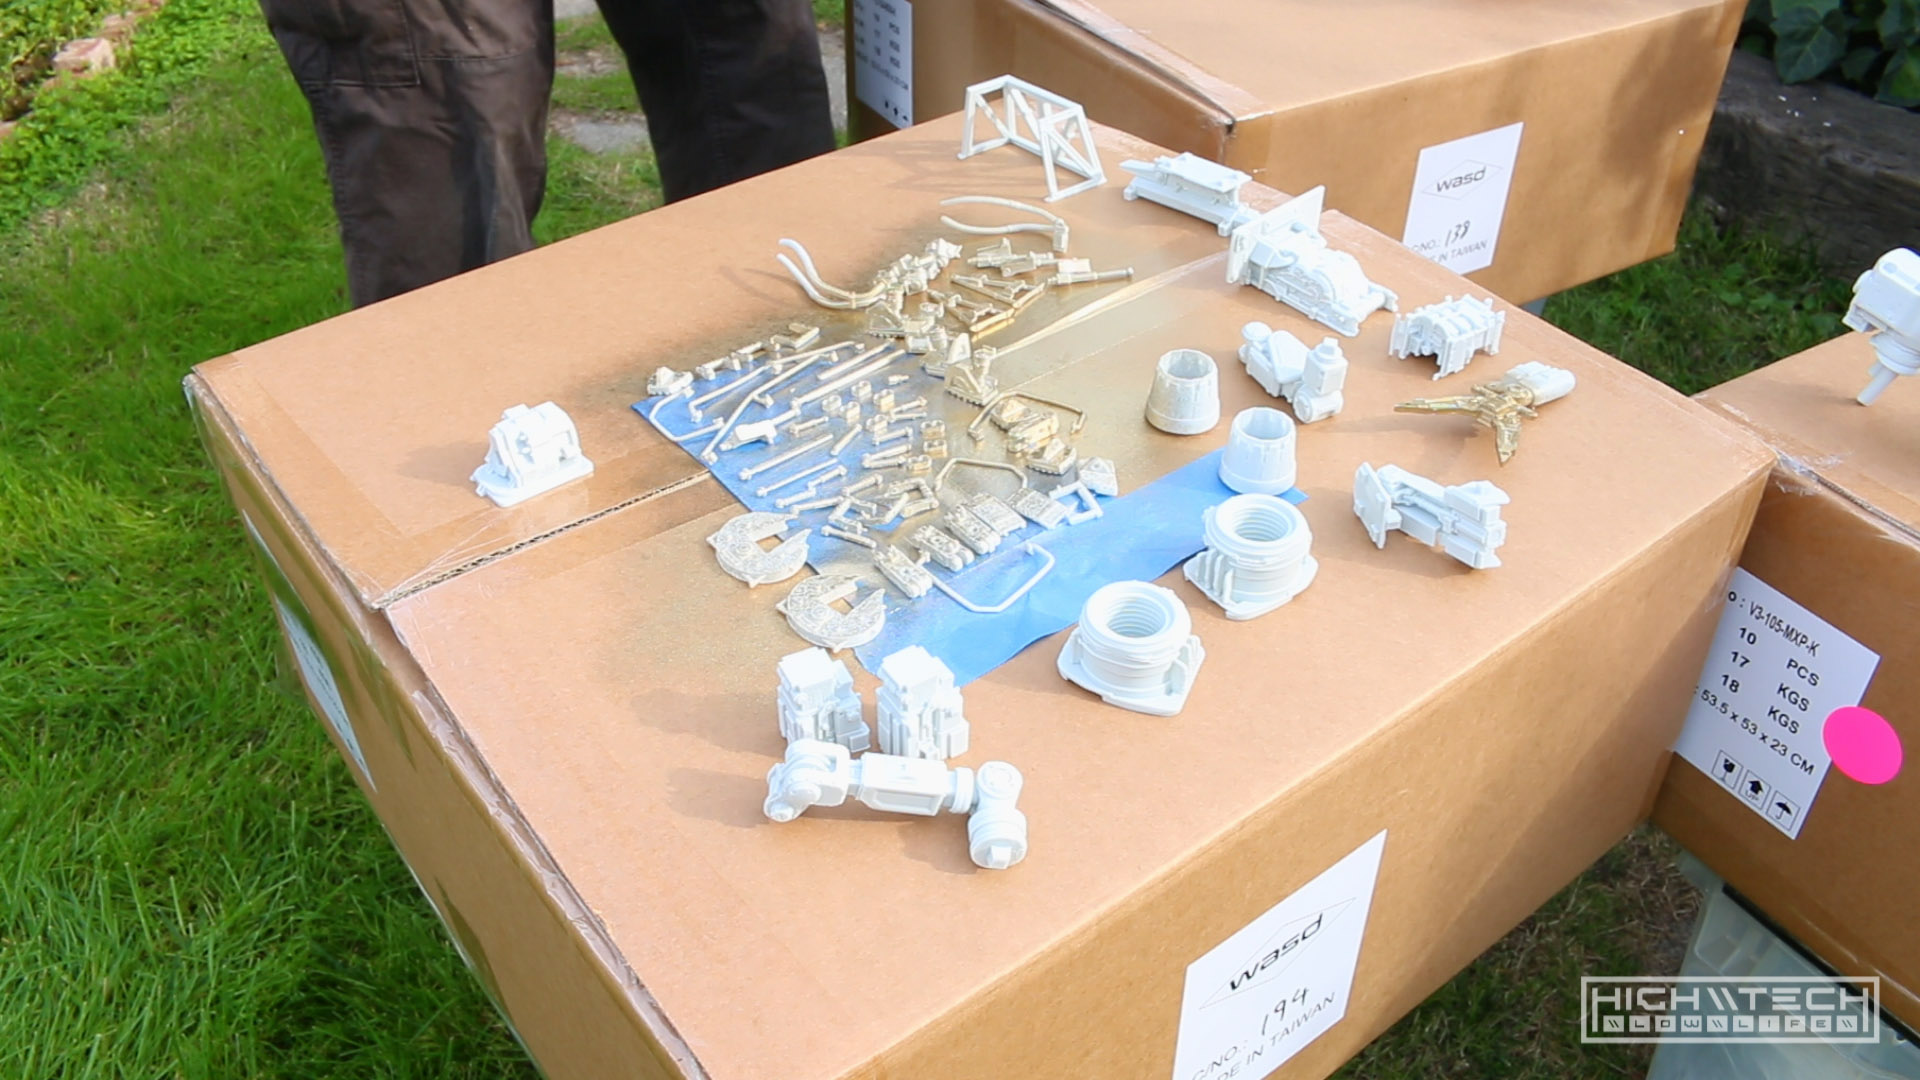
First I had to do some ‘partial’ assembly, this is because of the paint scheme I want to throw down on this - it’s a pattern so I wanted at least some of the seams to flow over one another so that it’s a seamless pattern. I couldn’t assemble the whole thing because that would make painting the parts more difficult than it already will be, and I couldn’t just paint all of the parts separately because there would be glaring sections where the patterns didn’t line up at all. I guess this would have been ok in hindsight but I wanted to do it as best as possible. I couldn’t make it completely seamless because some of the parts had overhangs that I simply couldn’t paint had I assembled it beforehand. So I did a trade-off and I assembled as much as I could while taking into account how the paint was going to go. I probably should have made a map and written down how to tackle the painting, but I figured if I made any mistakes I could go back and fix it.
After getting it partially assembled I wanted to see how it would look and it looks incredible! This model kit is so awesome and it’s really quite large, I was really happy with the scale of it and how menacing it was looking and that’s with barely any assembly and zero paint. I was really excited to get some paint on it so I may have gotten ahead of myself a bit.
Partial Assembly
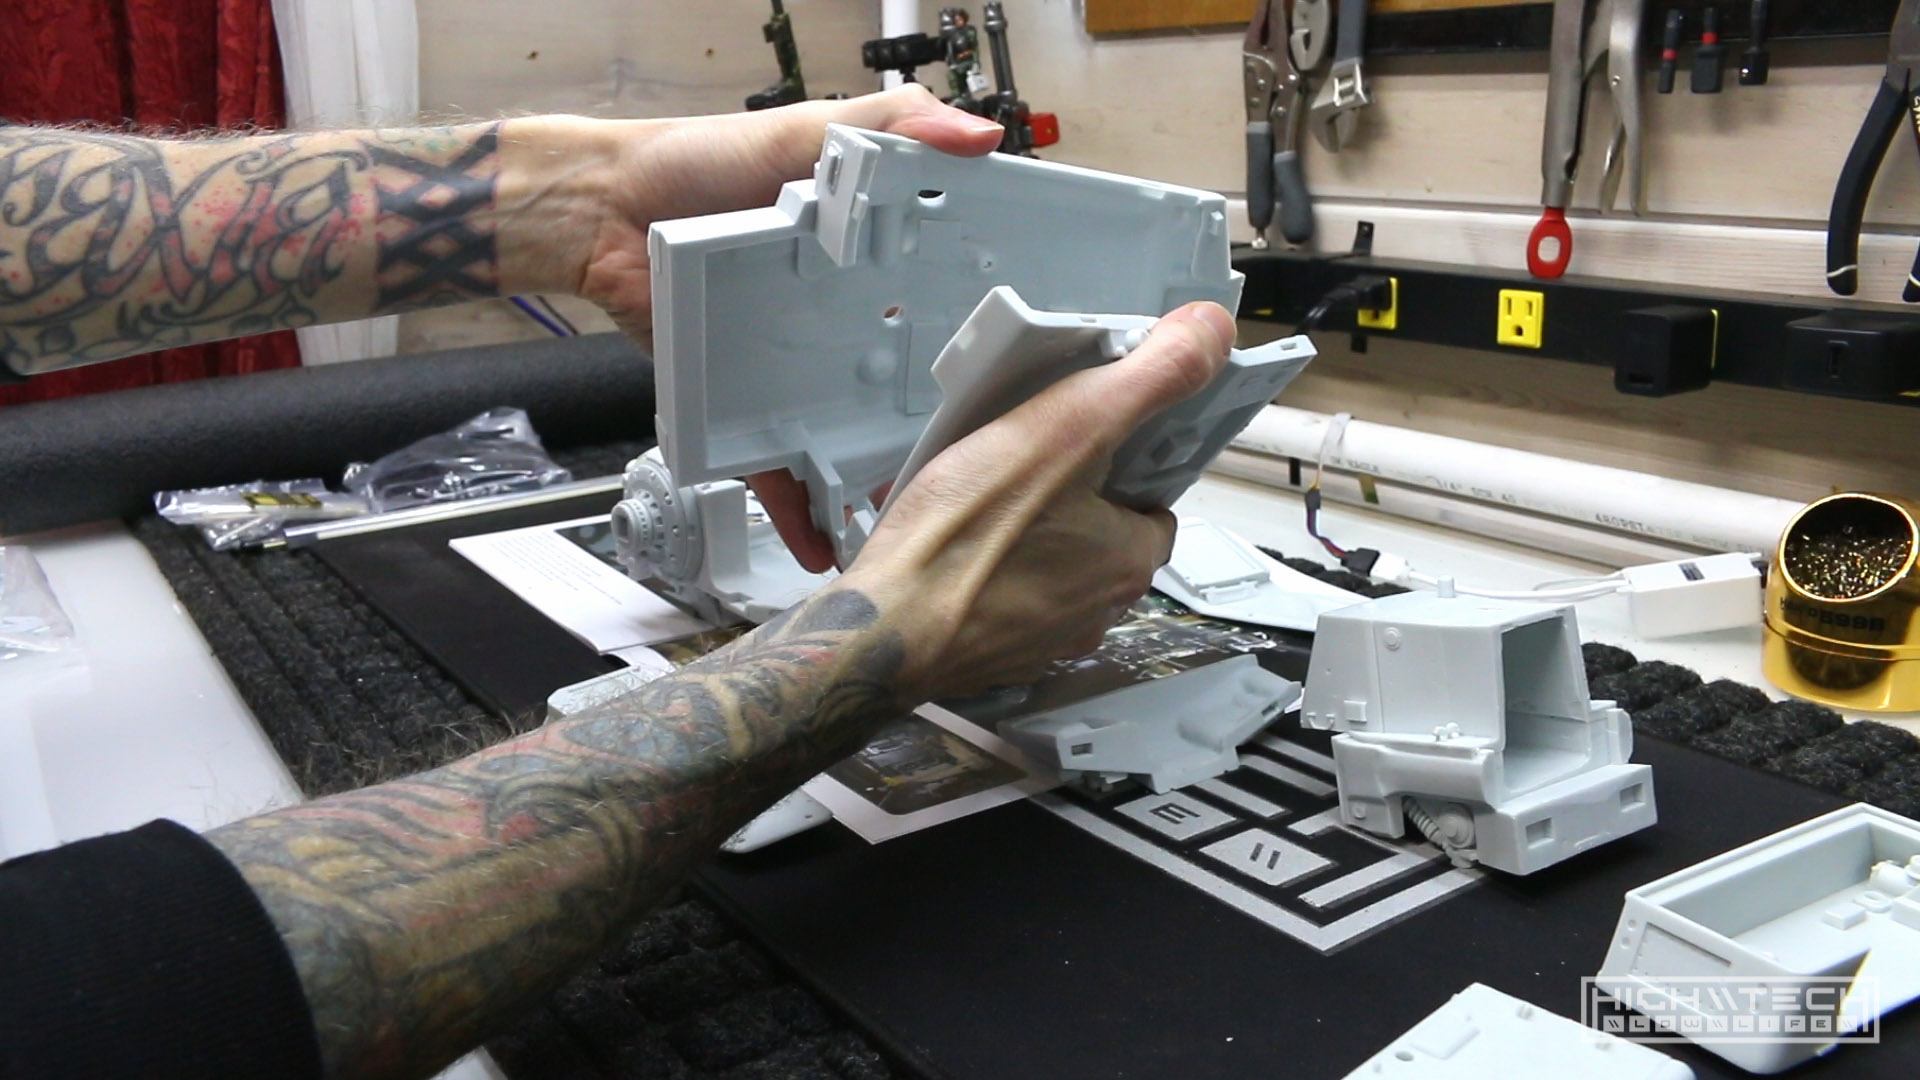 I had to do some inital assembly beacuse if you’re going to paint things you want some of the seams to be “seamless” but you can’t just pet everything together because then you will have overhangs. The whole painting scheme is actually quite complicated when you have to start figuring out what parts you can and cannot put together first.
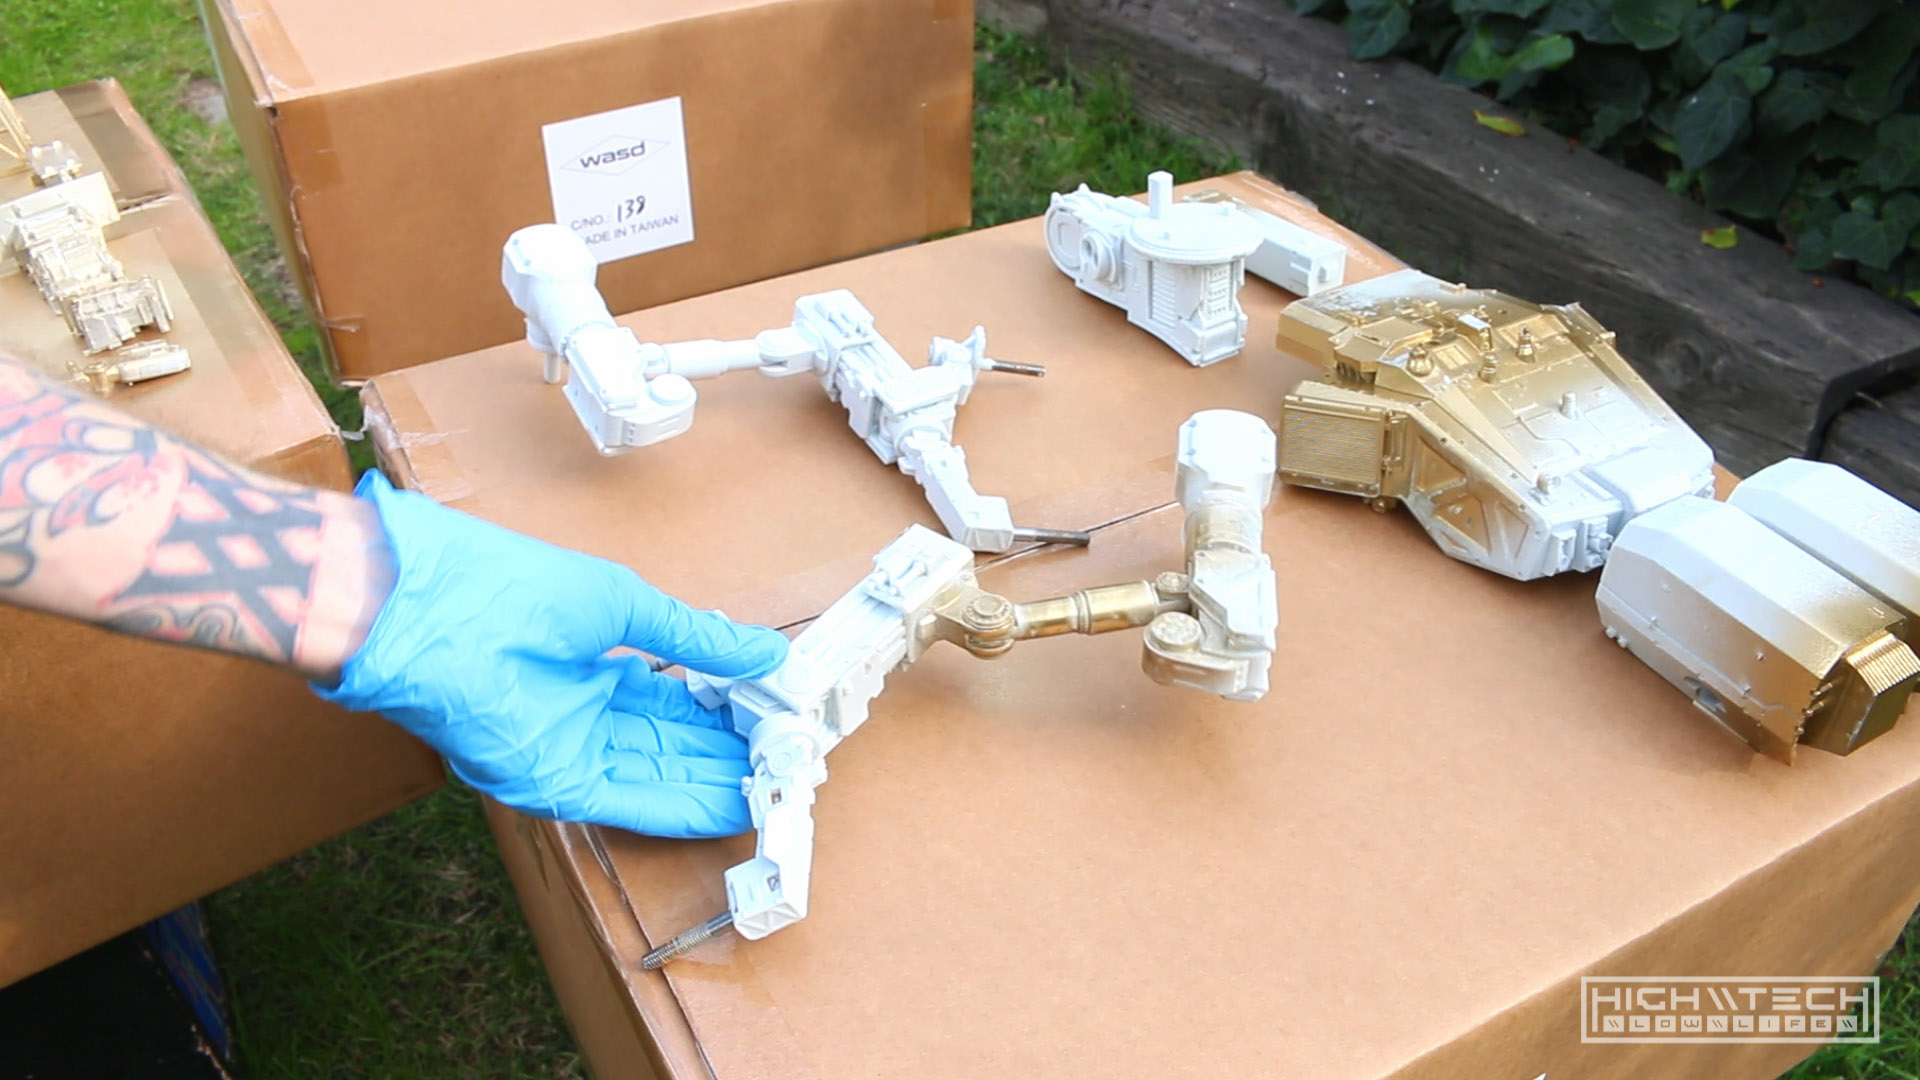
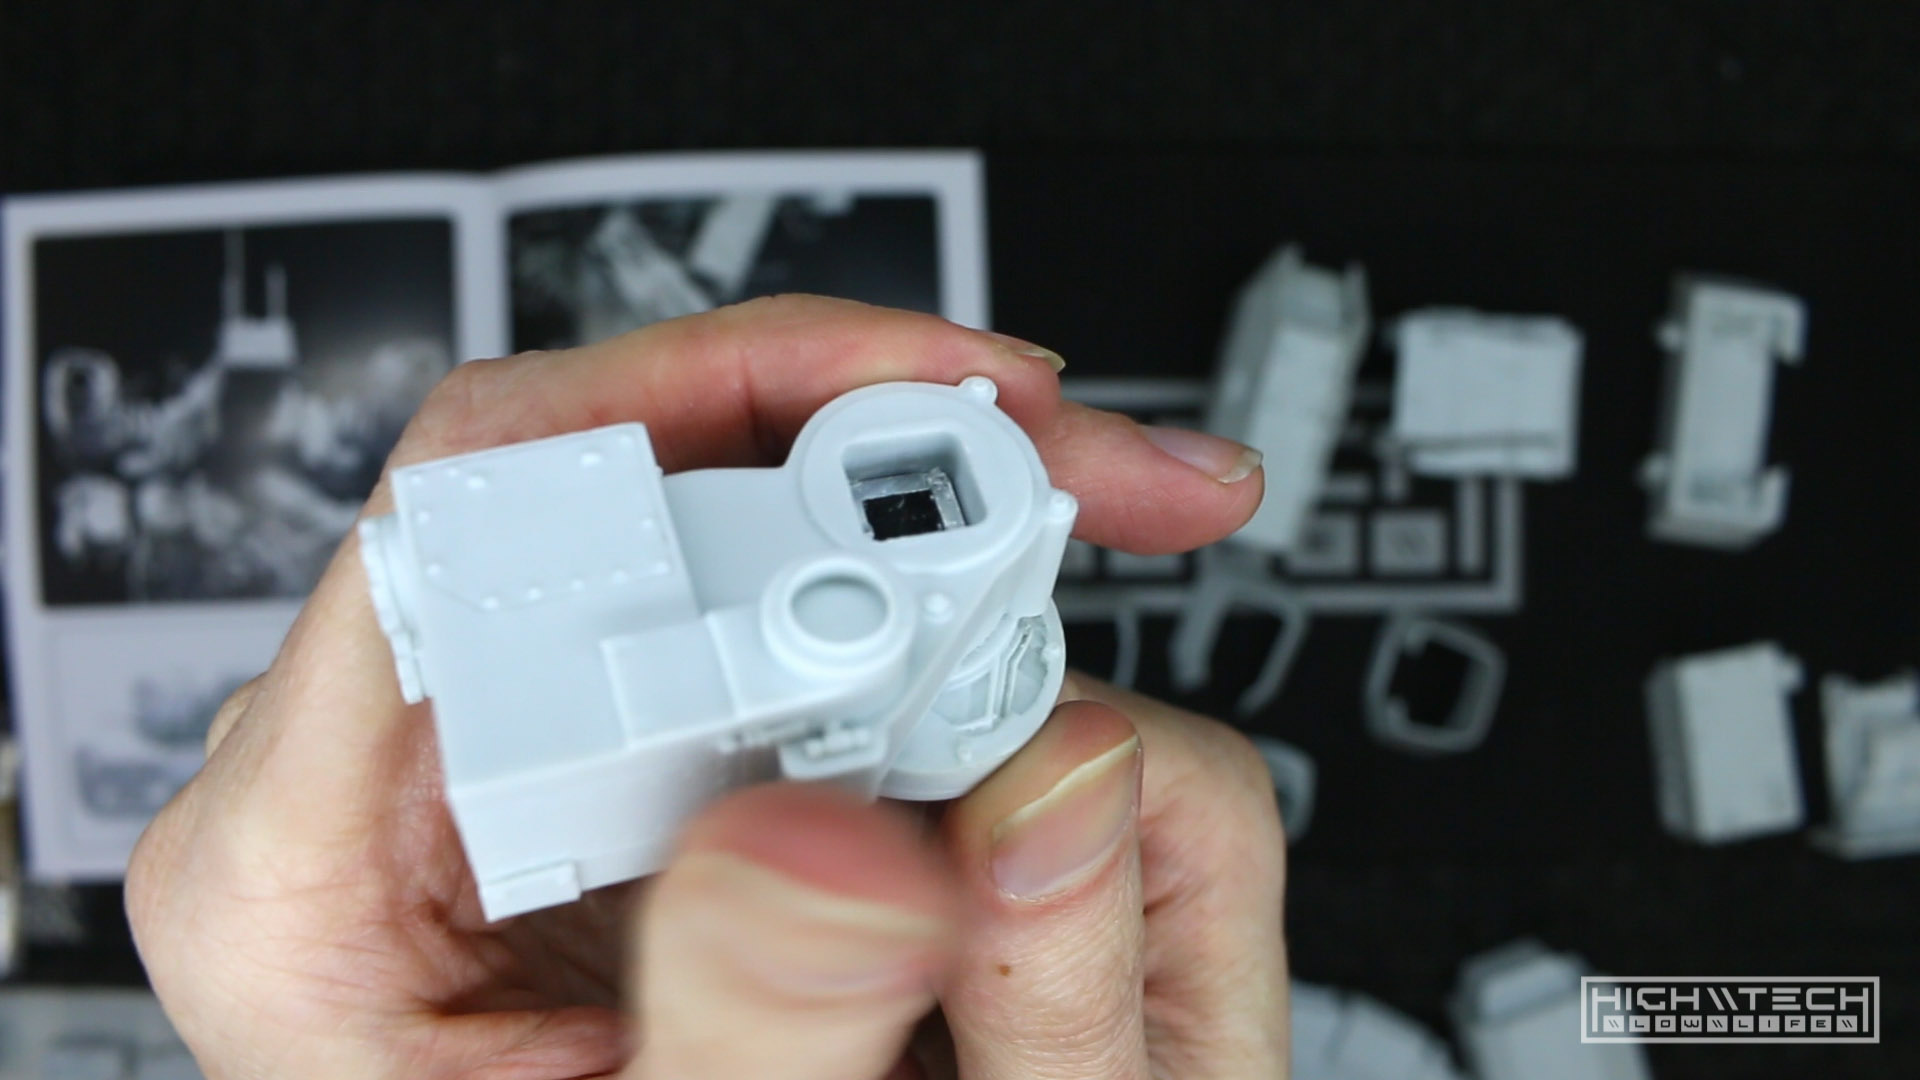 There were a lot of pieces on this kit that needed some “help” to get going. One example is just an offset mold where the holes were supposed to line up for this square aluminum tubing, but they didn’t. This kit looks perfect at first glance, but the more time you spend with it, the more you start to realize it’s not as flawless as it initialls appears. It’s still incredible though despite all of the little things you need to fix.
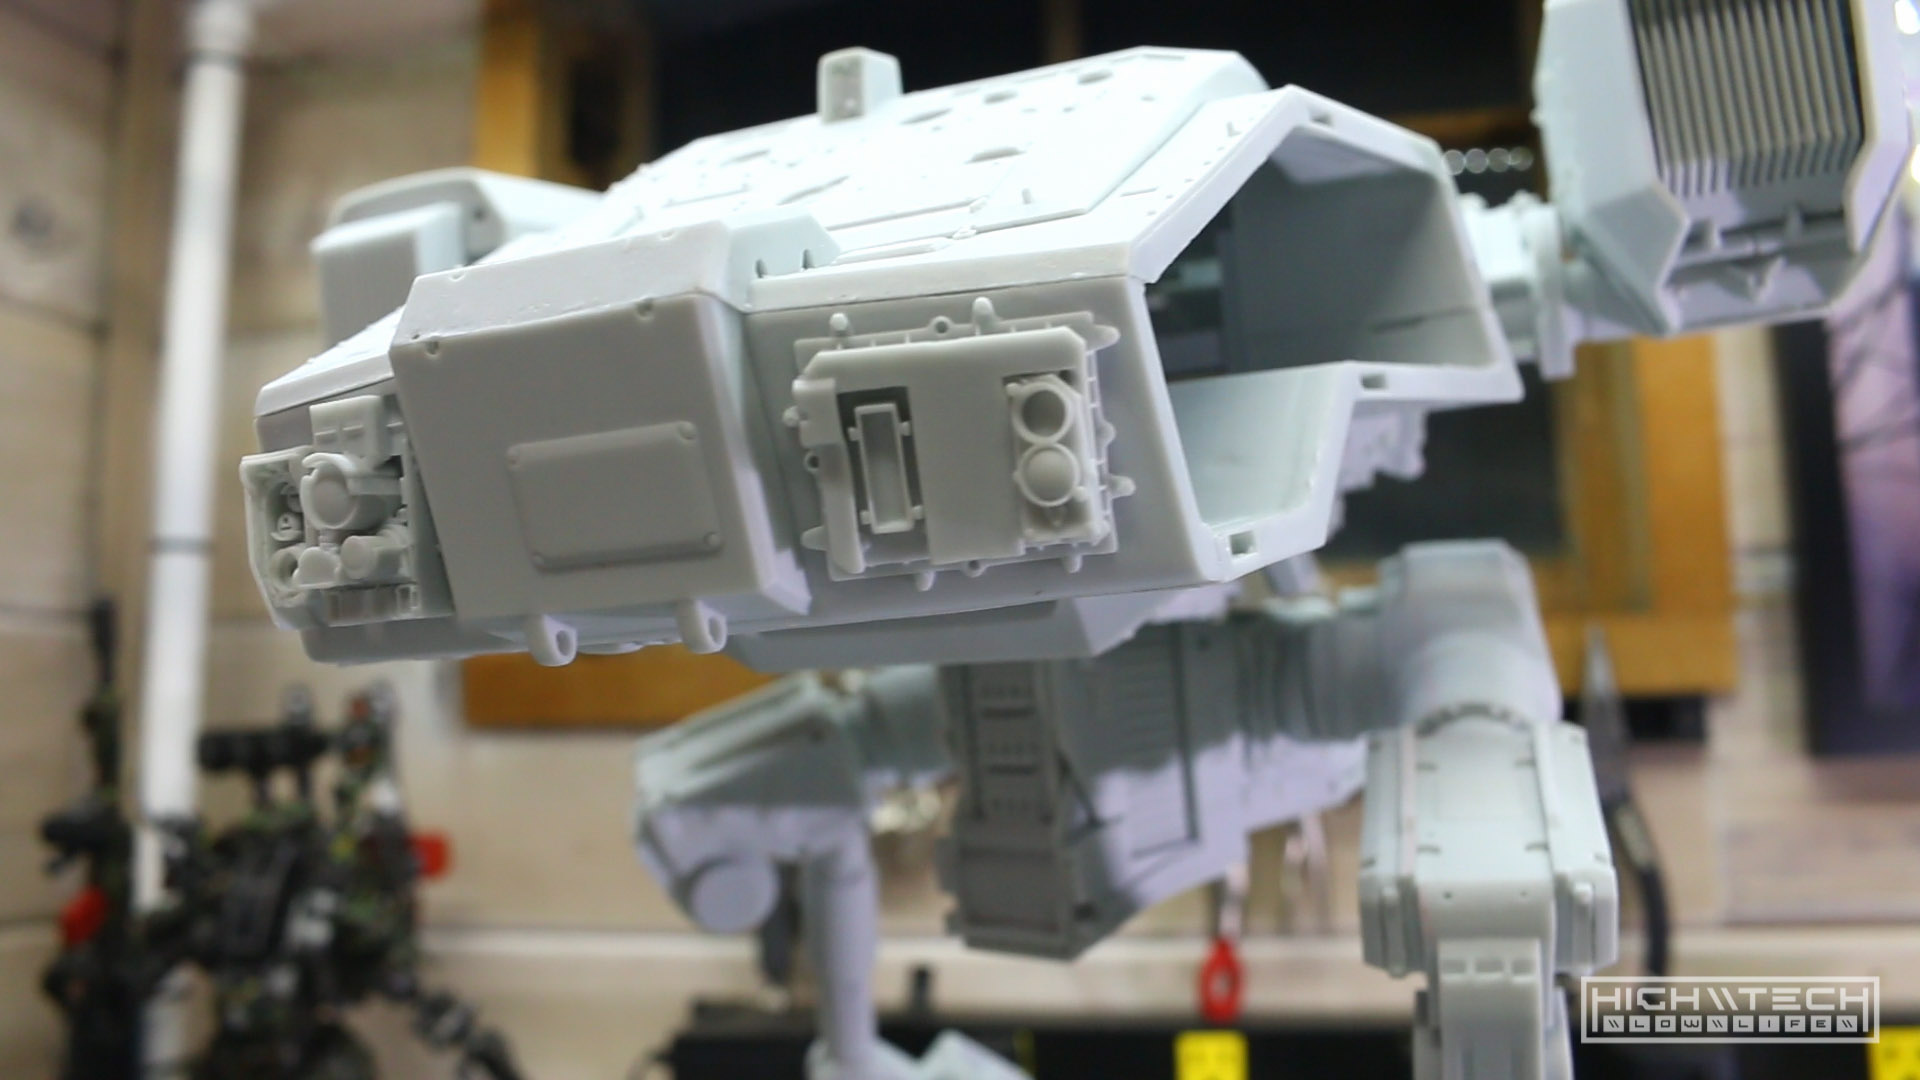
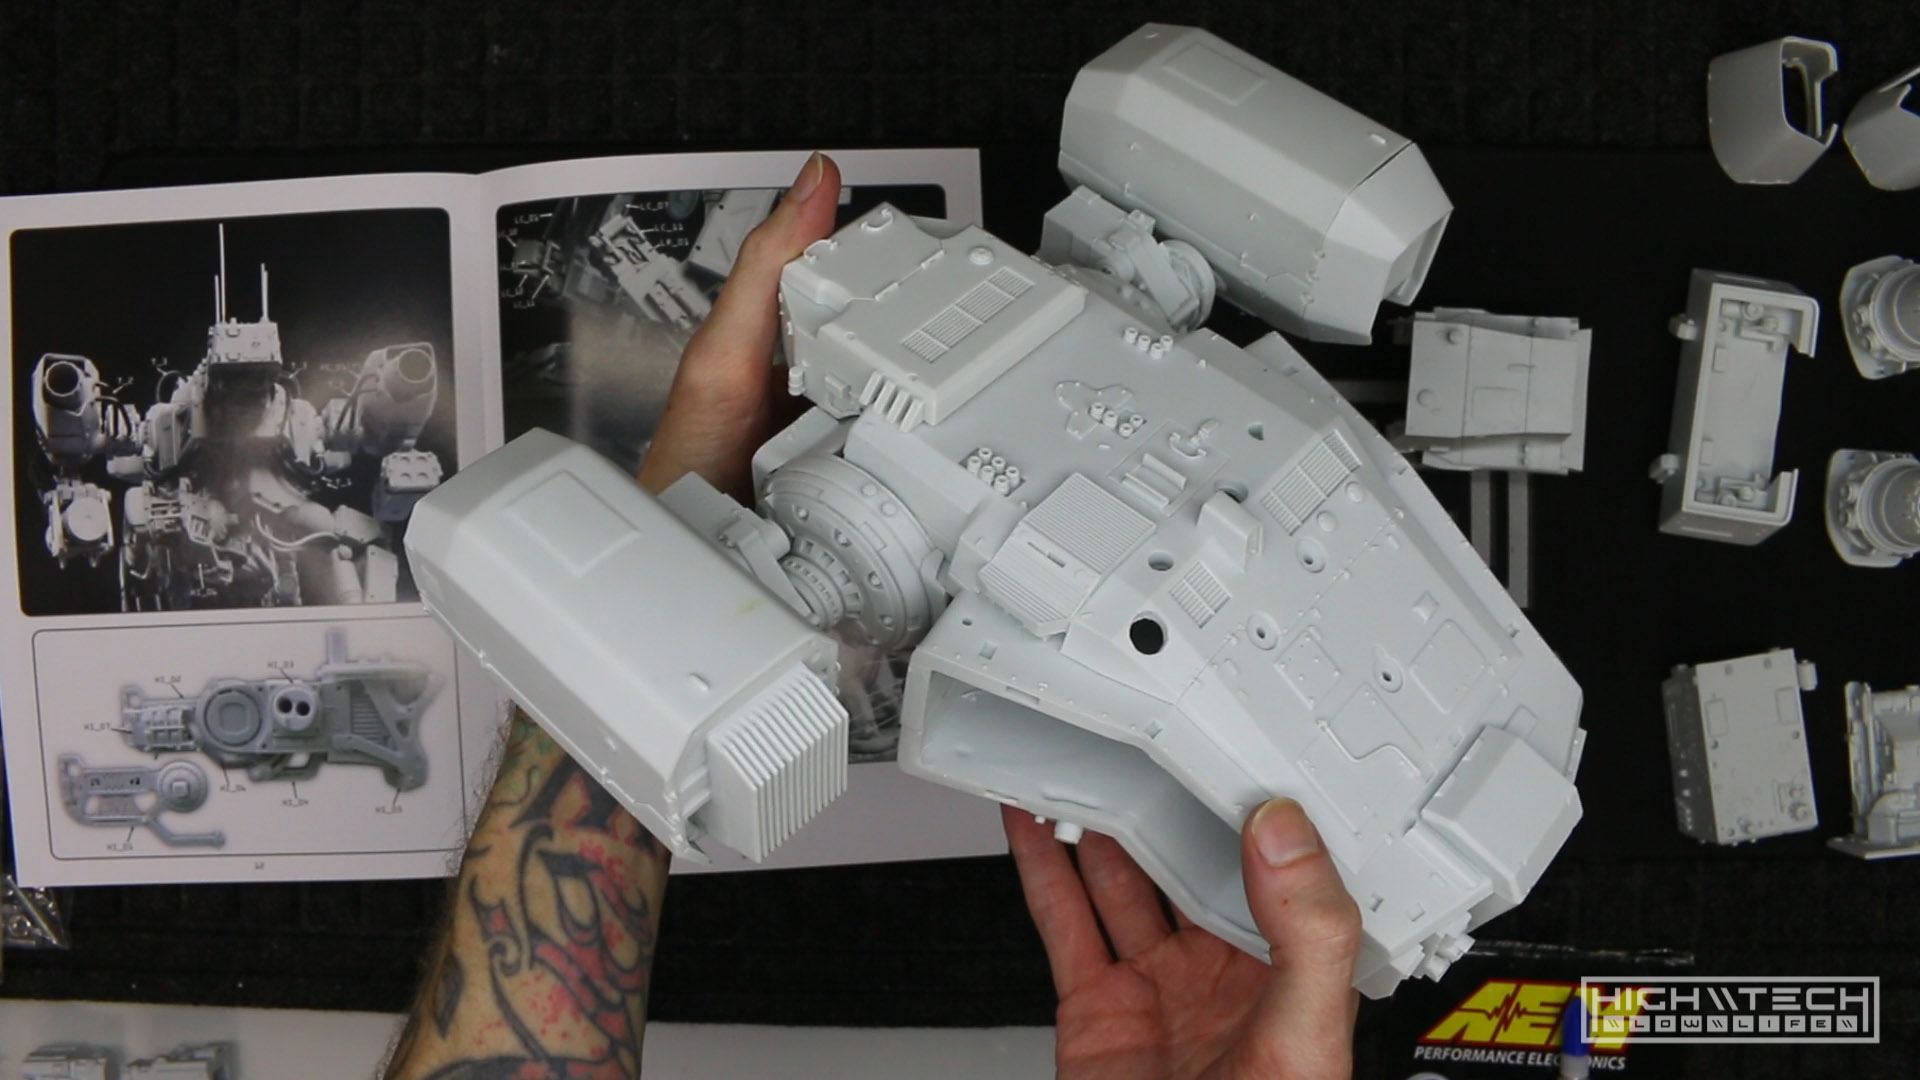 I swear the hull assembled looks very much like a star wars Y-wing ship, I’m sure this was at least a partial inspiration.
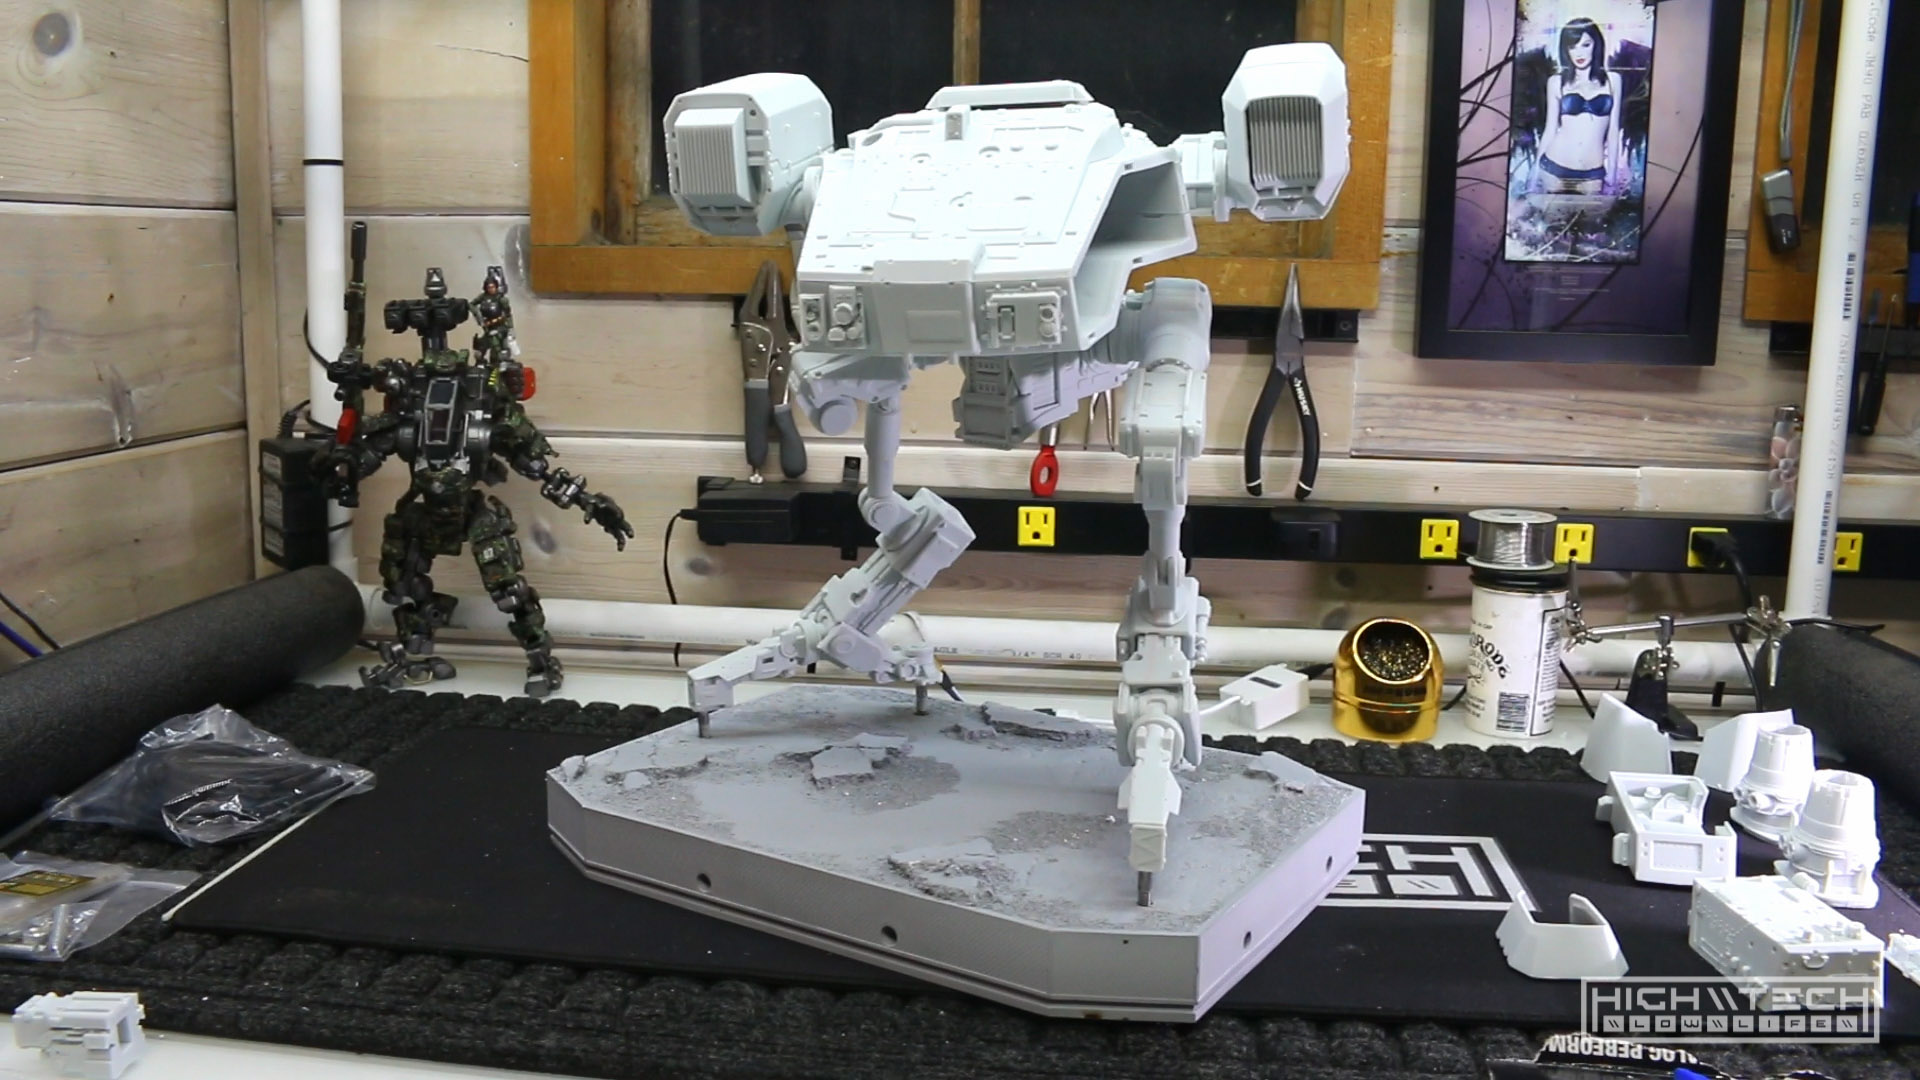
 Once you stick the legs on the base you start to get a feel for the scale and size of this model, it’s really big!
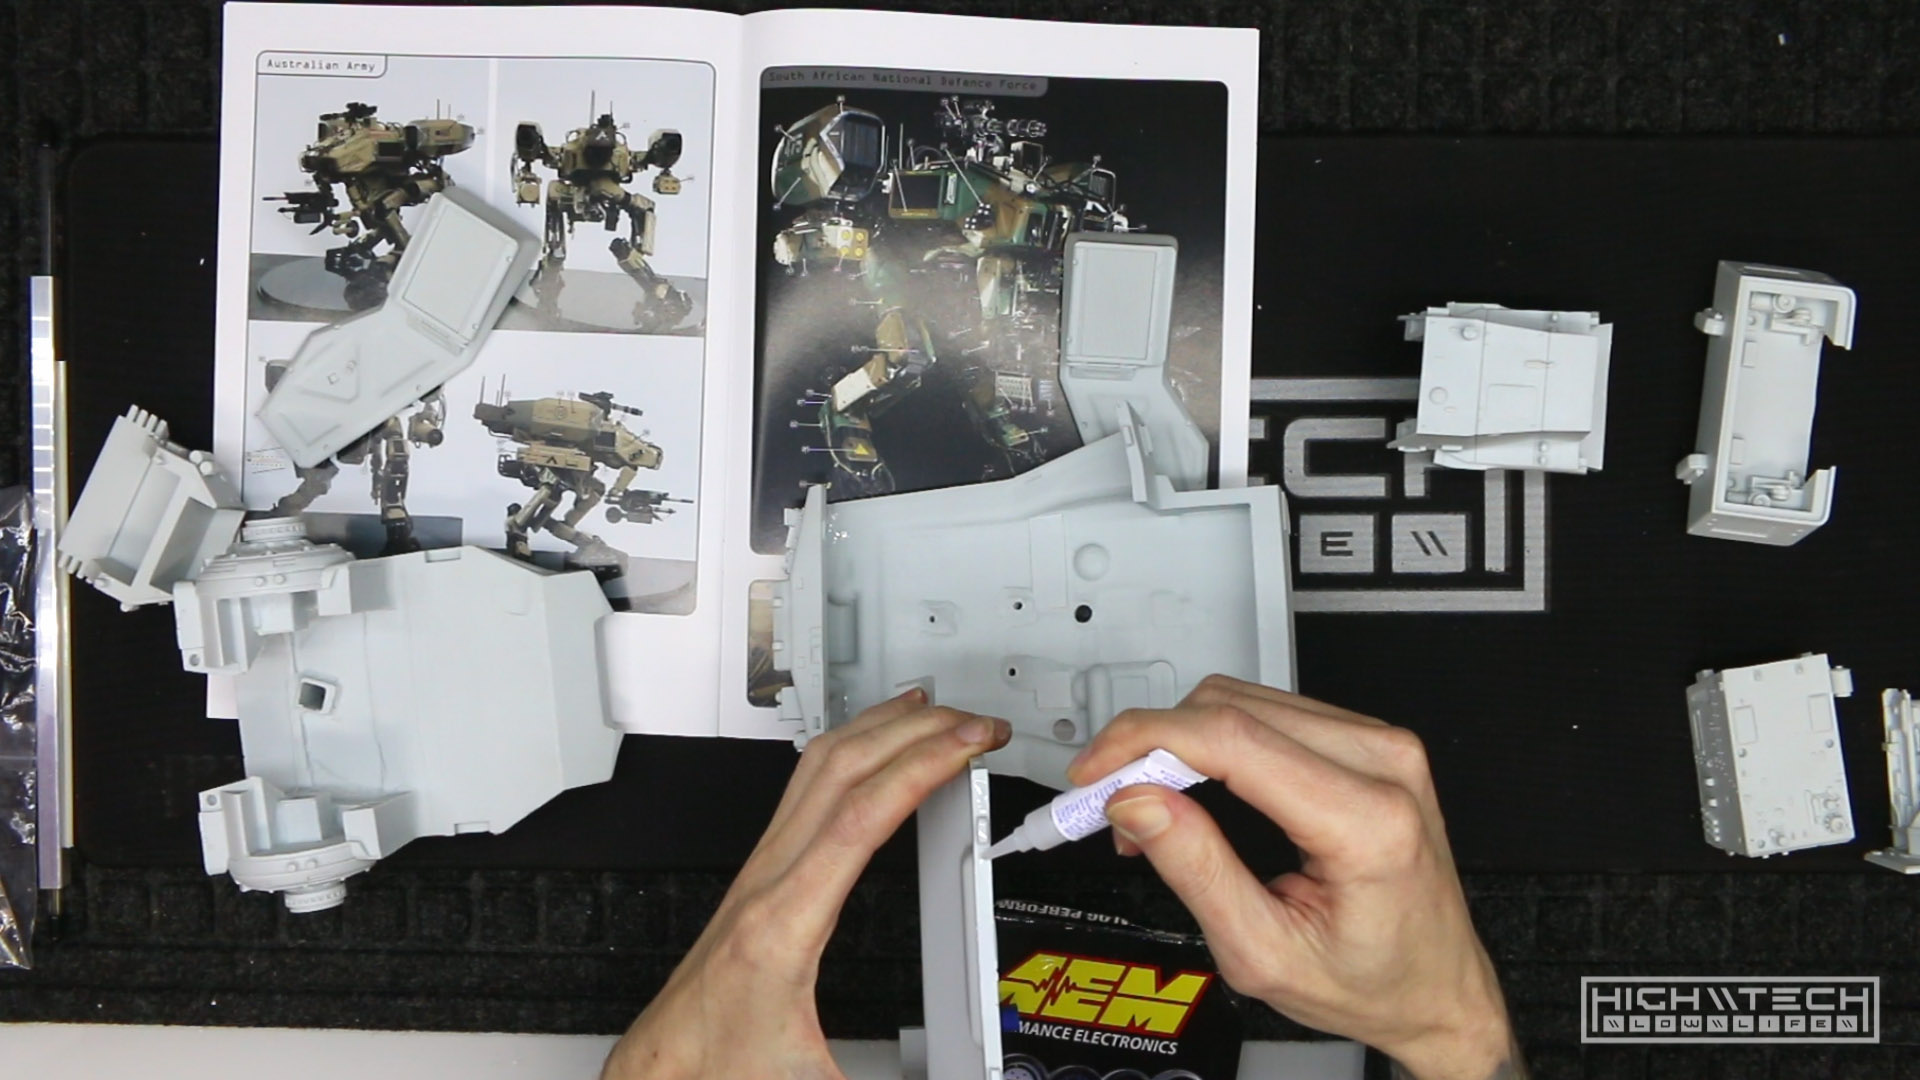
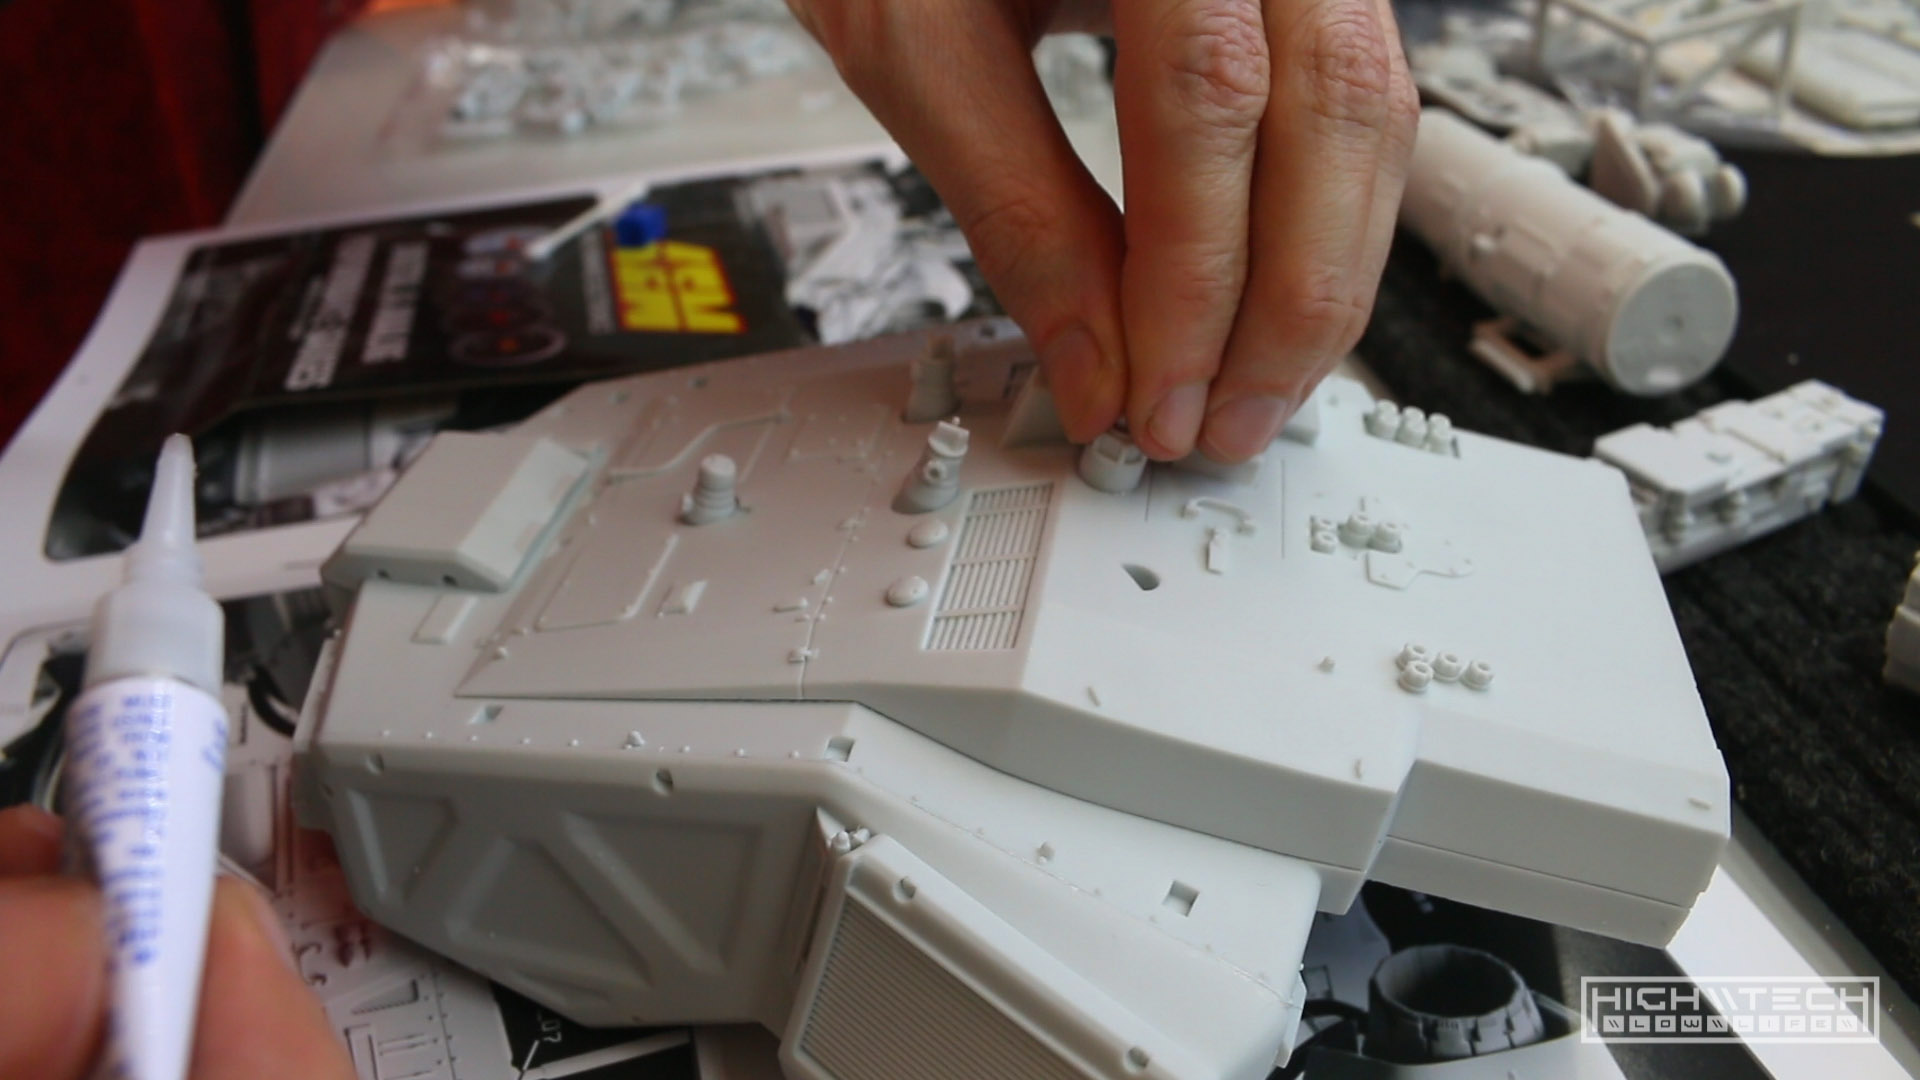 Adding some of the details on the hull that I want painted with it.
Pre-emptive Painting
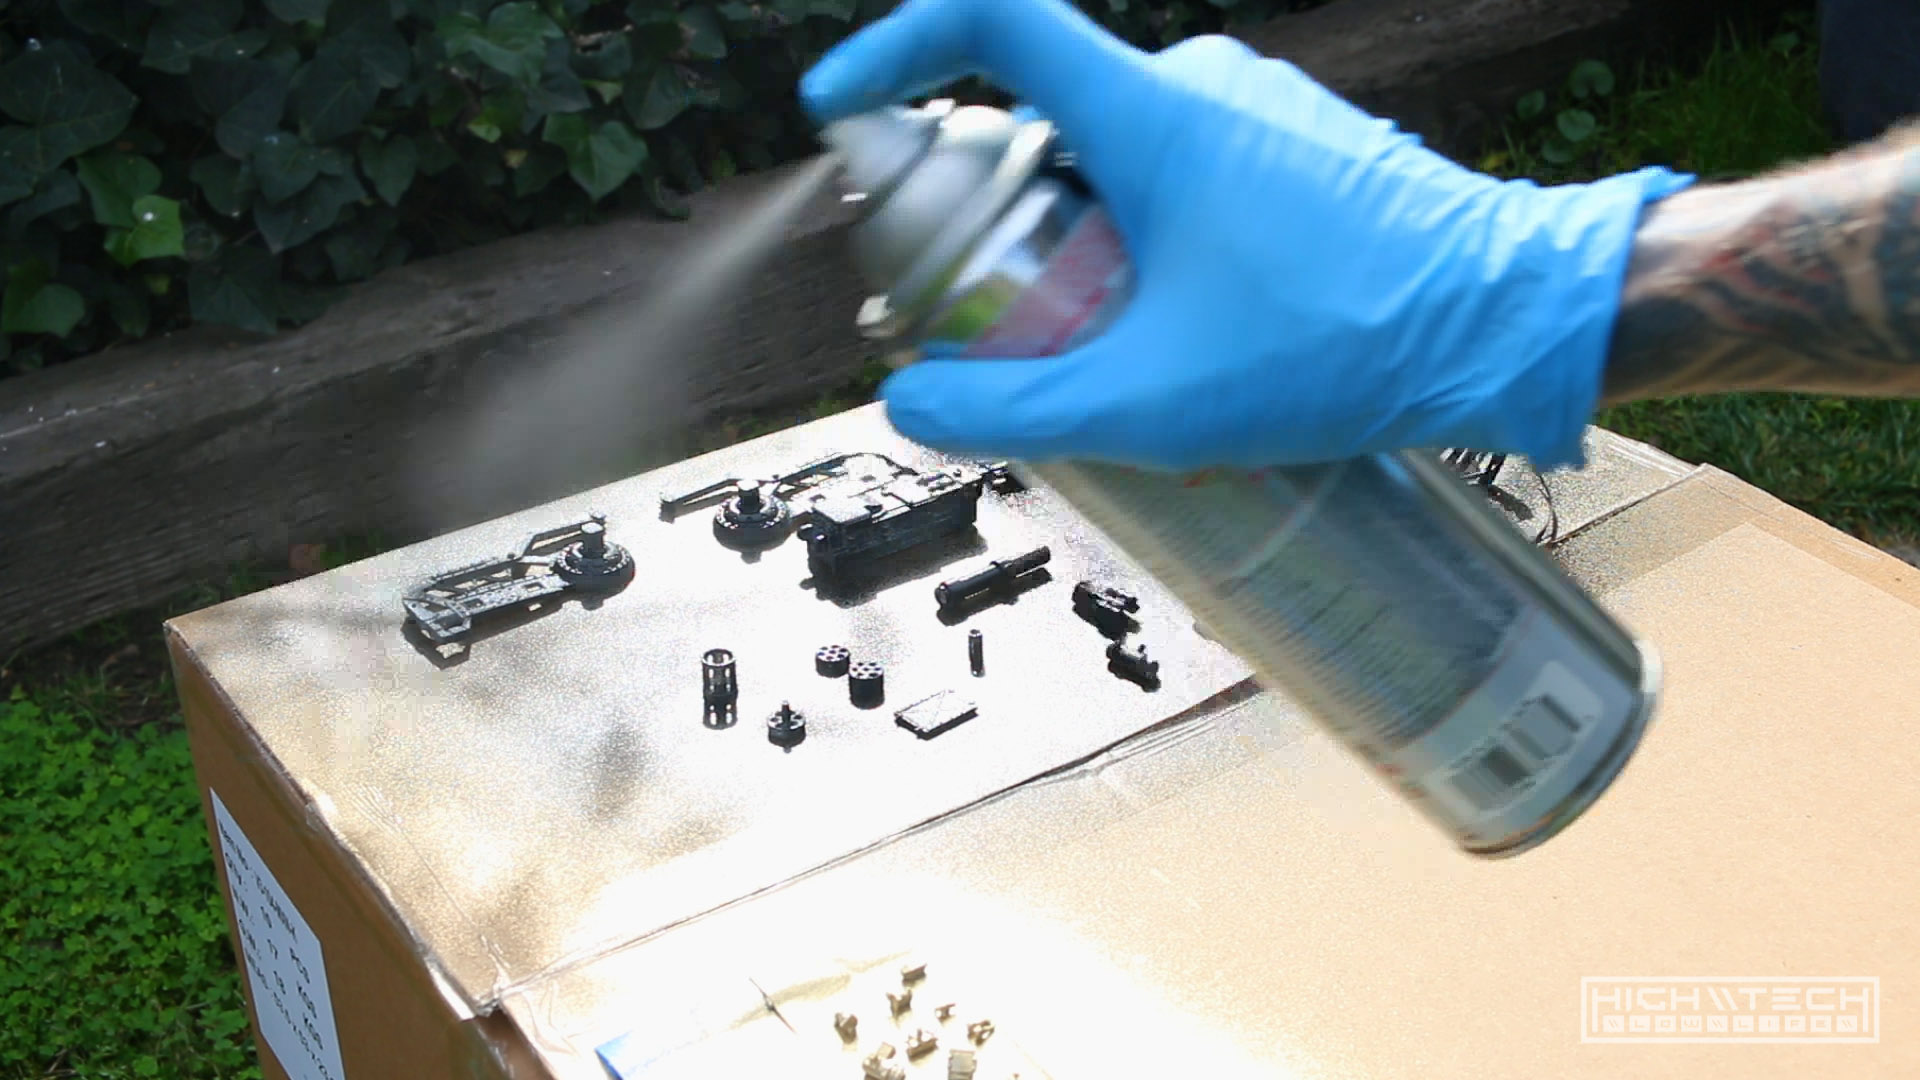
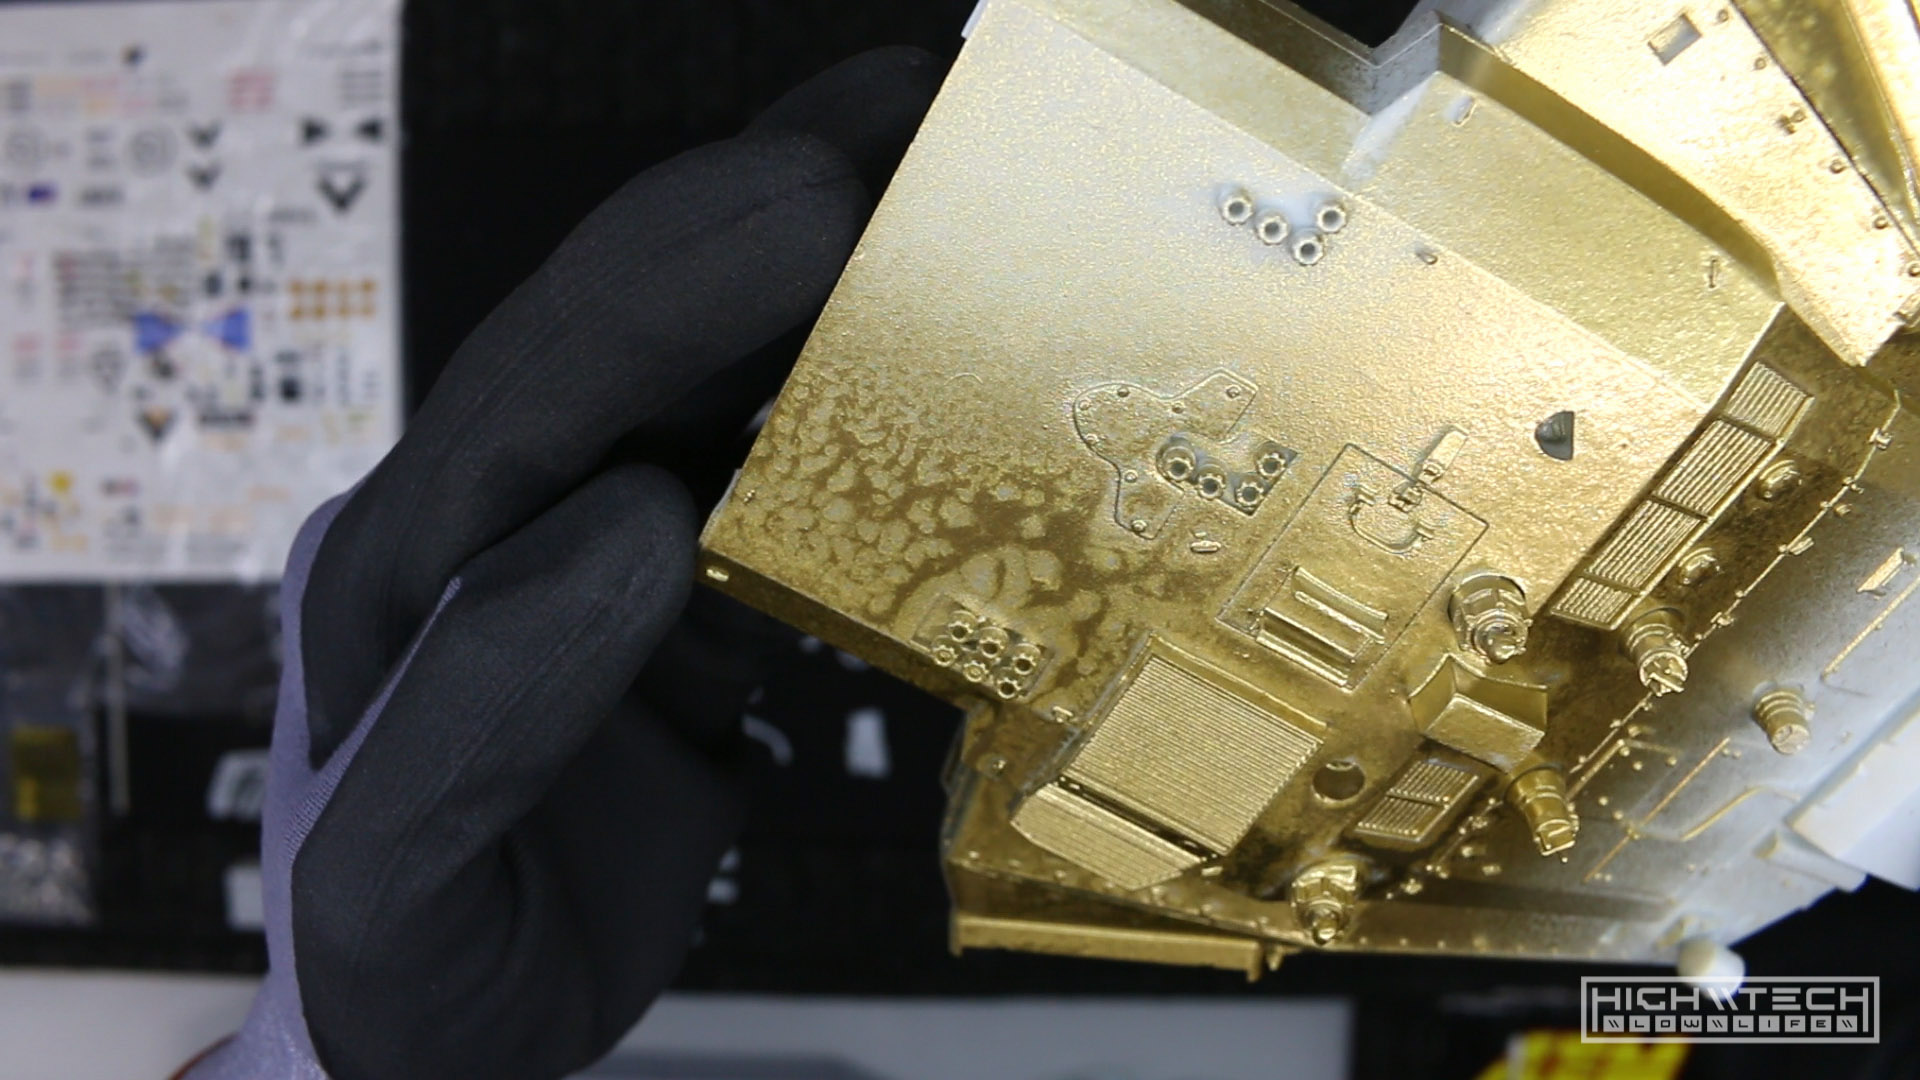 I couldn’t help myself and I started painting the gold and this happened, I was so incredibly disappointed.
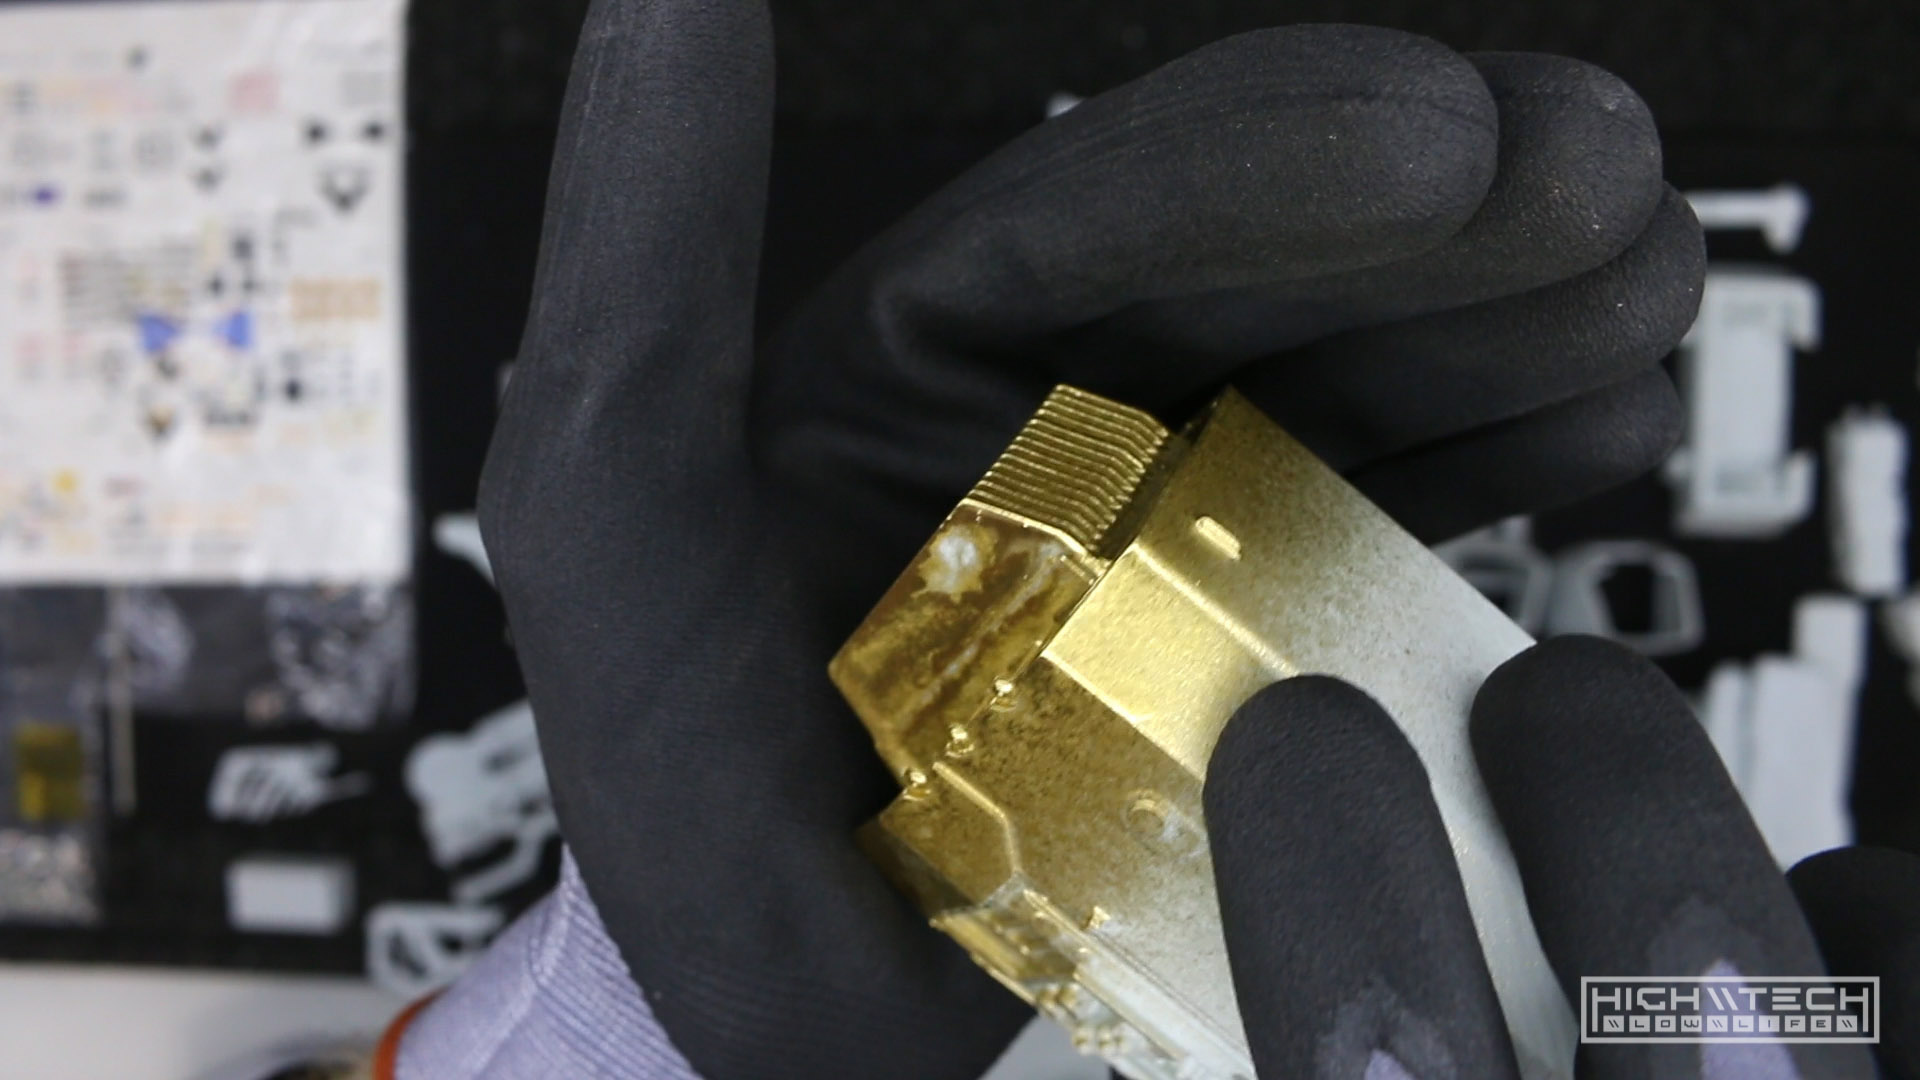 It’s like some parts of the paint would not stick at all, no matter how much I saturated or coated them, it was the oddest thing. I thought it had to be contamination.
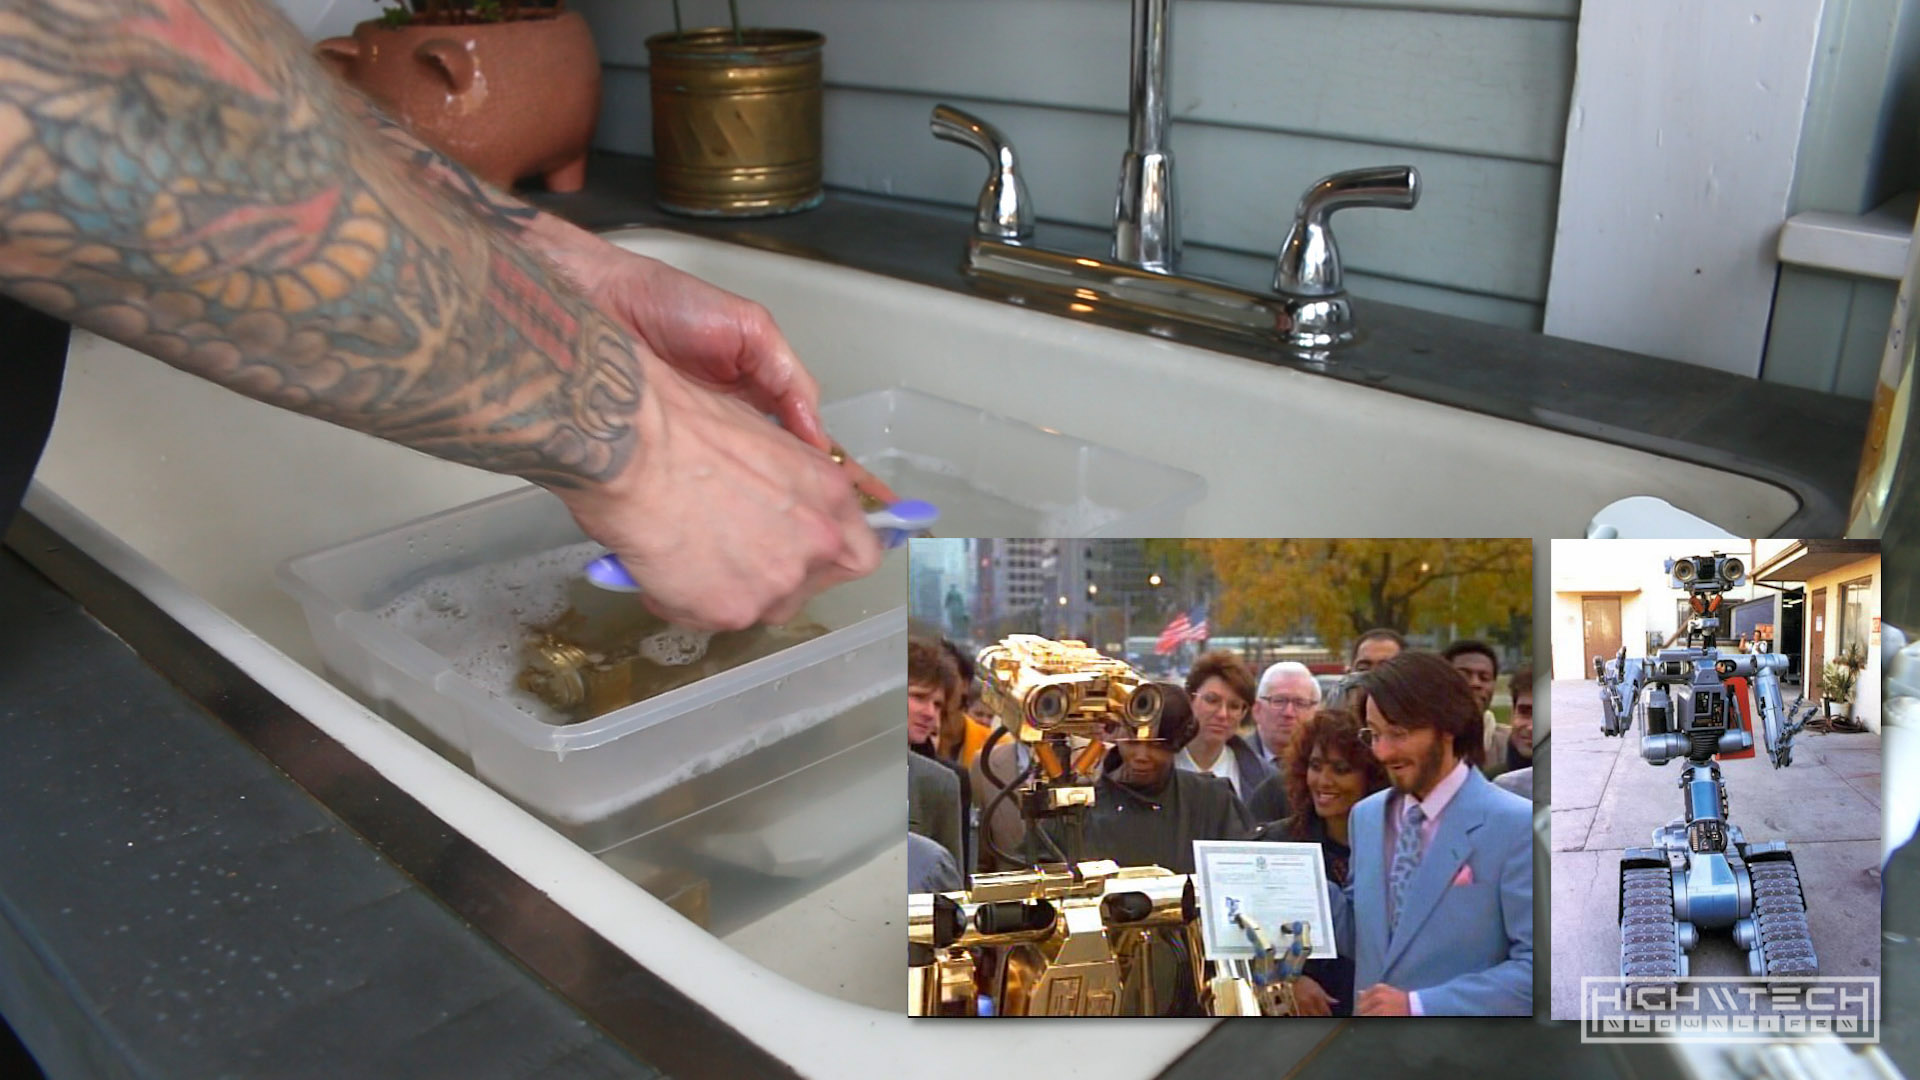 Why gold on a “military” style mech? I grew up watching Short Circuit and there is a scene in the end where they rebuild him, but GOLD. It was so cool, I couldn’t shake that image from my mind, Johnny 5 just looked so spectacular in his golden assembly. There were a few things that were gold that stand out to me as a kid and because of this I have an affinity towards gold, even if it’s just cheap plated plastic, it’s not really the quality that matters, even if it’s faux, it’s the representation that matters.
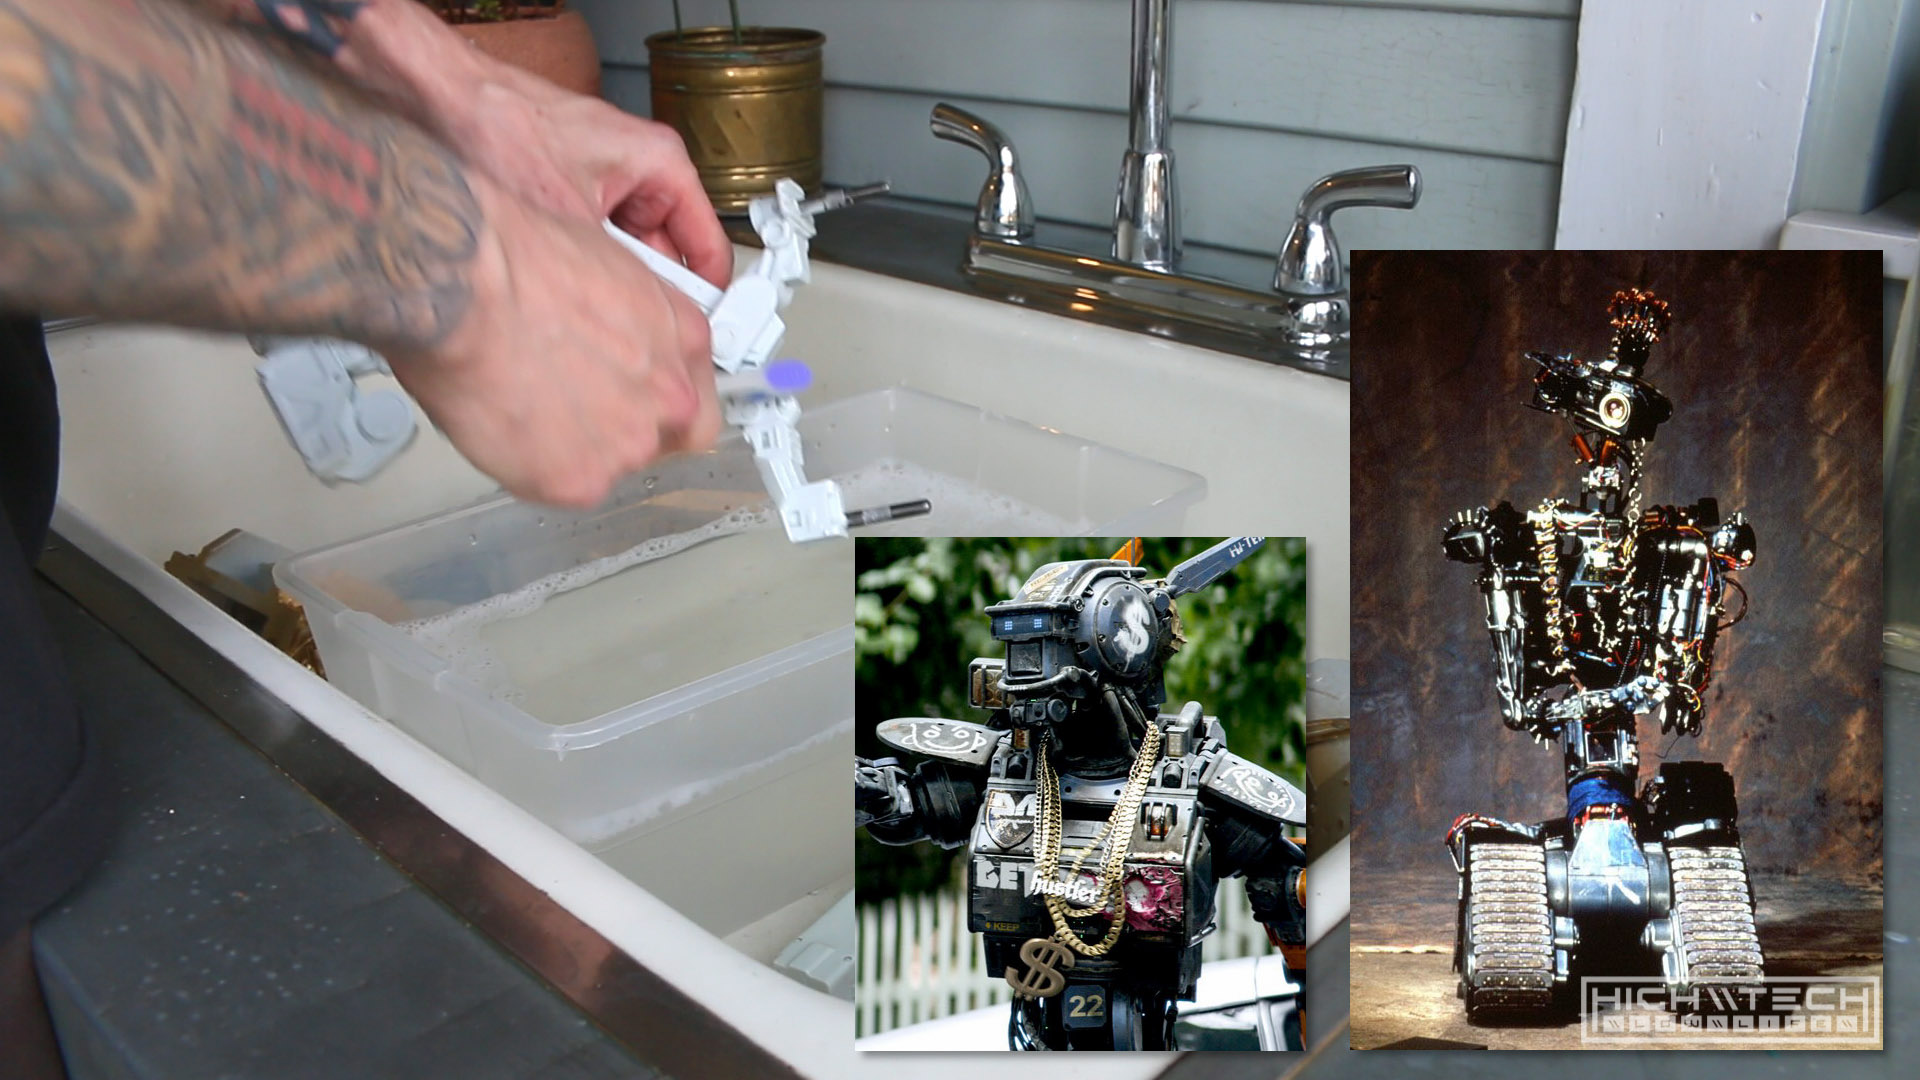 When thinking about this project and researching it also made me realize that the plot of Chappie and a lot of the design elements are lifted directly from Short Circuit, I have no idea why I never put this together before but once I saw the parallels it made a whole lot of sense. Most likely Neill was also influenced a lot by this movie.
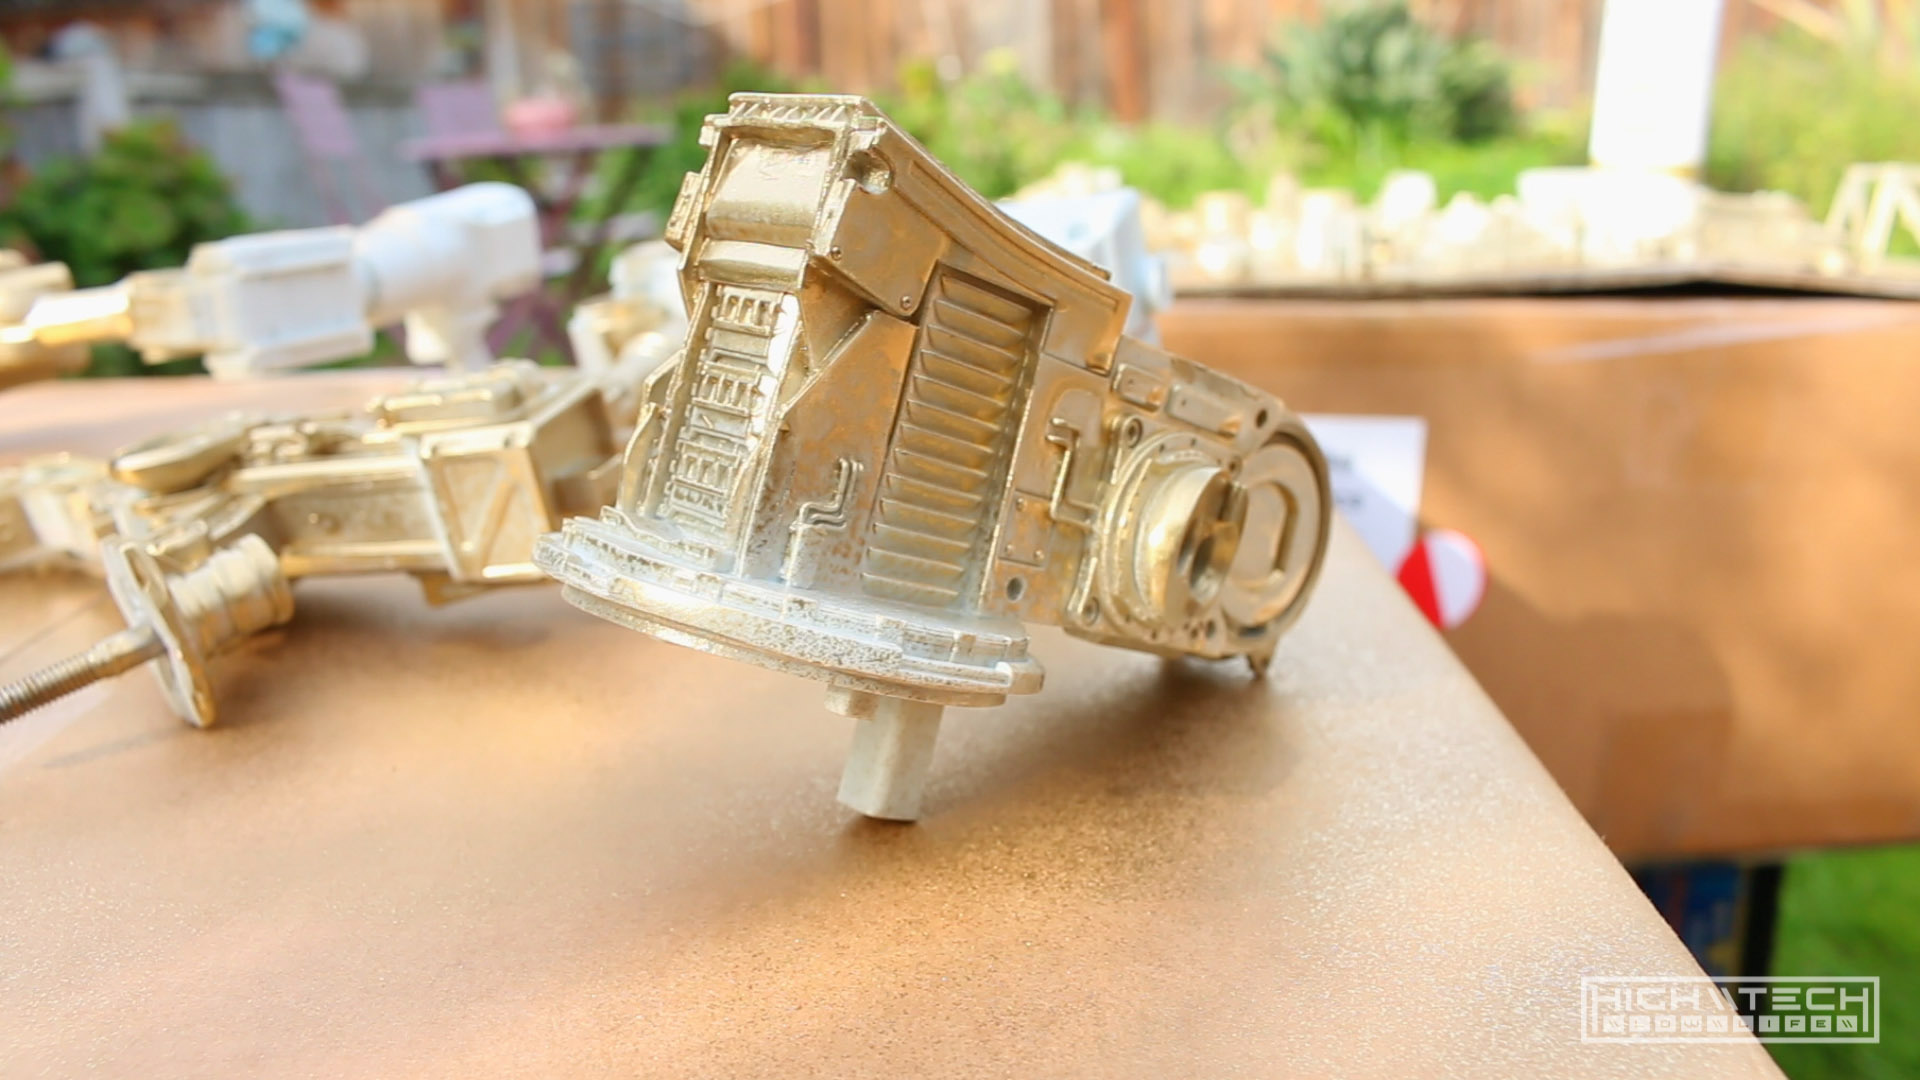
GOLDEN Painting
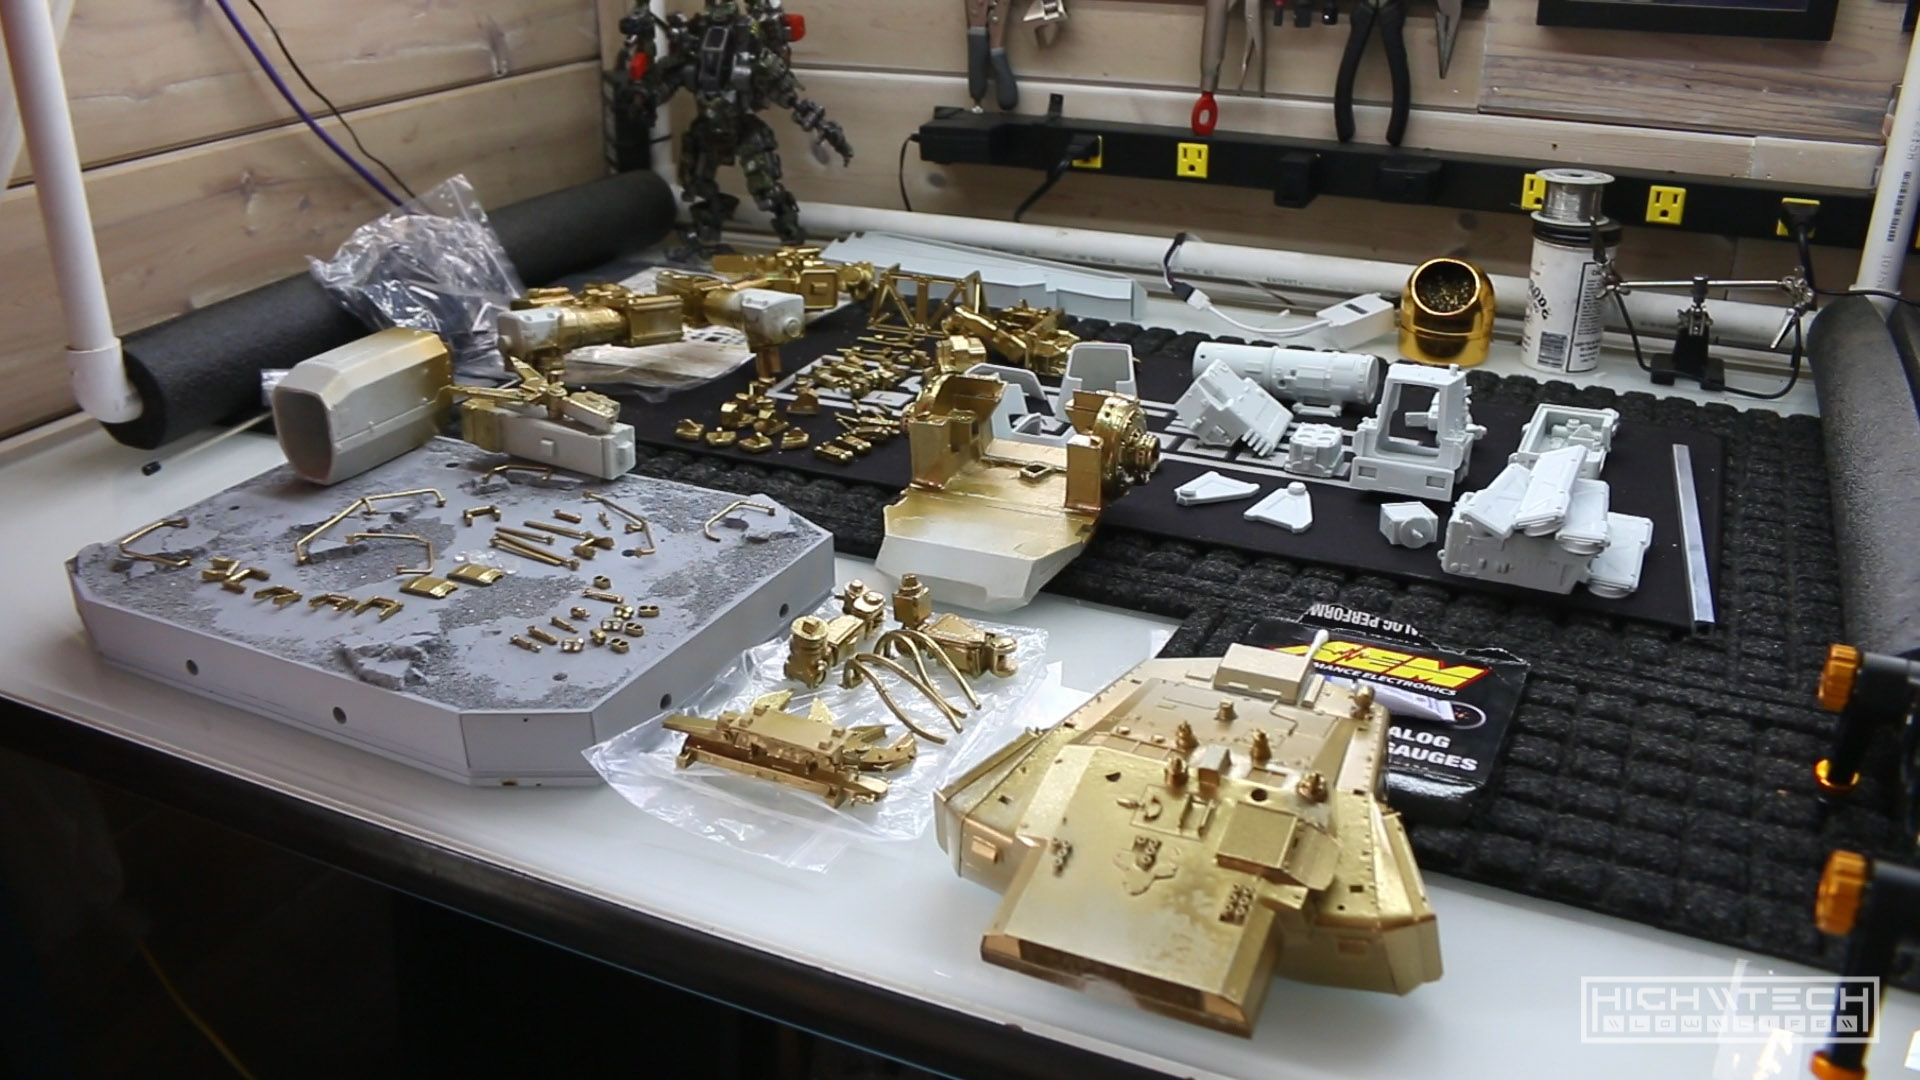
 That’s a whole lot of gold, like A LOT.
 Ok finally some other colors, I used a metallic bronze and also black for contrast (of course).
 I was really skeptical on how this gold spray was going to look but, it was coming out really good, so I was surprised.
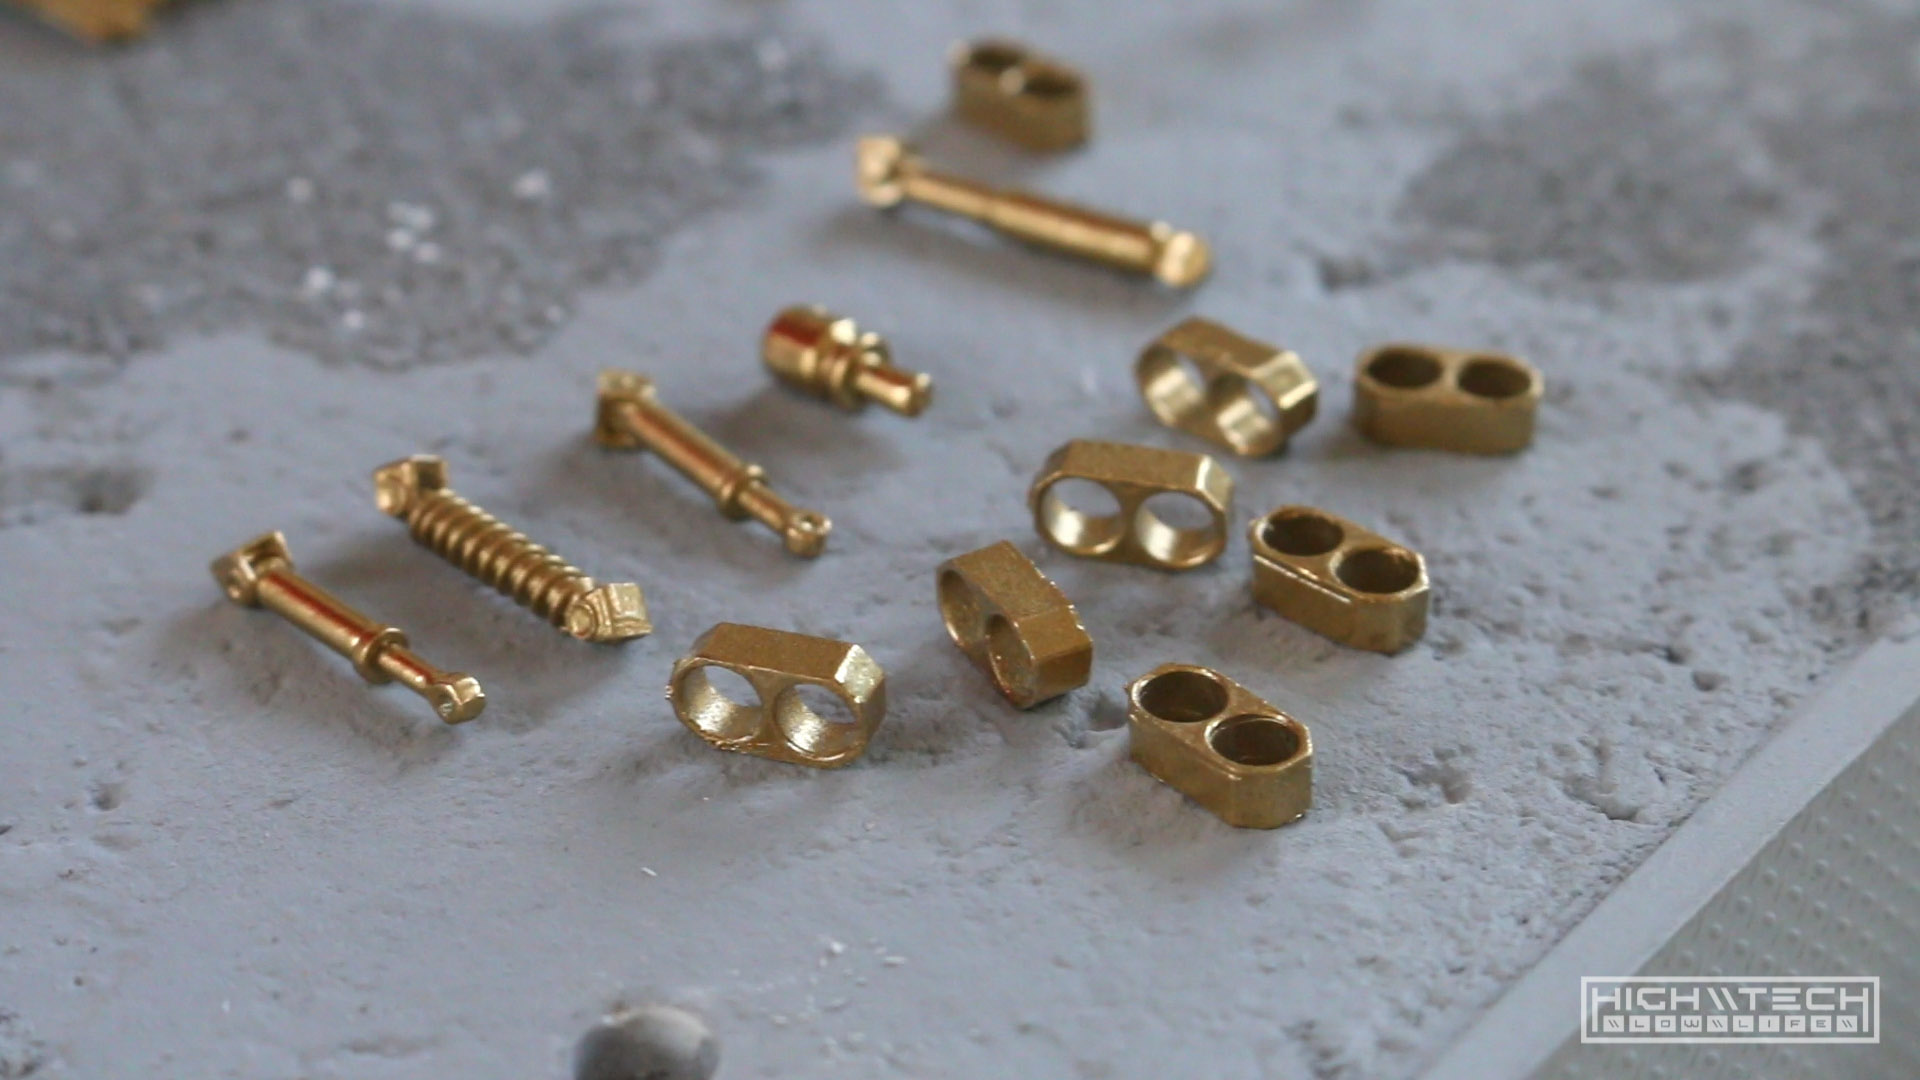
 This kit has a lot of parts, a lot of little parts! Now they’re golden little parts.
So much more to do, stay tuned for part 3!