
\\ 3000W BMX E-BIKE [4.0] PART 4 \\
Cosmetic Modifications
In part 4 we’re digging into all of the cosmetic modifications I have planned for this build. I actually didn’t really plan on putting too much time or work into making this look nice, this was supposed to be a ‘beater’ that I could thrash on, but that didn’t really work out, so here I am pouring way too much time and energy into another build!
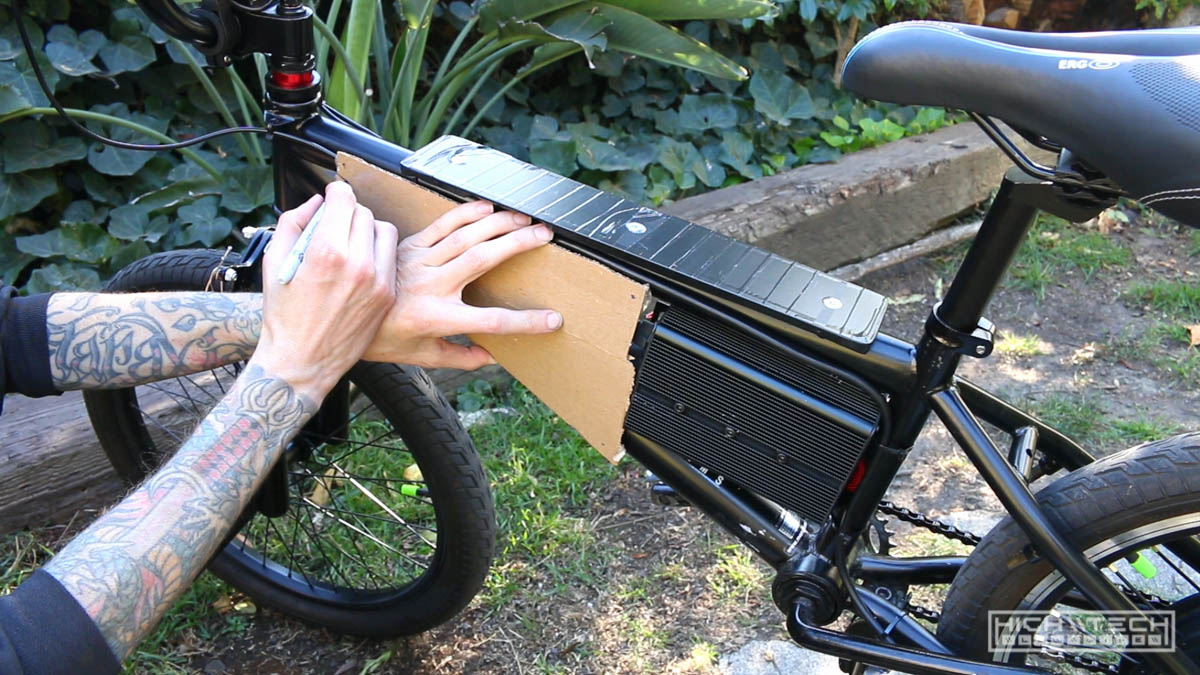 First up is mocking up the ‘placards’, I had an idea of hiding some of the wires behind some opaque acrylic panels - so I just measured them up with some CAD (cardboard aided design).
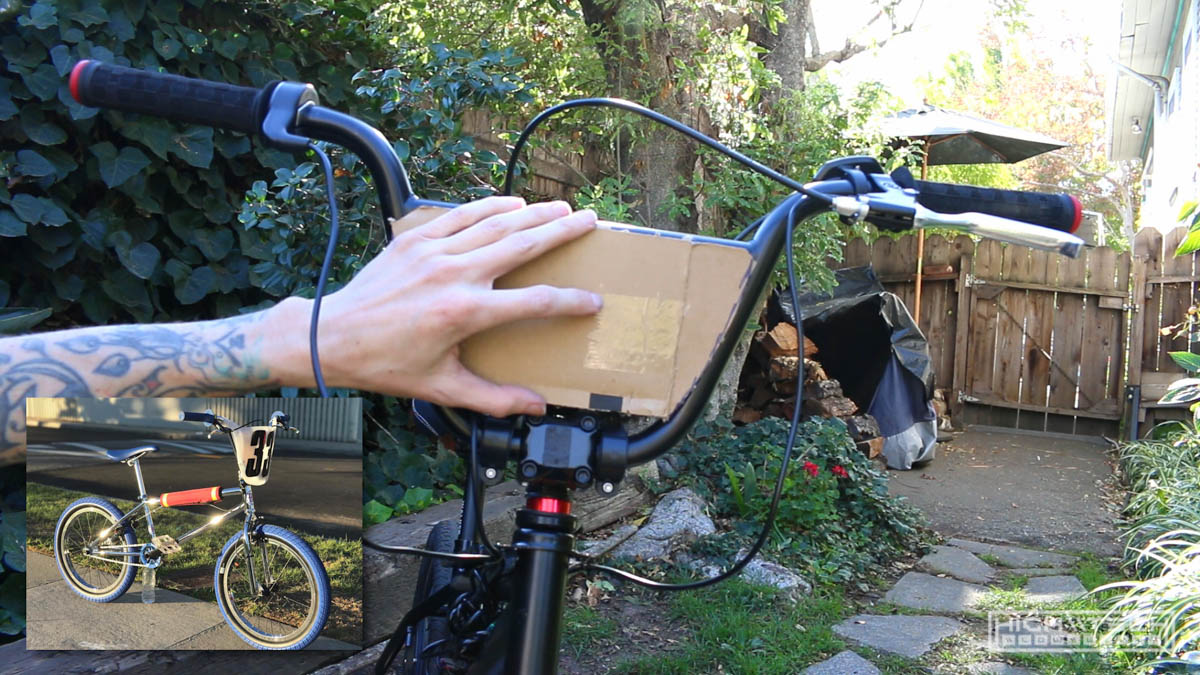 I also wanted to put one on the front to pay homage to my favorite 80’s BMX movie - RAD
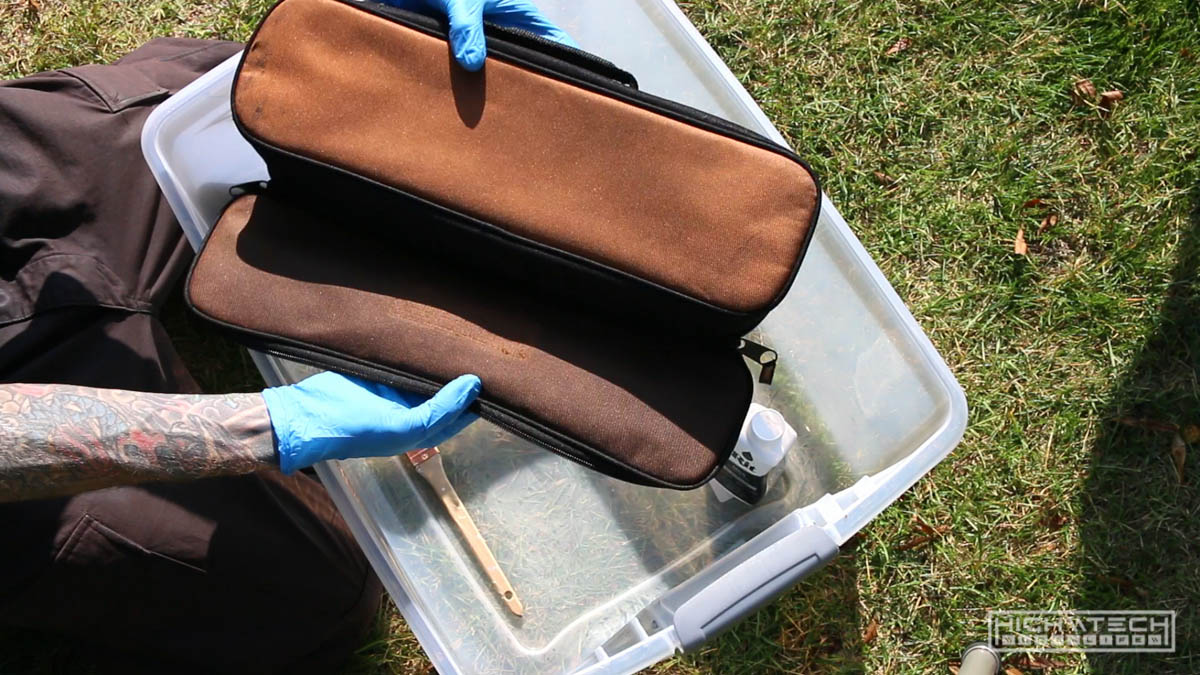
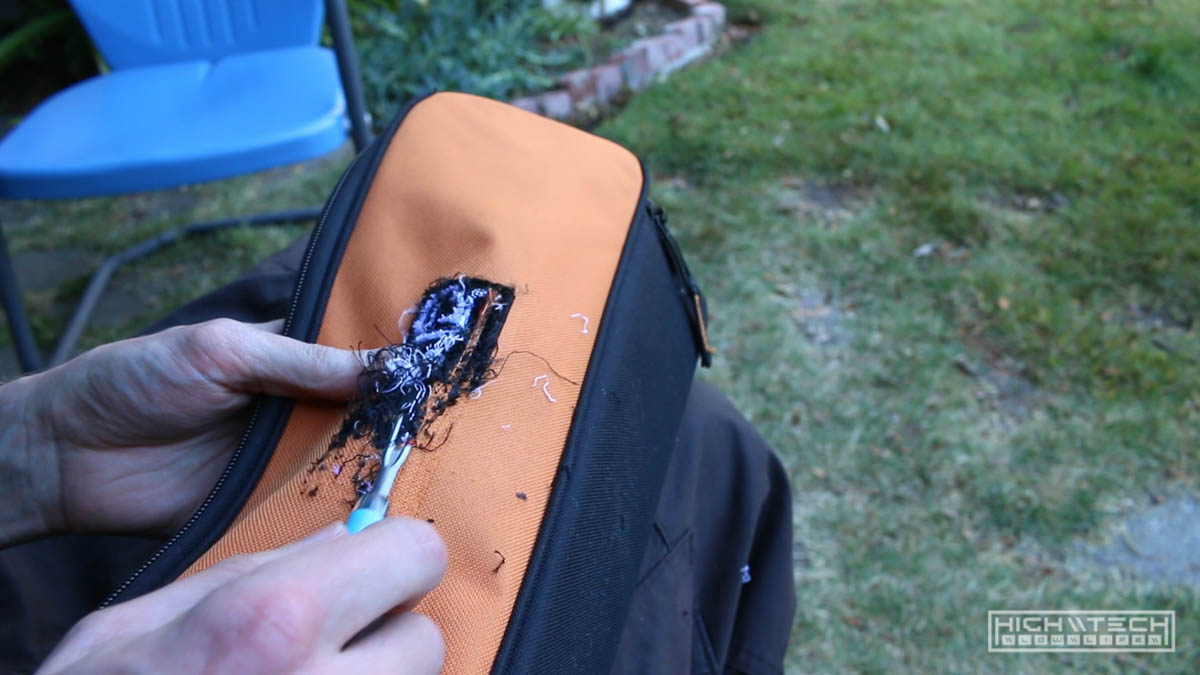 Next up was working on this stupid bag some more! I thought for sure that this was just an embroidered ‘badge’ that they then sewed on to the bag, but this was not the case. The actually embroidered the bag, I couldn’t believe it. It took me 2.5 hours to remove all of the embroidery and had I known that it was going to be like this I would have just left it.
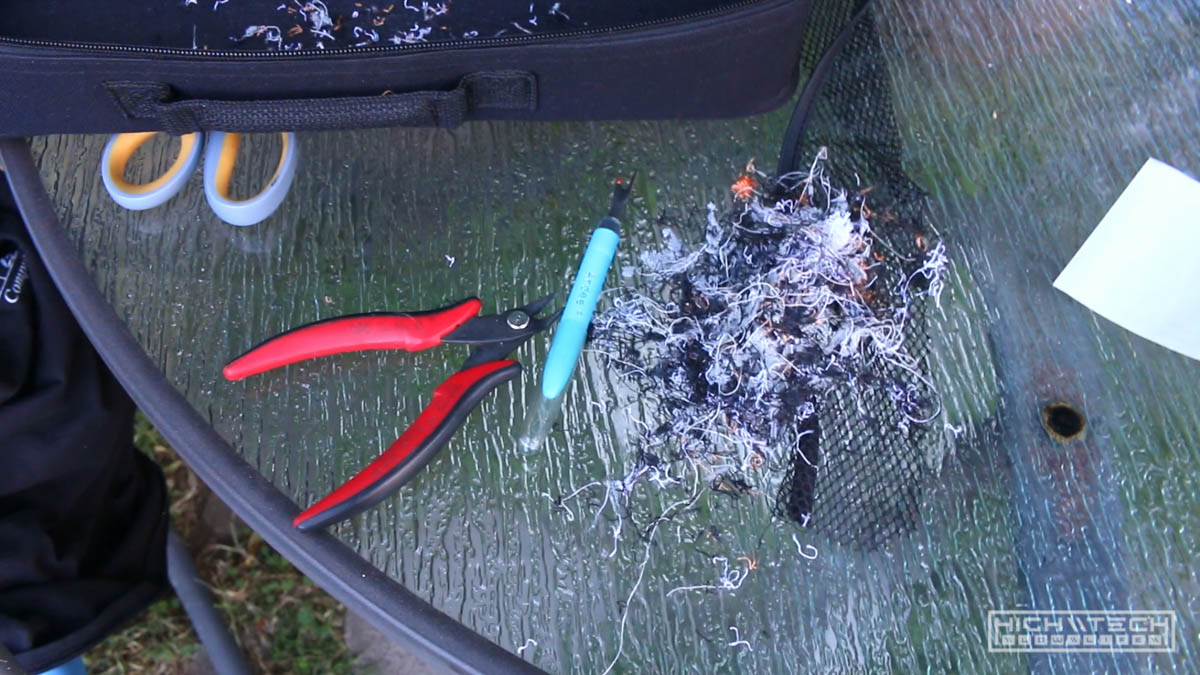 Finally finished, what a mess!
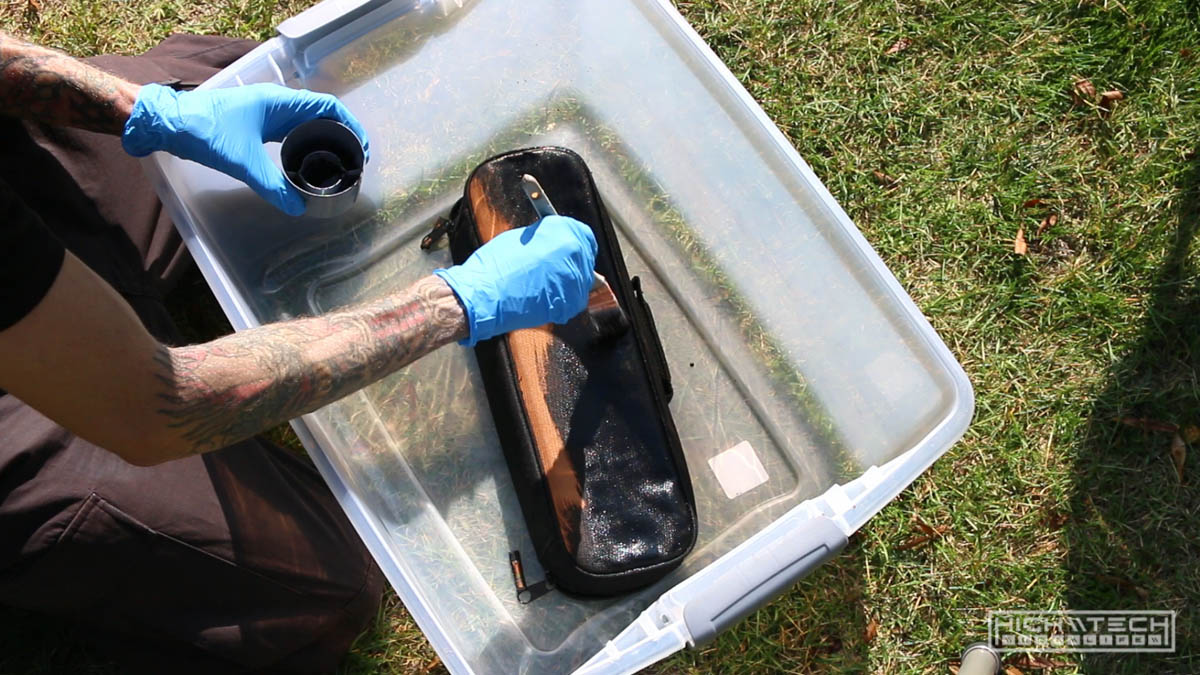
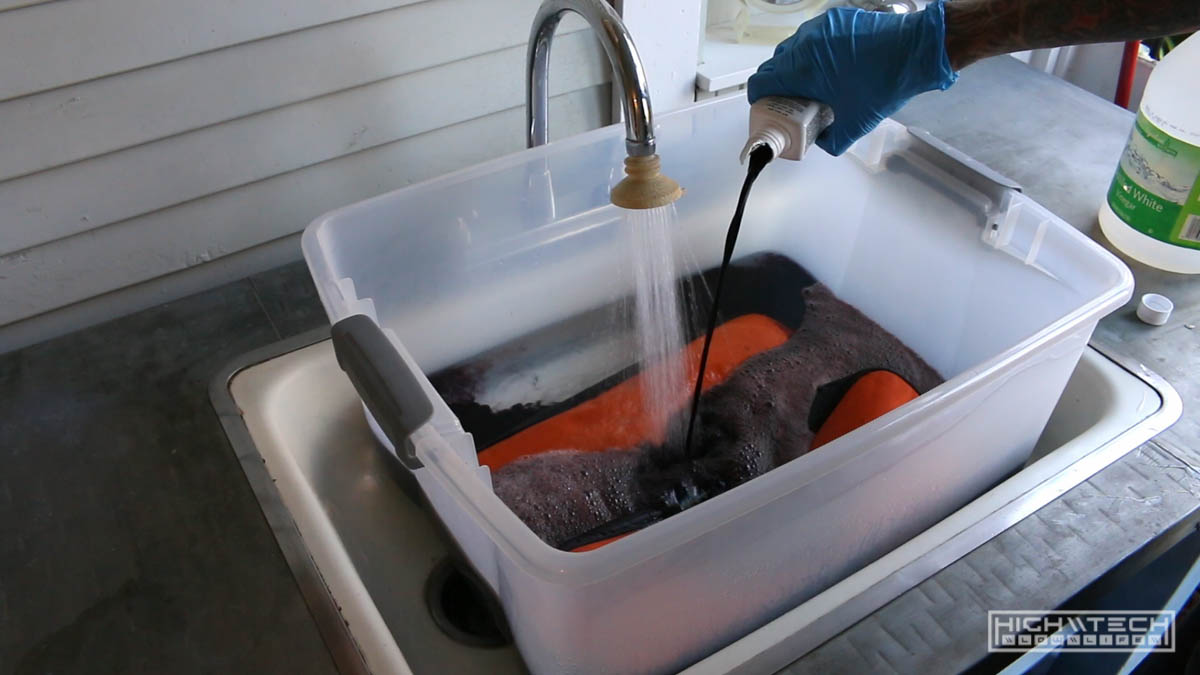 As much as I like orange, I like black better so here I am dyeing the bag fully black. I have dyed things before, including nylon, so this should be a walk in the park. I used a full bottle of rit dye for this, so it should be as black as the abyss.
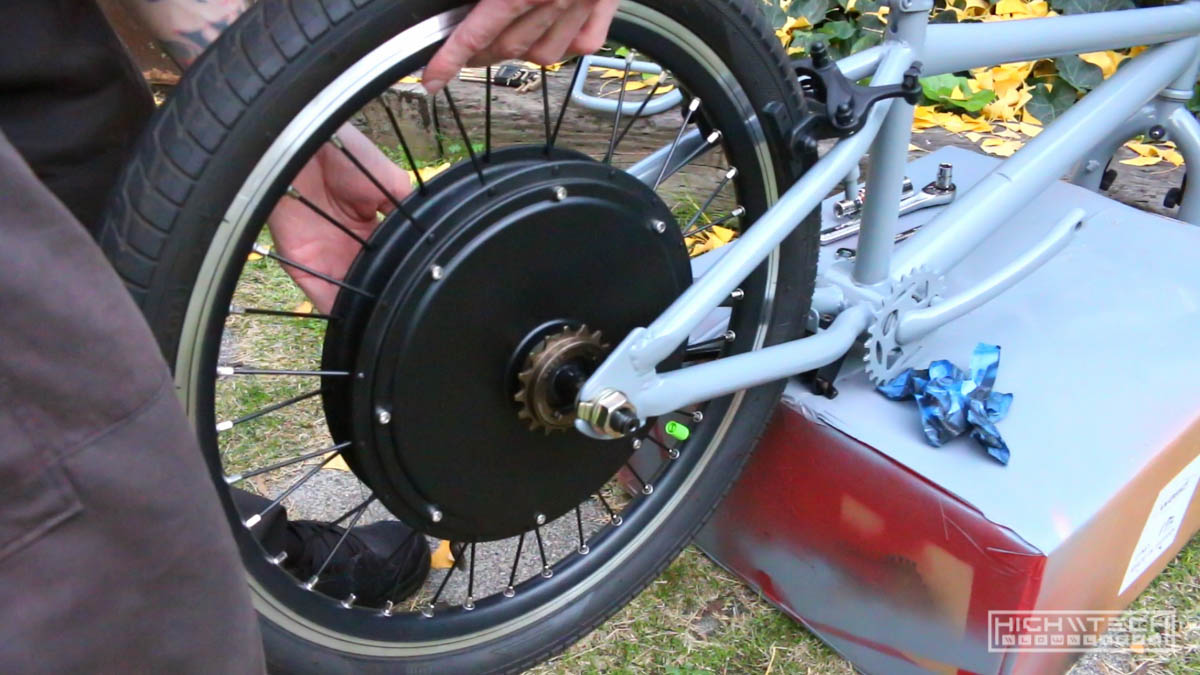
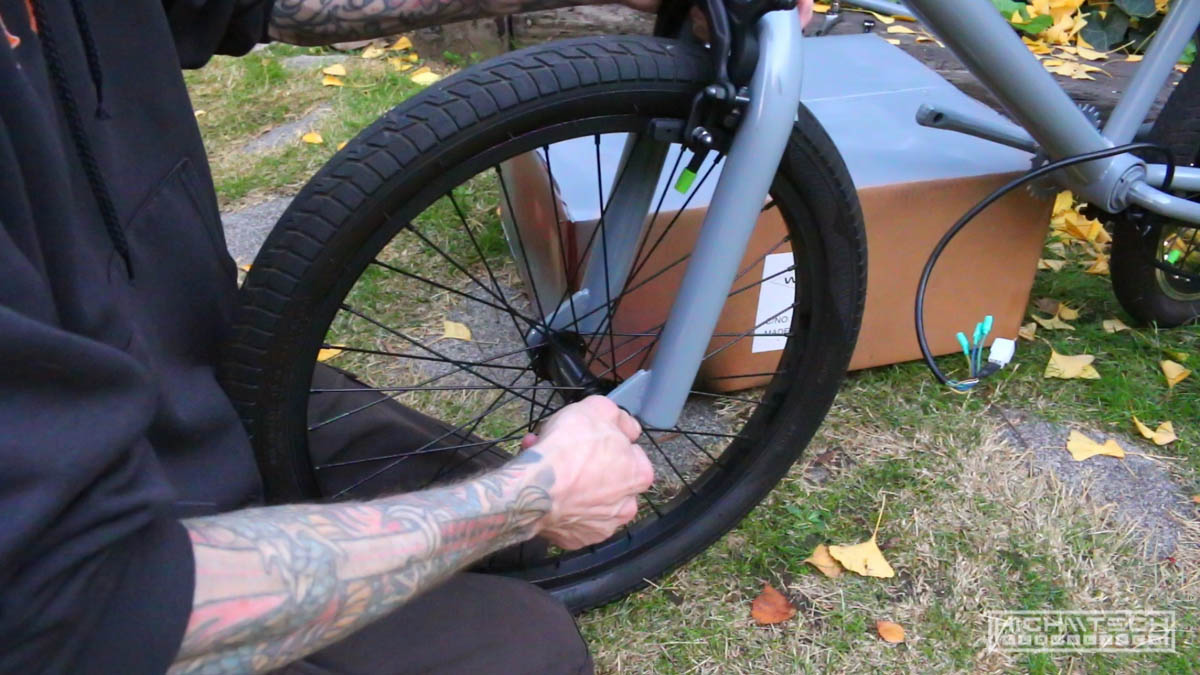
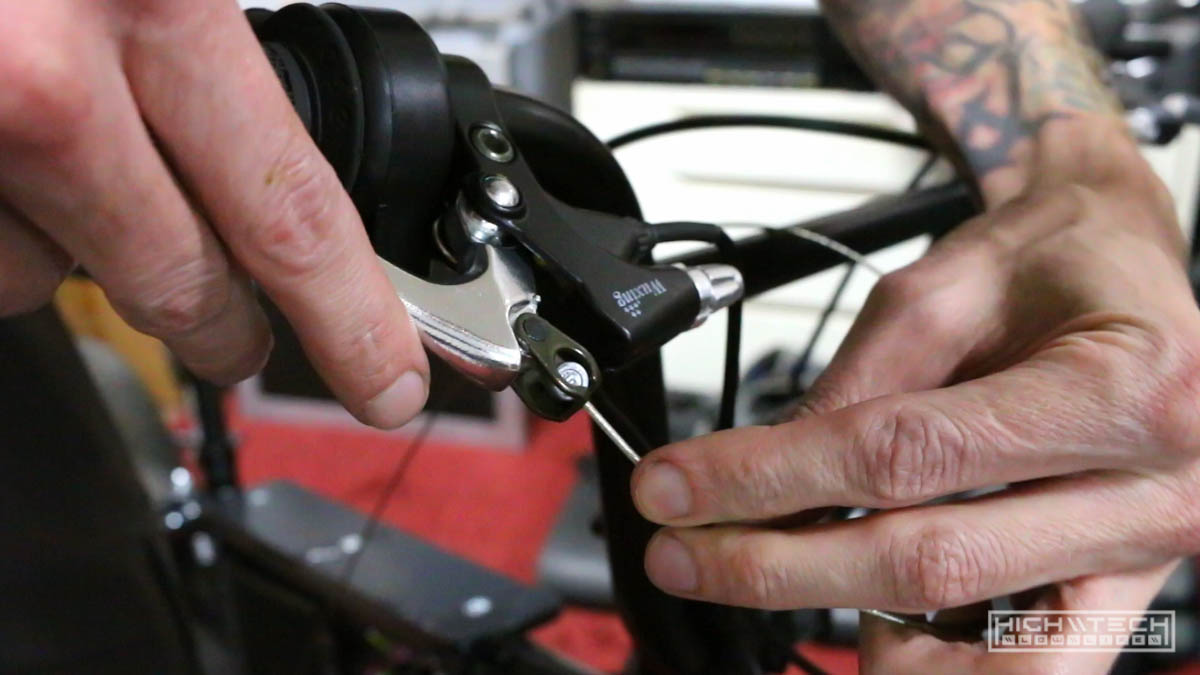 While my bag is cooking in dye, it’s time to install the new rear brake. Yes I had to purchase a new one because I could not reuse the old one unfortunately (try as I may).
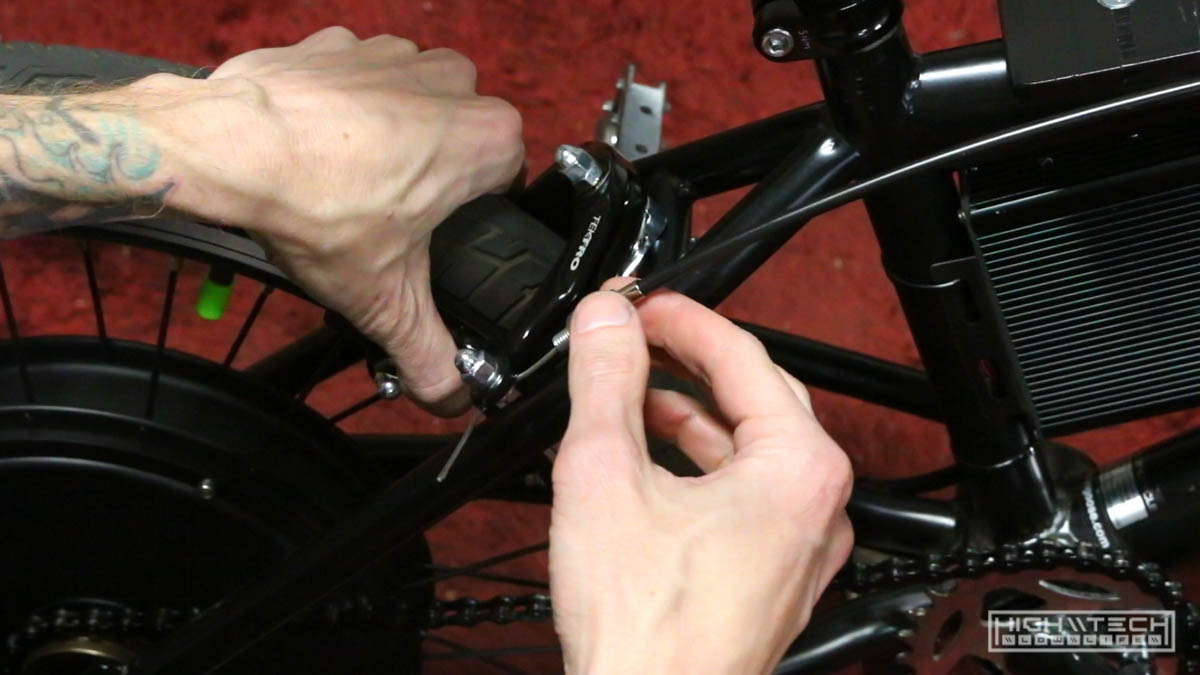 After all of my experience with the front brake, the rear one went on very smoothly.
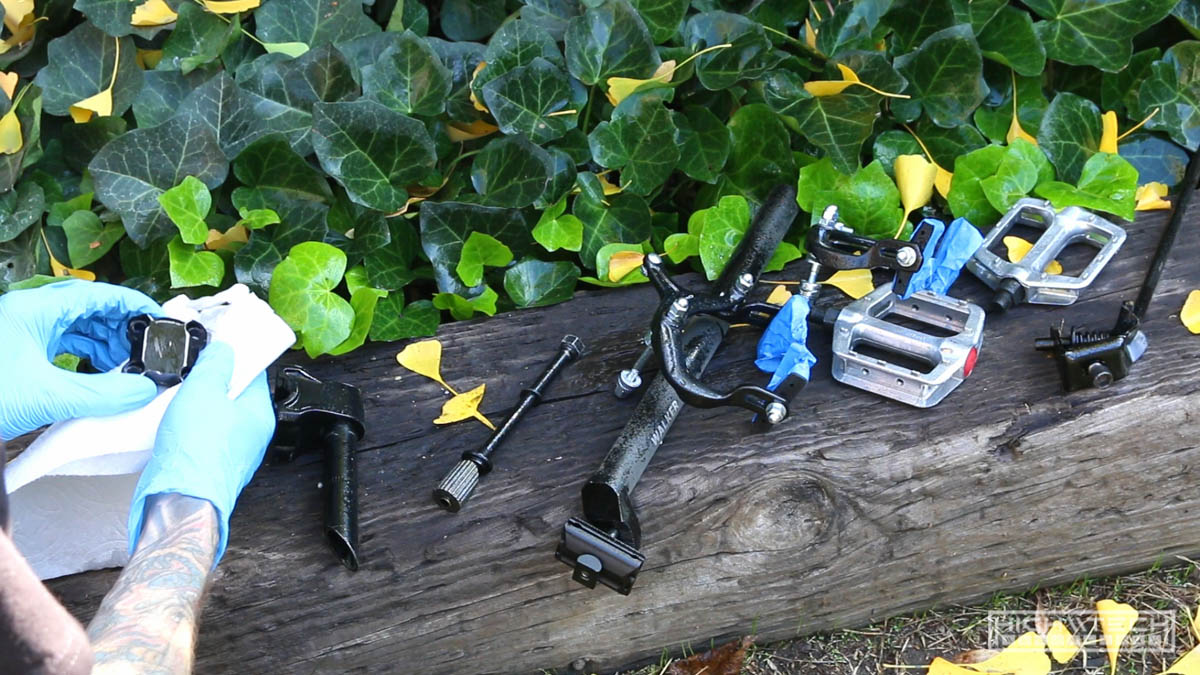
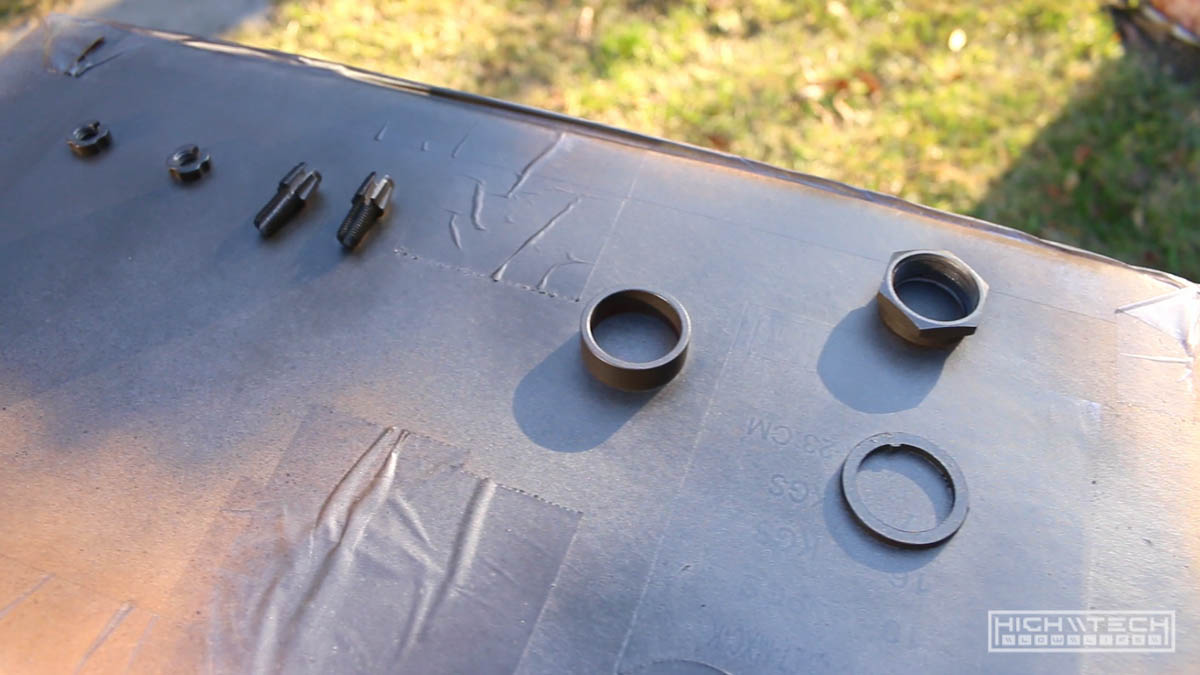
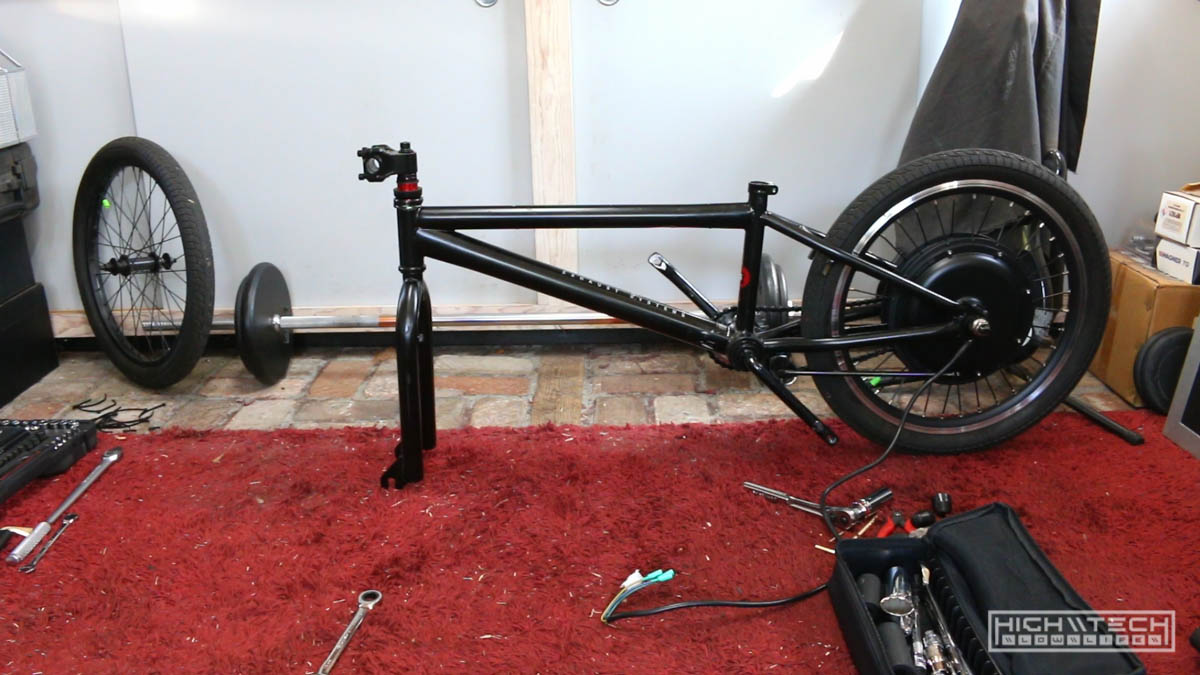 Now it’s time to break down the bike again to all of it’s smaller pieces, and prep them for paint.
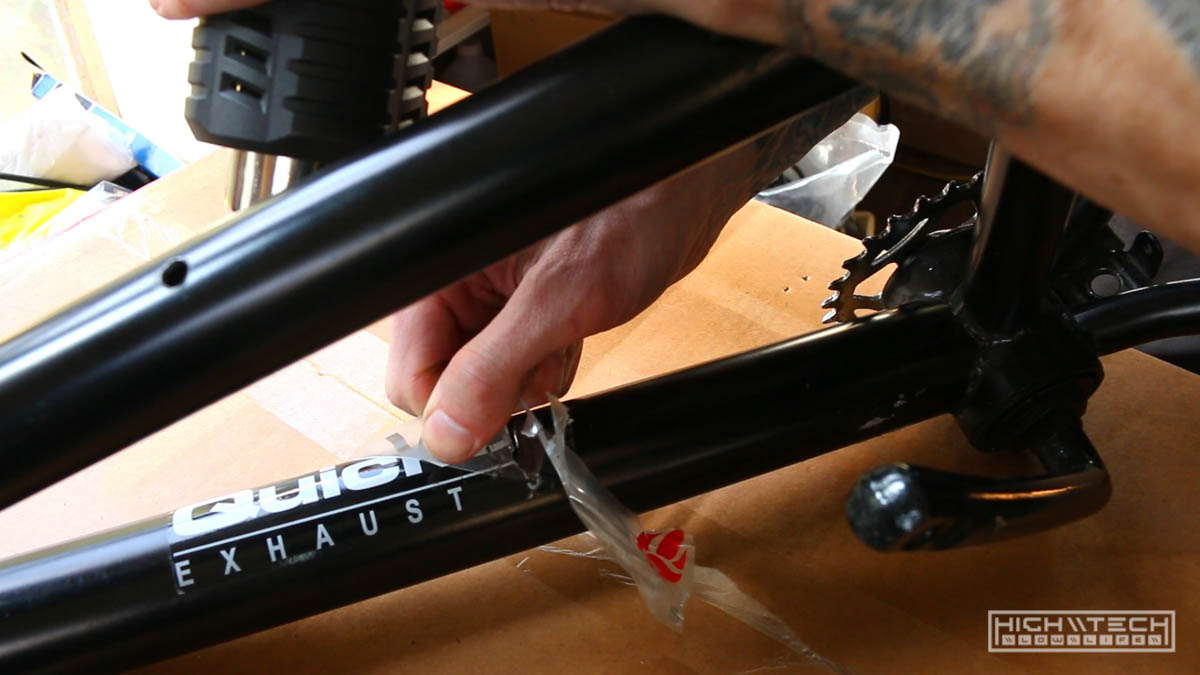 I had to remove all of the stickers before paint and using a heat gun definitely helps this process.
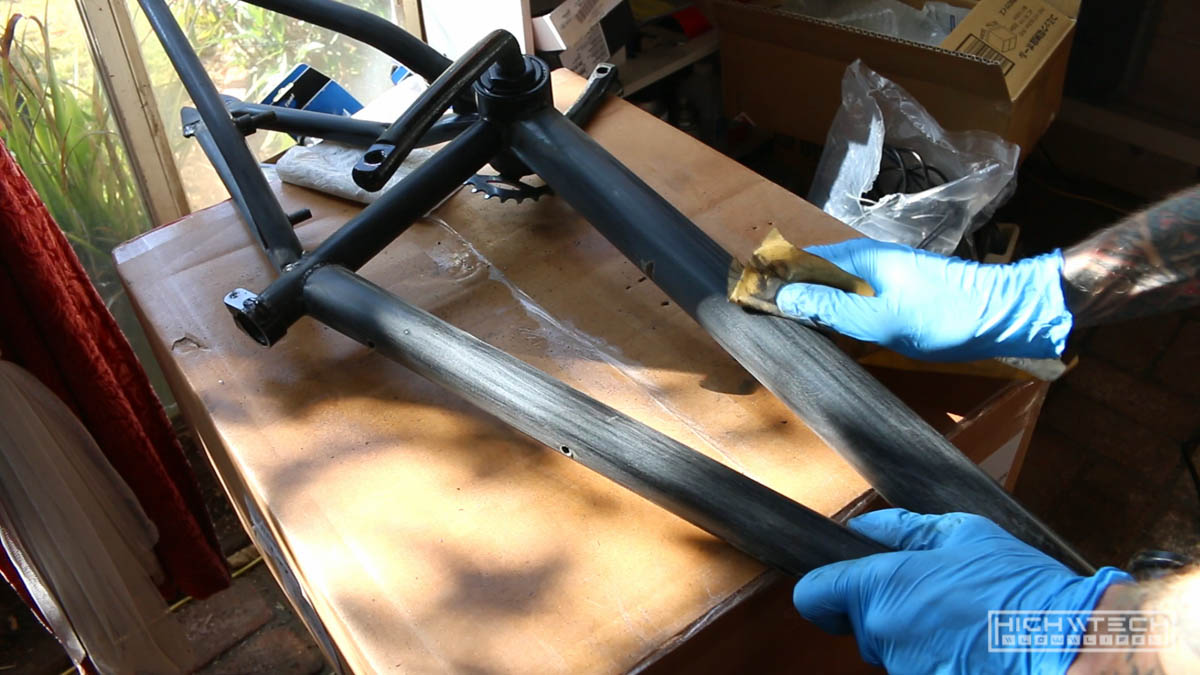 The arduous task of sanding everything underway!
 After all that sanding, it’s time to wipe everything down.
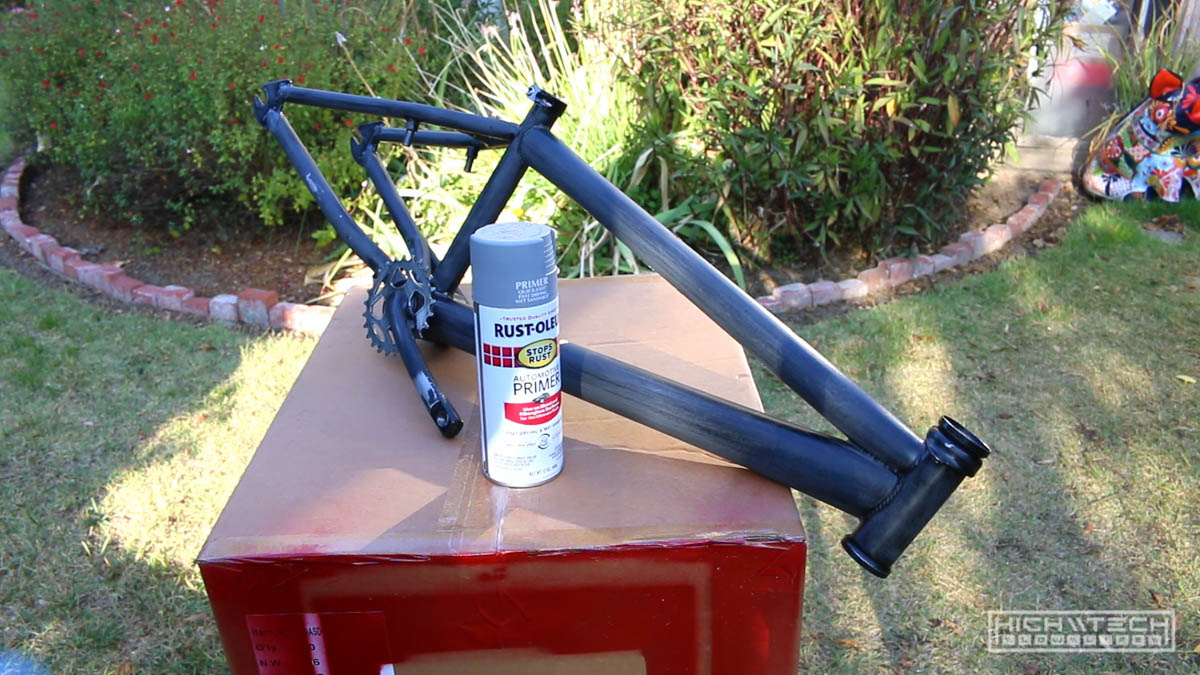 Finally I can start painting!
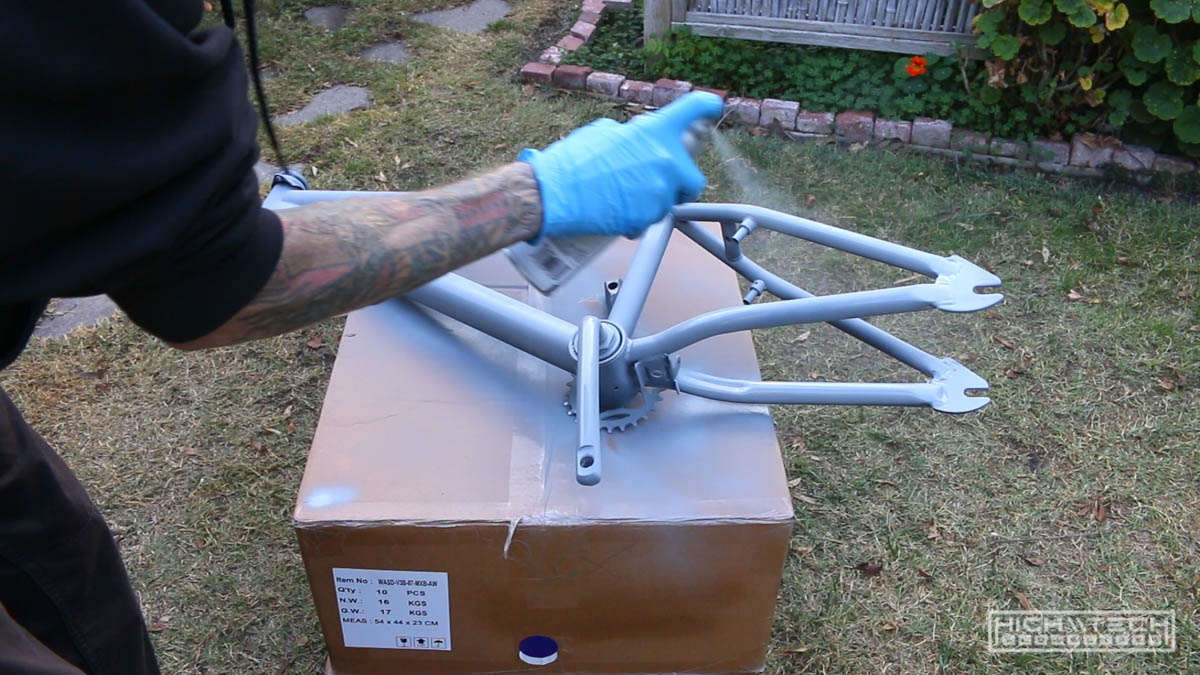 After primer, then comes the gray, lots of gray!
 I took a break from painting to see how my bag turned out and yeah… it’s still very orange. I have a bright idea of just painting the dye onto the bag, so it should be fully concentrated, we’ll see how it goes.
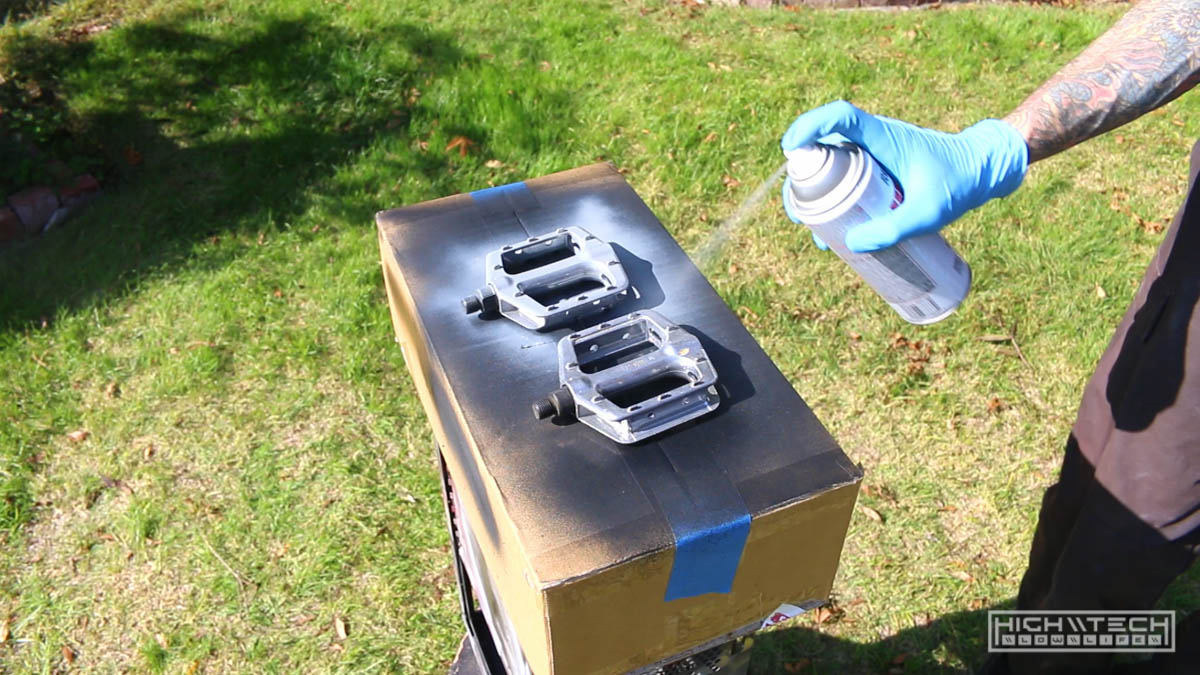 Maybe I should have done these pedals in my accent color (burnt bronze), oh well.
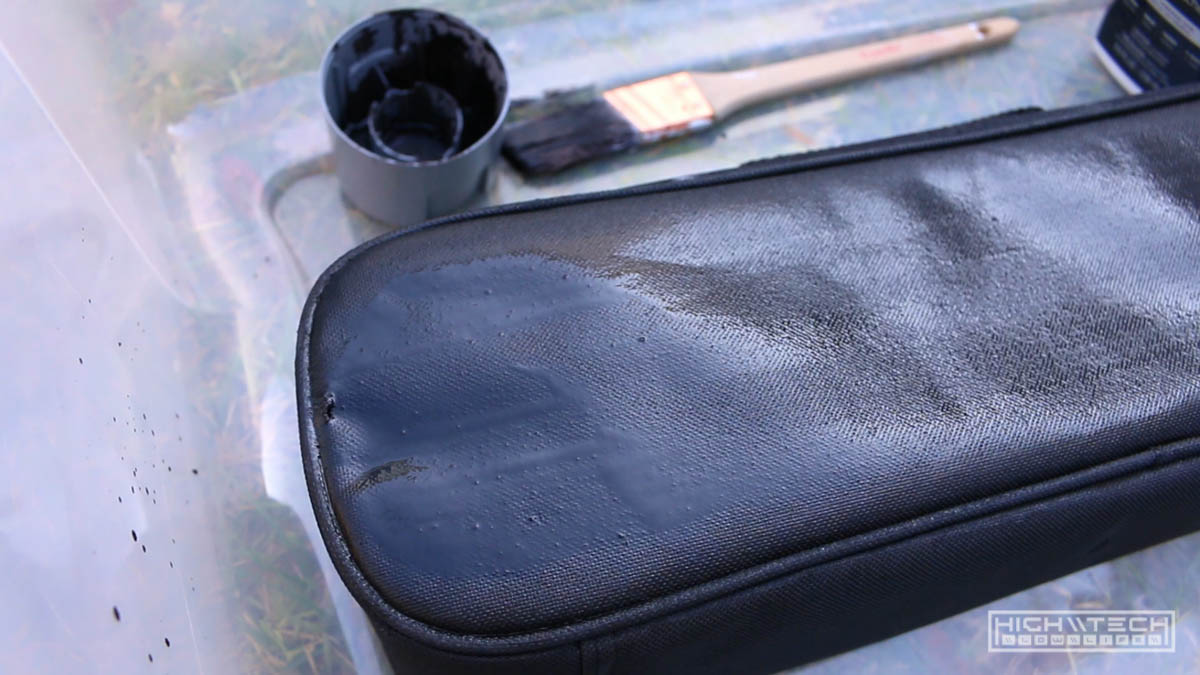 The bag is looking darker now, I think this is promising.
 Everything is coming out very well!
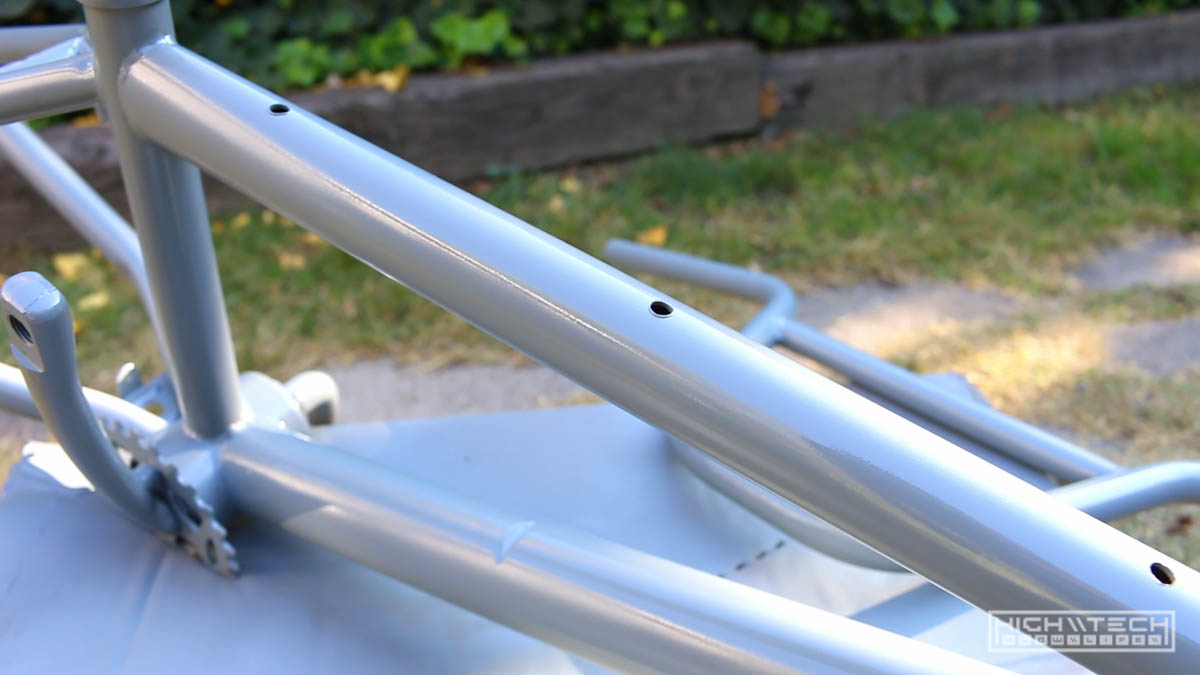 No runs or anything, looking very smooth.
 Ok so, it is a lot darker but still not where I want it, I’m going to have to figure out a solution for this.
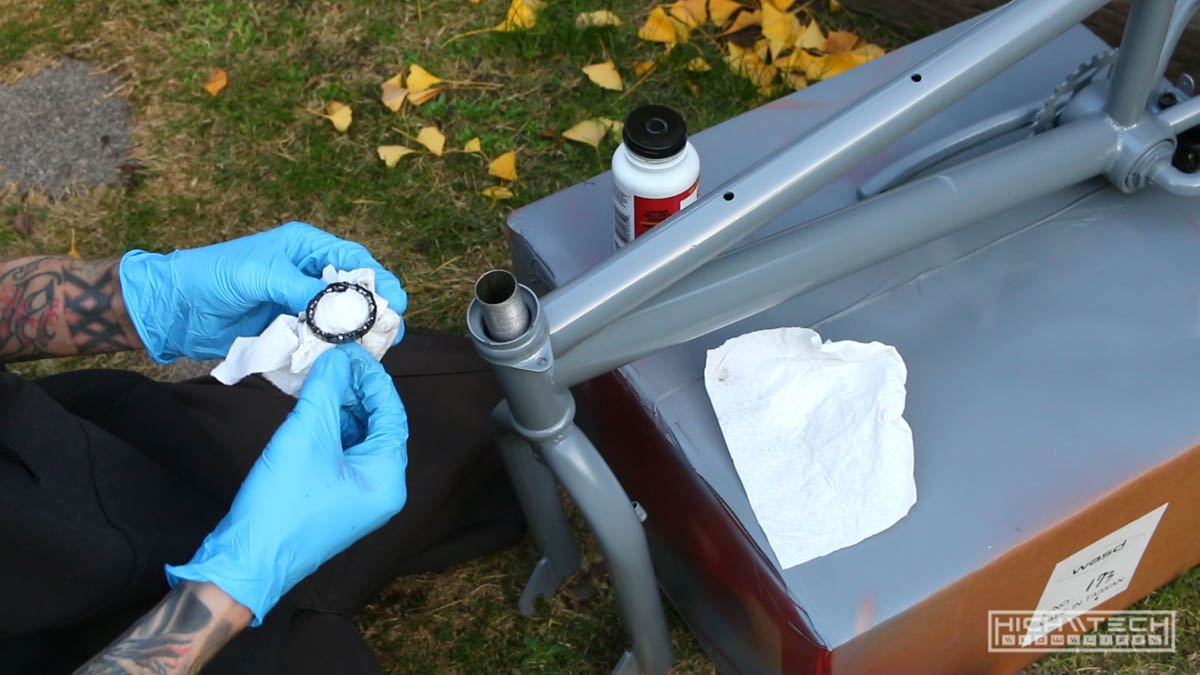 Now that my paint is dry, it’s time to start reassembling everything back together! This is just me regreasing the bearings for the steering tube.
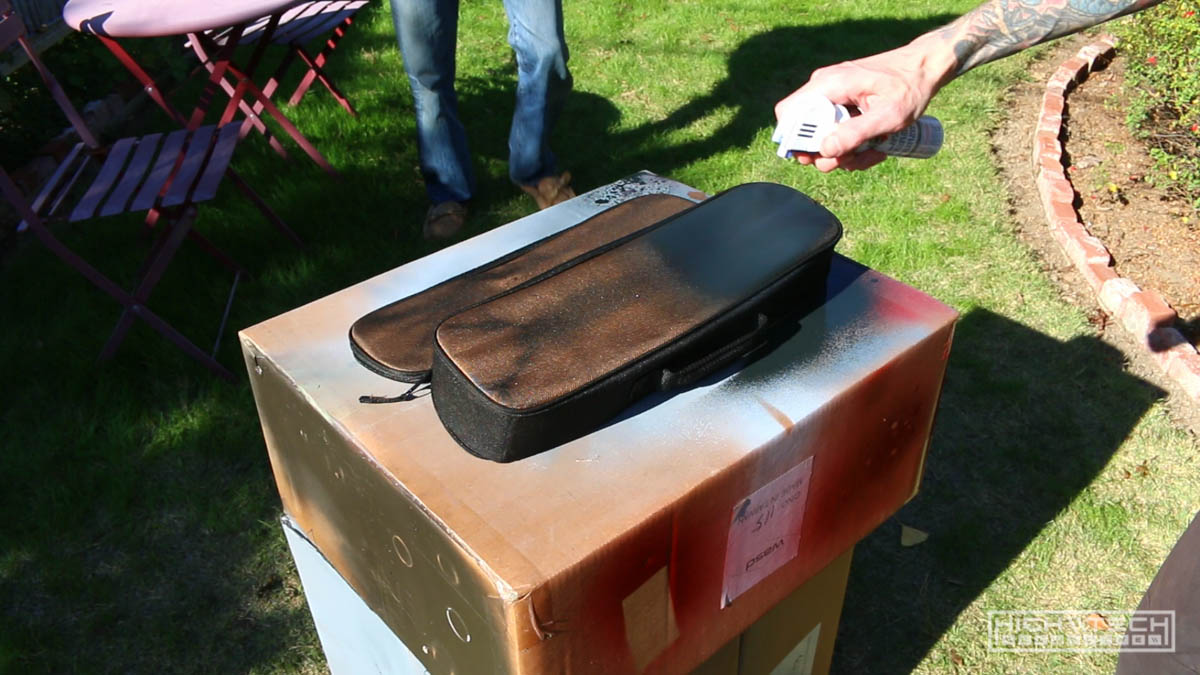 I bought some fabric dye spray, hopefully this will work better. I should have just spray painted this instead from the get-go!
Stay tuned for the next episode where we continue on with the reassembly and even more cosmetic details!