
\\ 3000W BMX E-BIKE [4.0] PART 3 \\
Battery Modifications
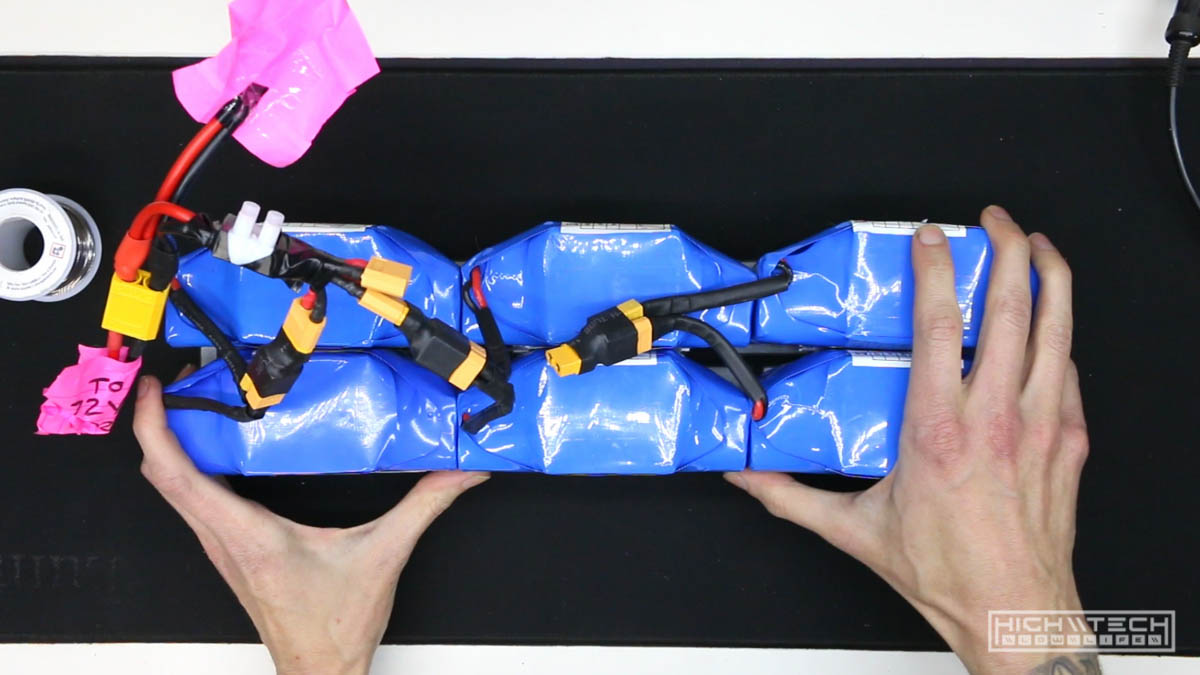 In part 3 we’re on to more battery modifications, this time we’re cleaning up all of these wires so that this ‘pack’ will finally fit in the battery bag. This ‘pack’ was what I assumed to be a single battery but to my surprise when I opened the bag there were 6 individual packs. I had never seen a battery set up like this, and the seller on eBay didn’t say anything about there being multiple little packs split up like this. Another thing I didn’t like was how they were all wired together, there was just a huge mess of connectors with those silly screw-down type connectors also and the wires easily pulled out of those, which could have been a shock or fire hazard!
I have read that you shouldn’t daisy chain multiple packs/BMS’s like this but then again I have seen others do it and they were just fine, so the jury is out on whether this is a good or bad idea, I would err on the side of caution and recommend you do not set up your batteries this way, although it can be cheaper to do. Had I known the pack was going to come this way I would have just bought a different ready made pack, but I already had it and I didn’t want to return it and search for another battery, so I just went with it, but your mileage may vary. If something bad does happen I will update you!
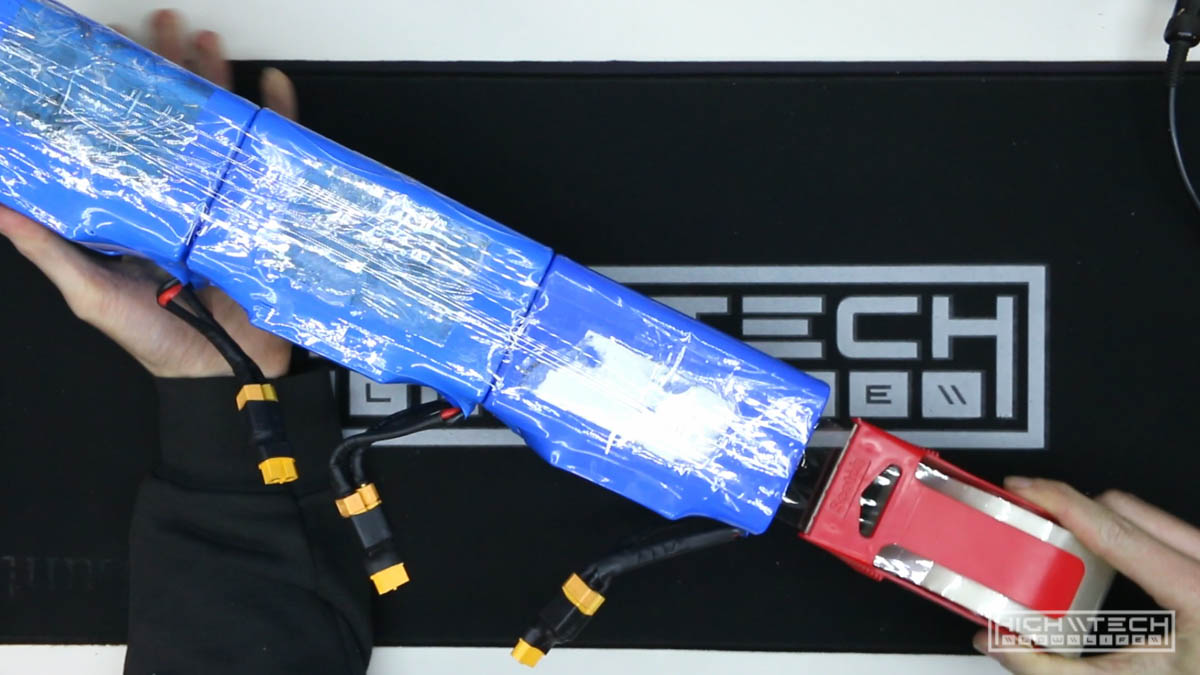 This first thing I did was tape all of these little blue potatoes together! I got tired of carrying them around one by one, so giant brick here we go.
 This is 6 packs, each one is 36v and 4.4Ah, so if we wire two together that will get us 72V, and then if we parallel 3 sets of those 2 packs, that will net us 13.2Ah for run times.
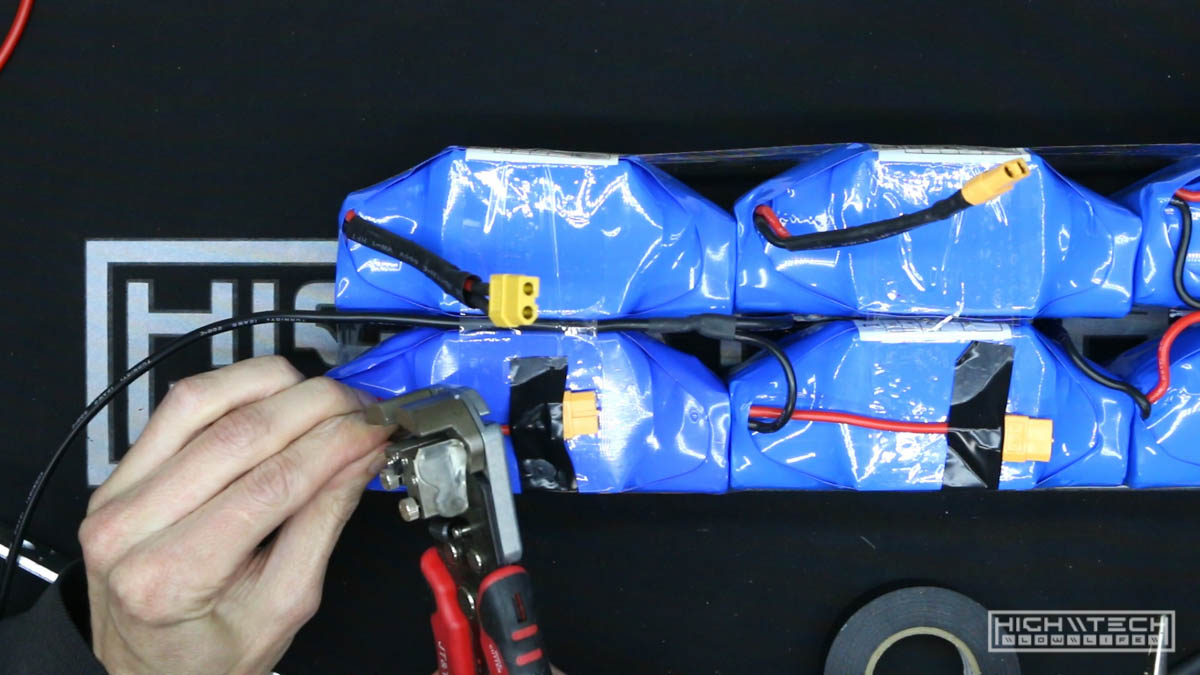
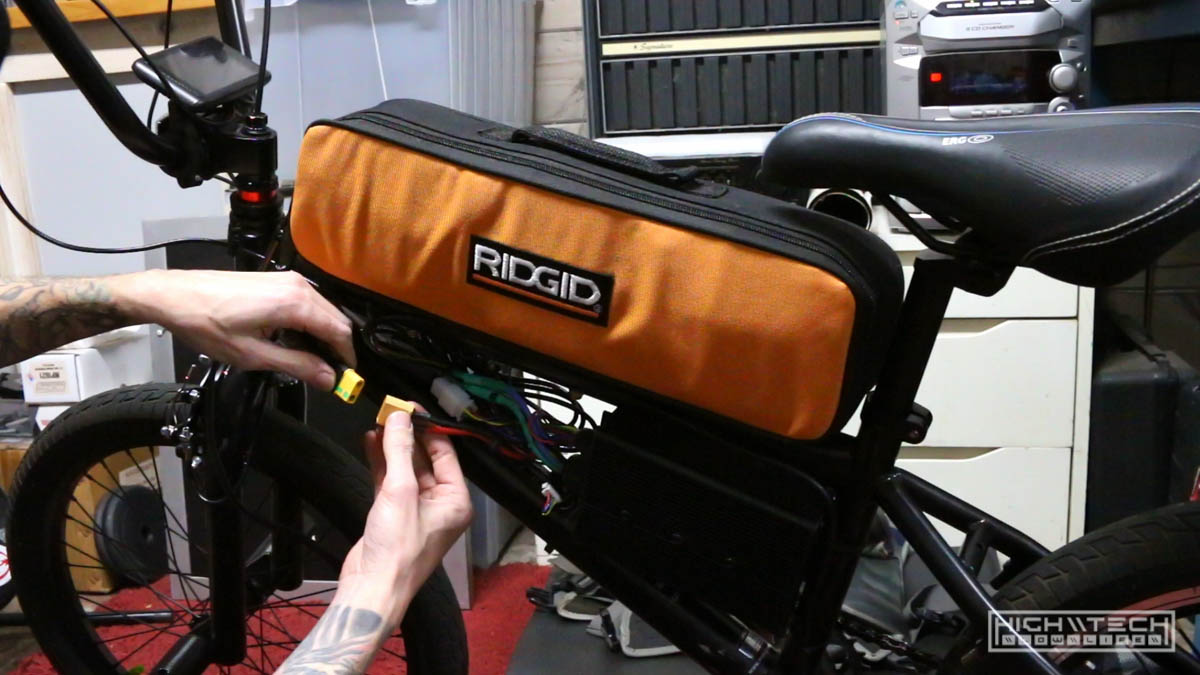
 I got rid of every single connector (which was a lot) and ran the wiring as cleanly and efficiently as I could to preserve room within the bag.
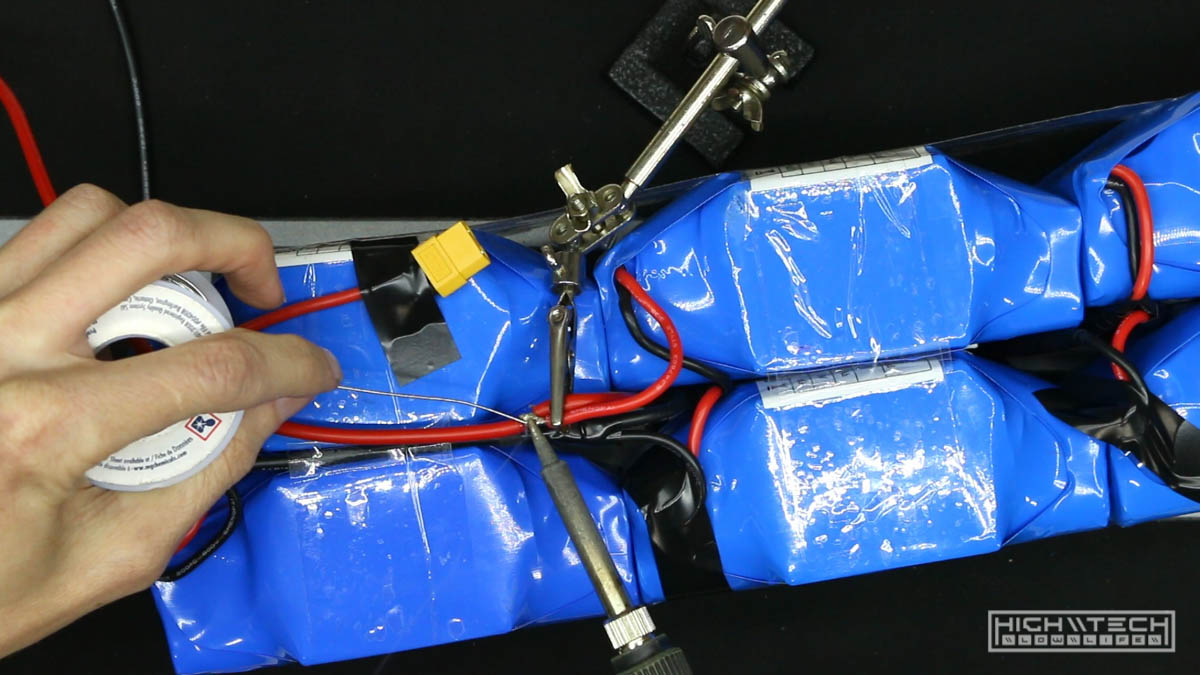
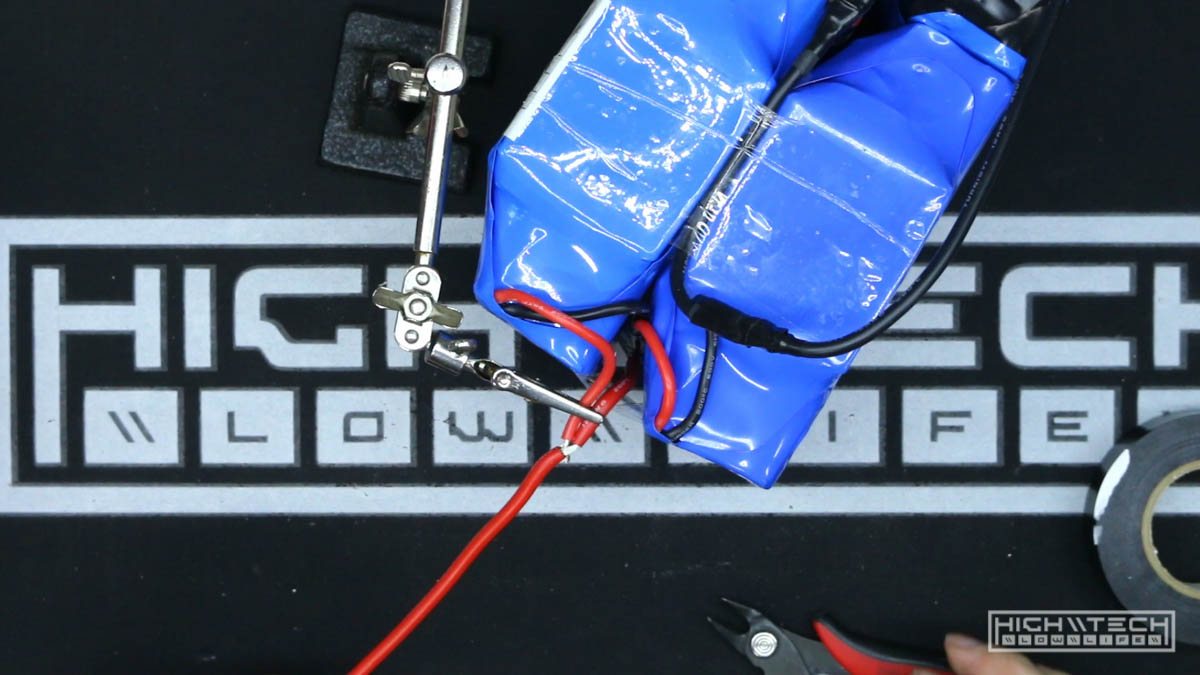 To get the most efficient runs, I used a single wire and only ‘tapped’ into it by stripping the sleeving and splitting the wire into giving me a ‘hole’ to run the other lead through, this made it a lot easier to solder the wires in without having a bunch of smaller lengths of wire.
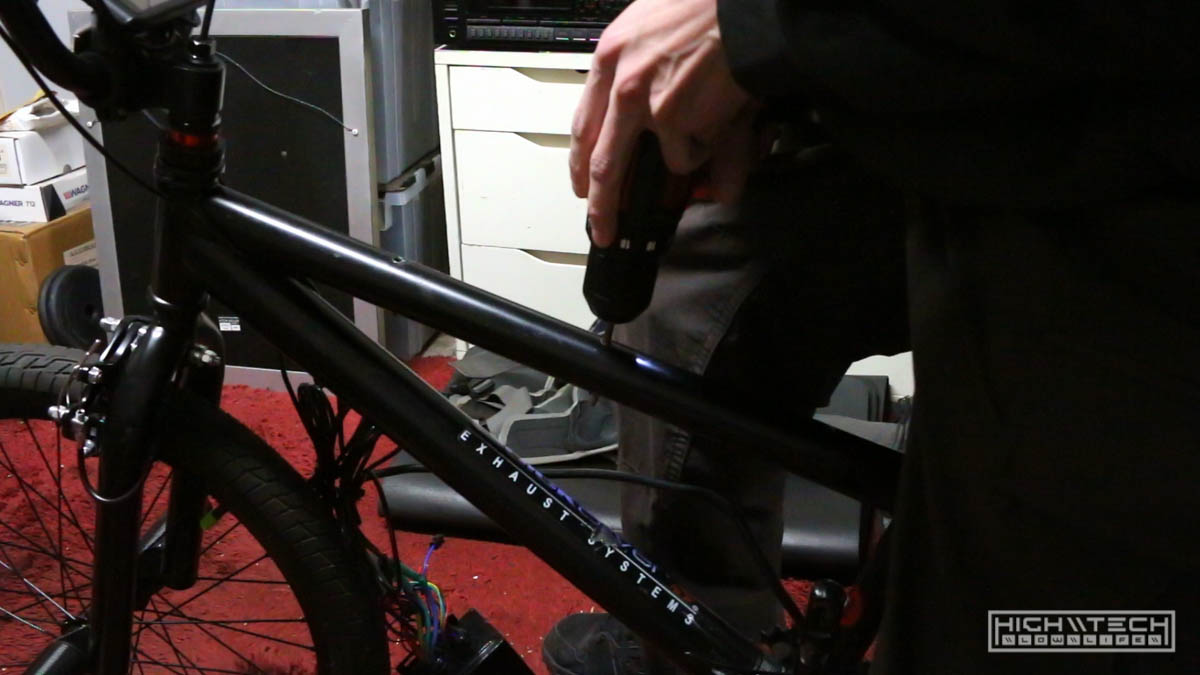 I needed to secure the battery tray even better, so I drilled out the tapped holes and then drilled all the way through the top tube so that I could put some much longer bolts with washers and nuts on the other side.
 Securing the longer bolts with nuts on the bottom of the top tube.
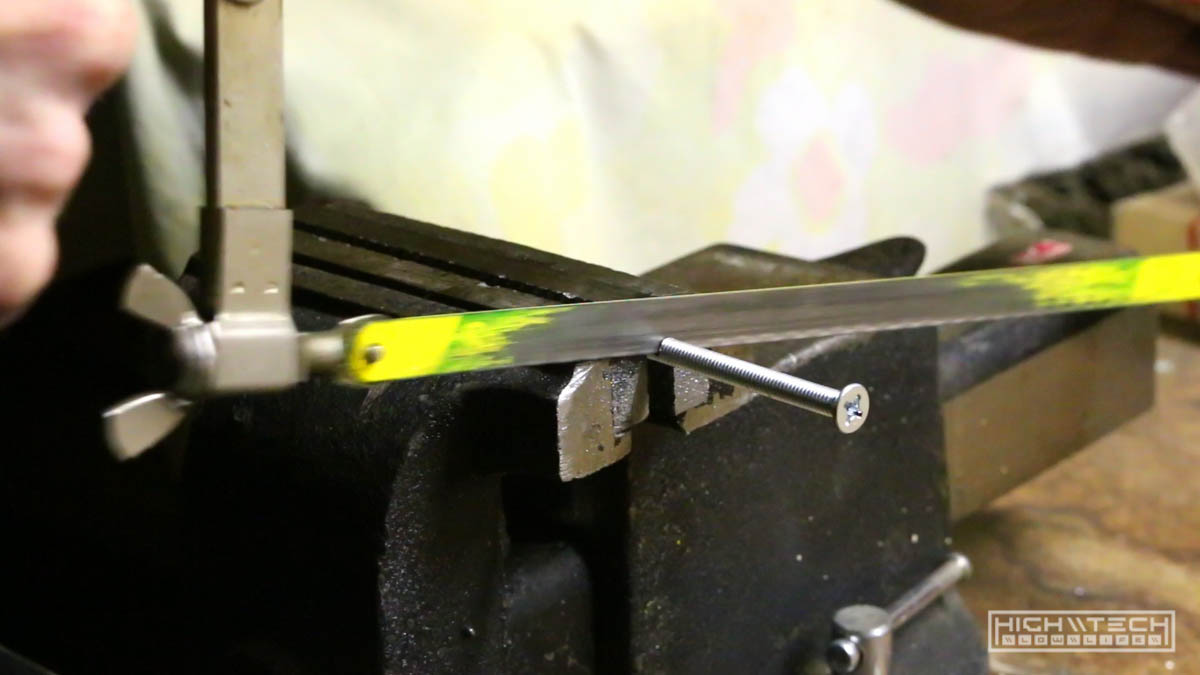 I got longer bolts than I needed because I knew I was going to be cutting them down to the exact size to preserve more space within the triangle.
![]() I had to remove the washer because the tolerances right above the controller were very tight and I wanted there to be enough room so the bolt wouldn’t interfere with the controller.
I had to remove the washer because the tolerances right above the controller were very tight and I wanted there to be enough room so the bolt wouldn’t interfere with the controller.
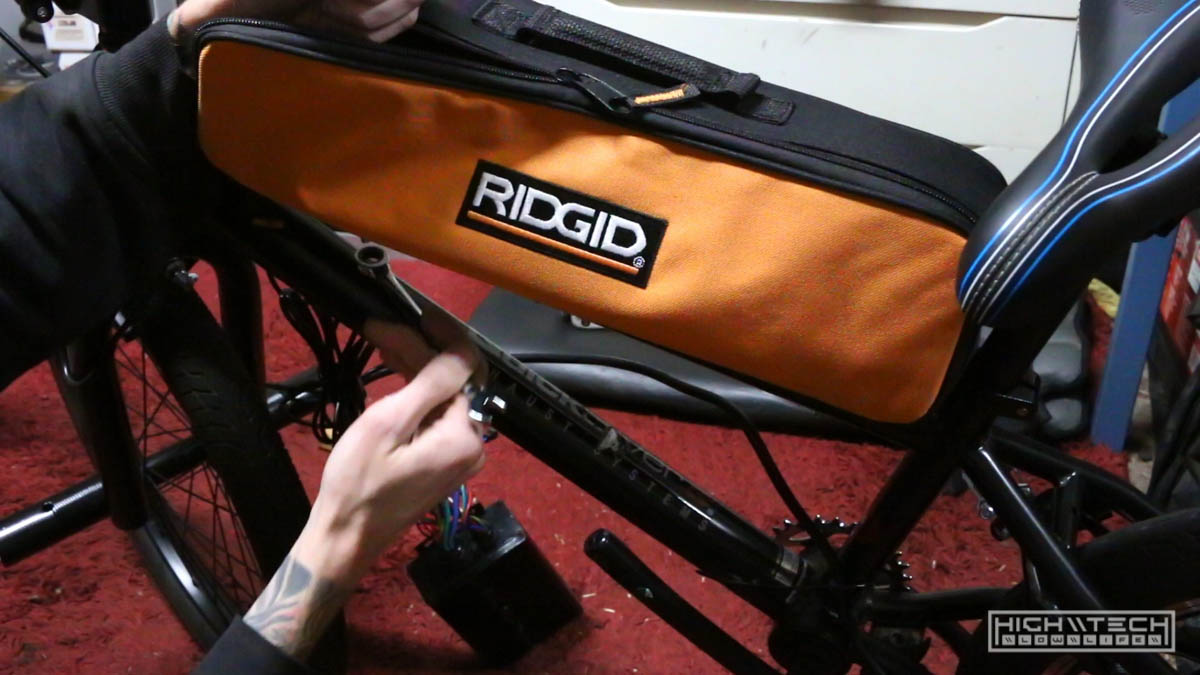
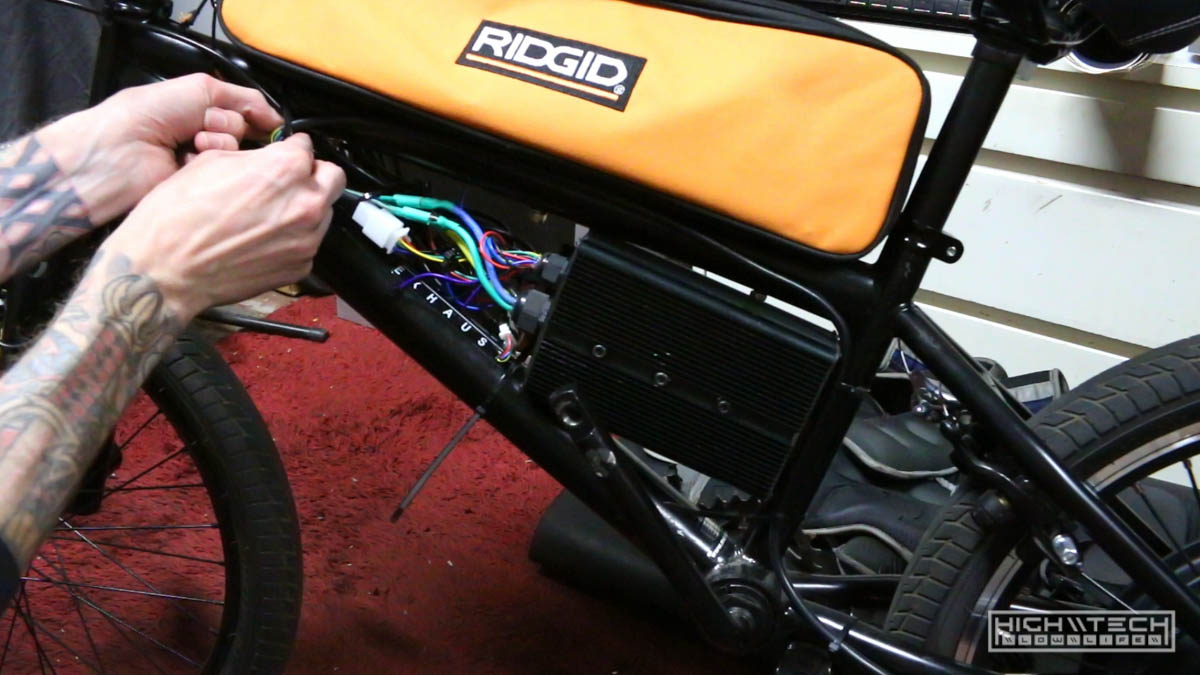 Now that the batteries will fit in the bag, it’s time to clean up some of this wiring for the motor and controller.
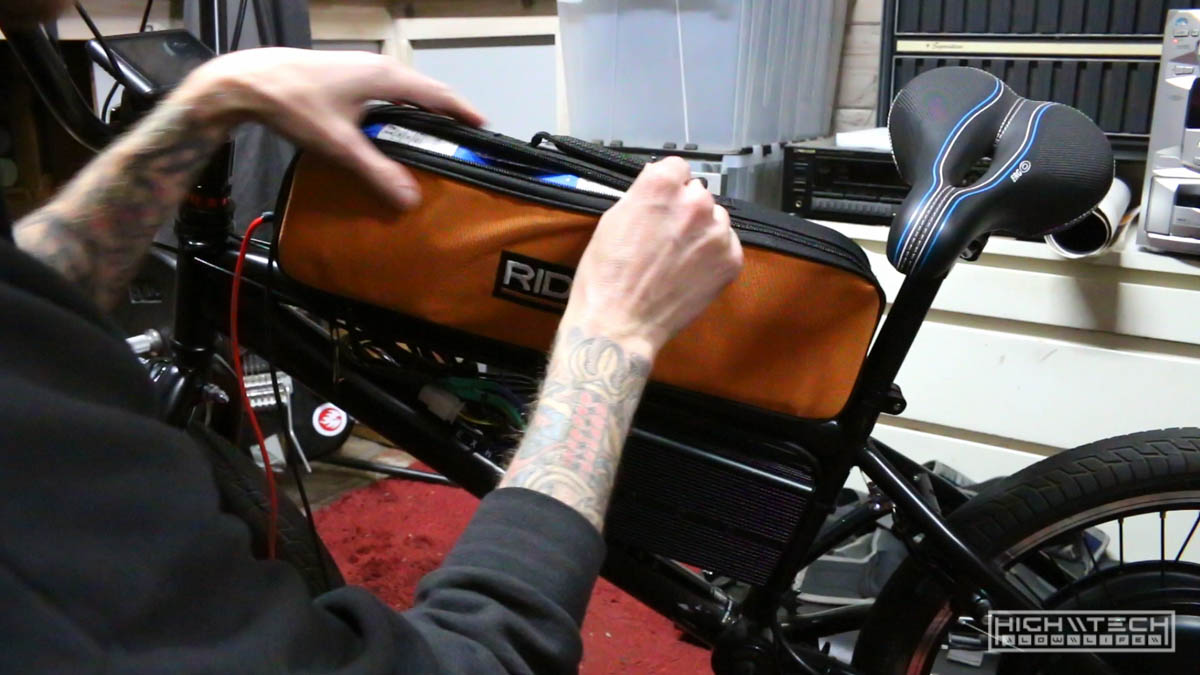 Oh yeah, it finally zips up!!!
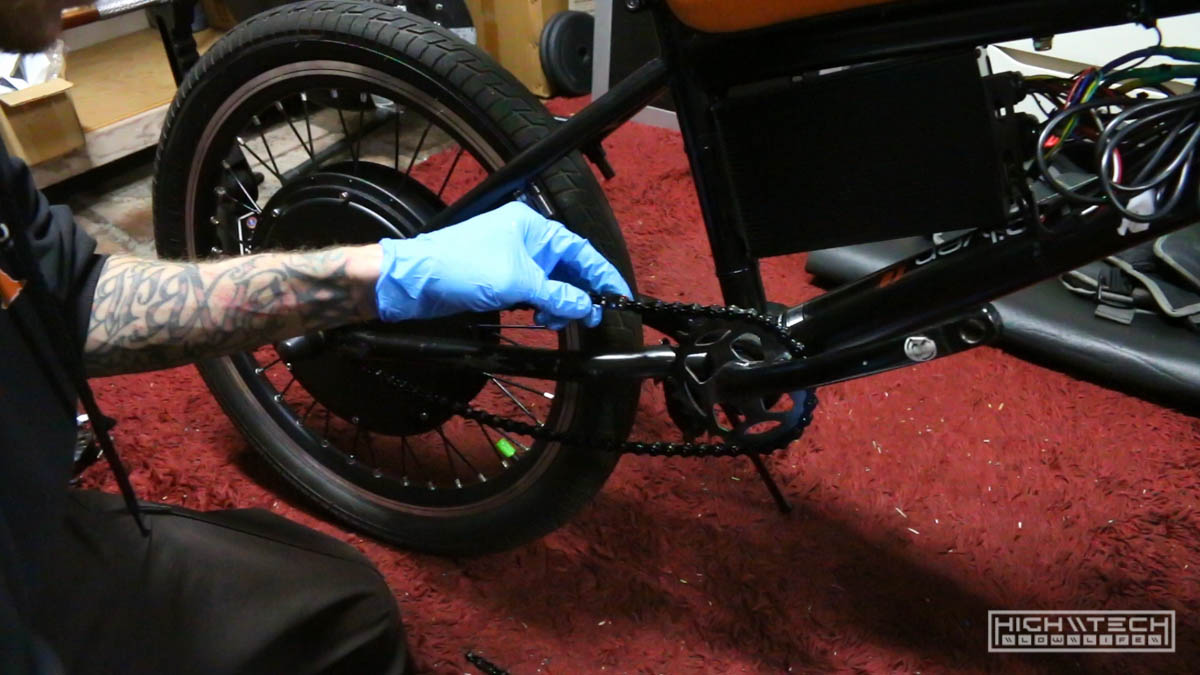 Time to put the chain back on again.
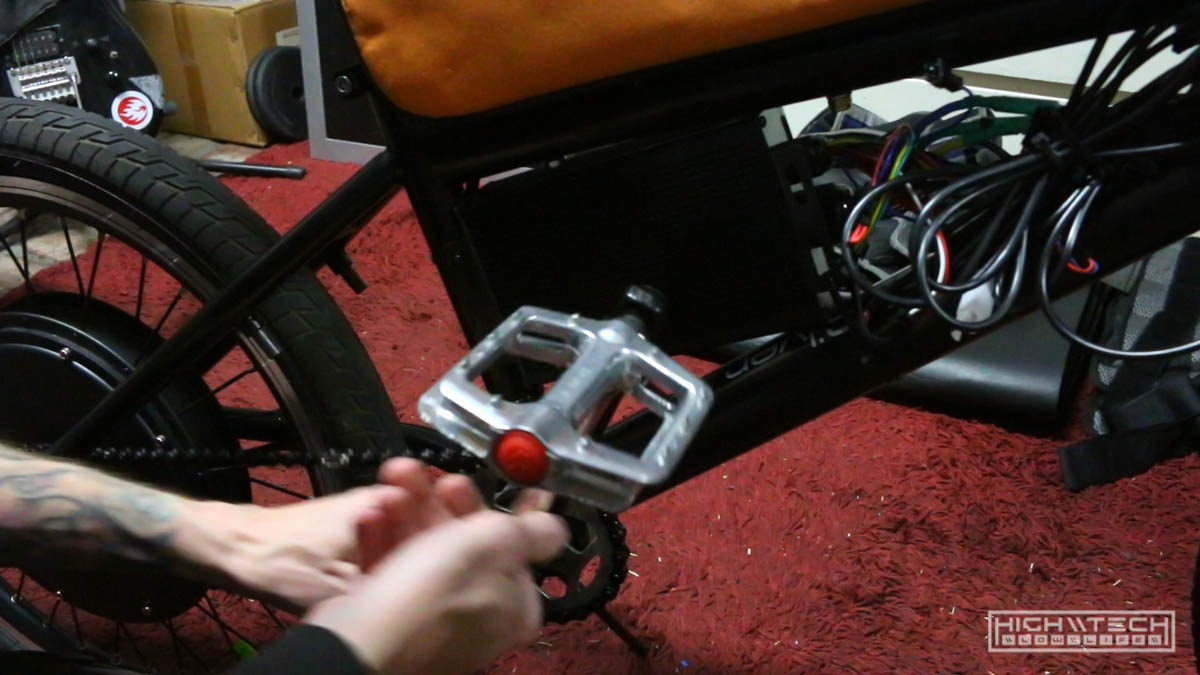 And fitting the pedals on because I want to test ride it!
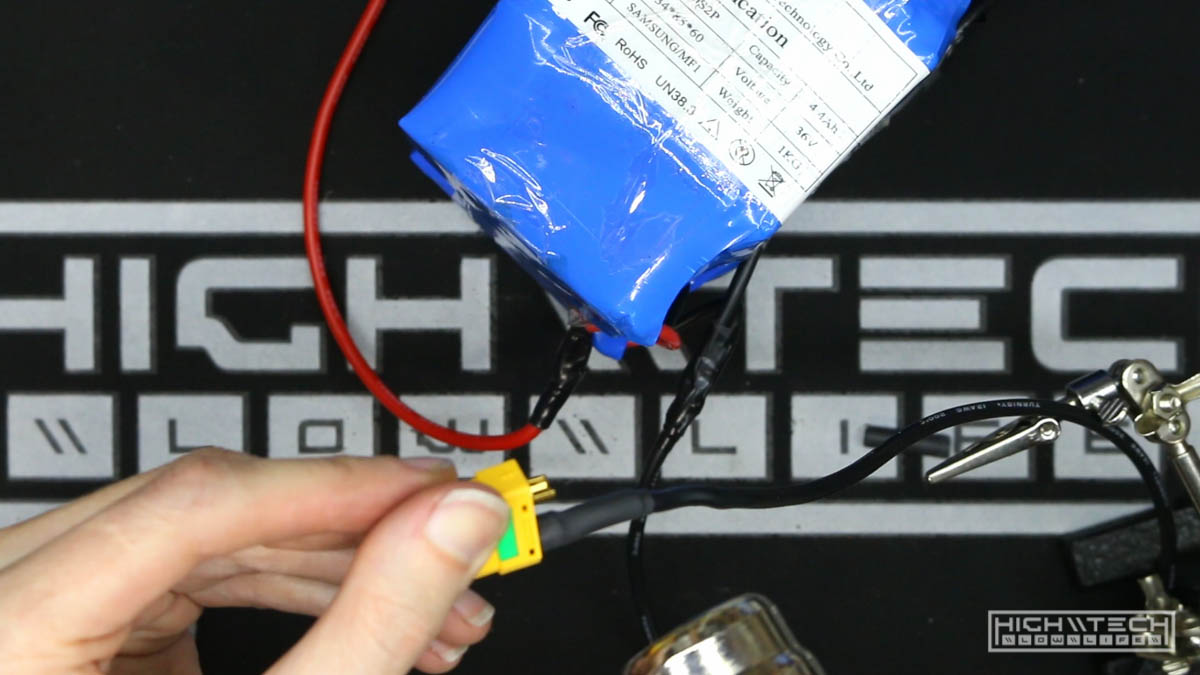 I’m putting an XT-90S connector for the discharge (to controller) and then adding a smaller XT-60 for chargining. You don’t need huge power wires or connectors for charging because it’s not many amps. I use the “S” versions of the XT-90 connectors because with 72v you get a loud pop and spark every time you plug them in, these spark arresting connectors take care of that.
 Time to plug in!
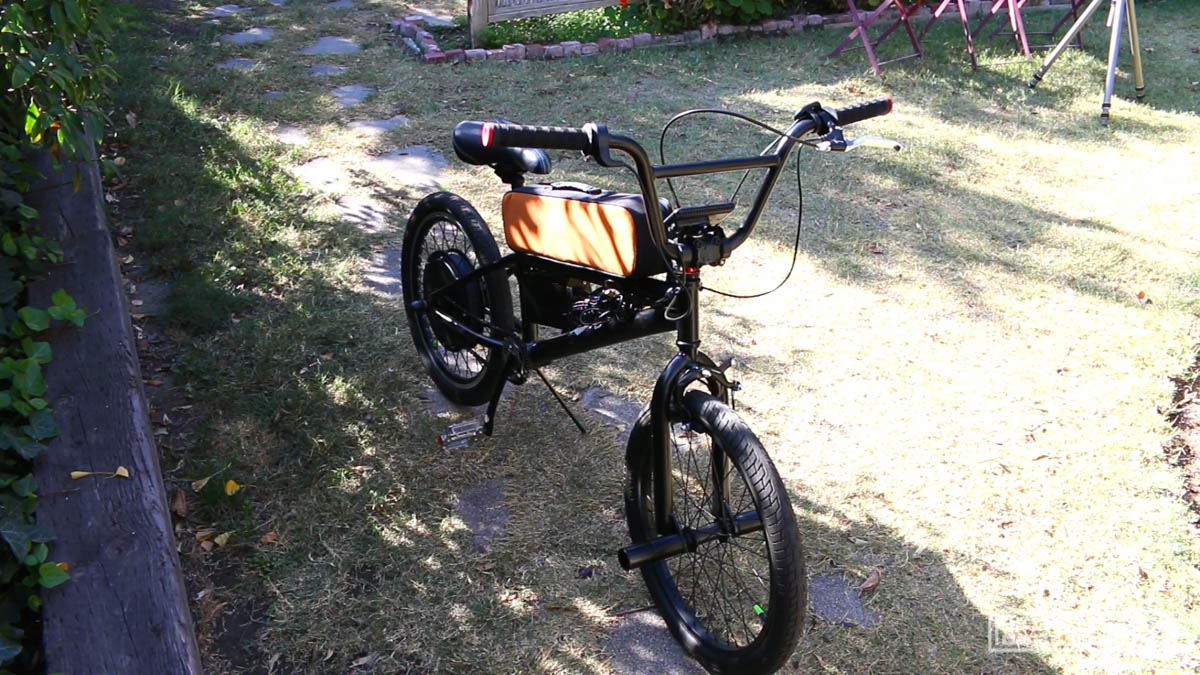
Assembled and ready for a test ride!
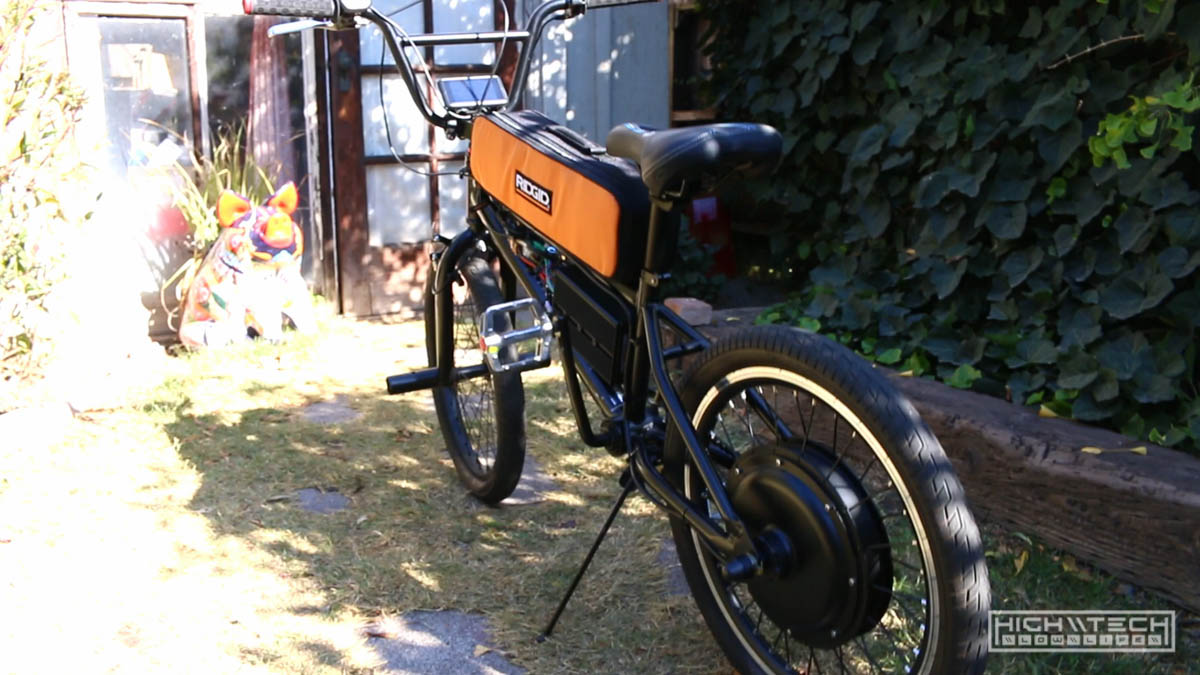
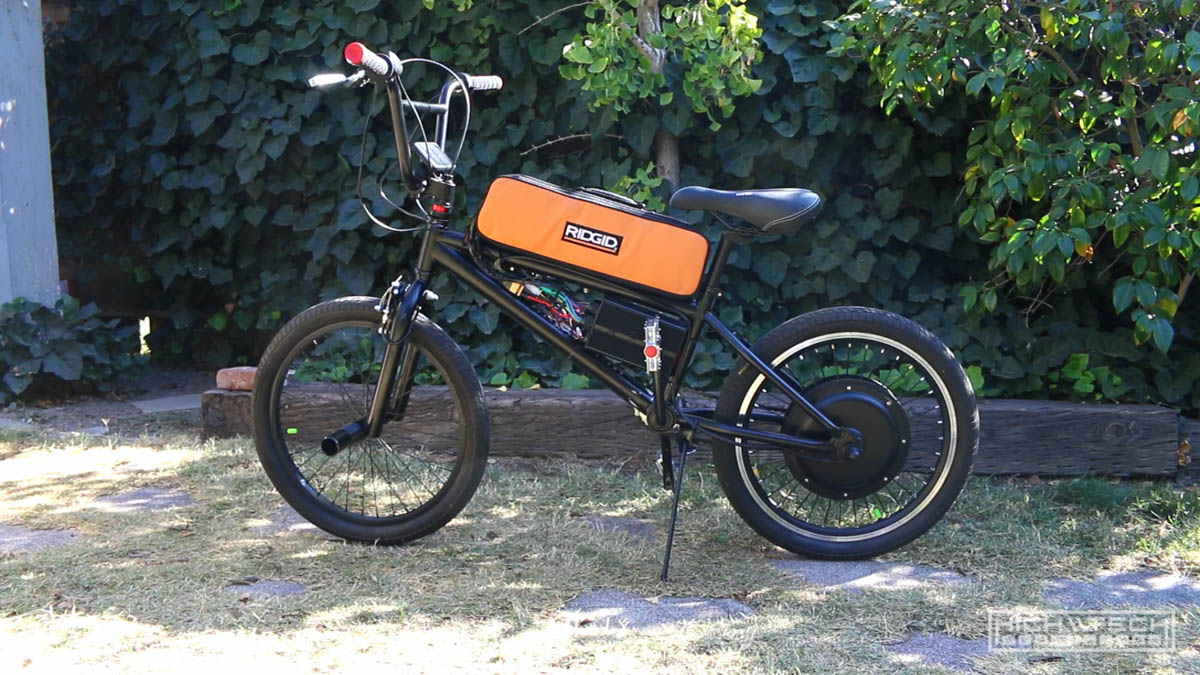
Now that we’re here I can test it out and make sure everything is working correctly before disassembling everything again and then starting on the cosmetics!
See you next episode where we get crackin’ on the visuals.