\\ WASD CODE VP3 (or Vortex Pok3r if you’re nasty) 60% Wireless Keyboard Conversion - Part 2 \\
In part two we finish things up by tackling changing out the switches and LEDs, more case resurfacing, replacing the battery, adding the blade connectors back in and a fresh set of custom keycaps!
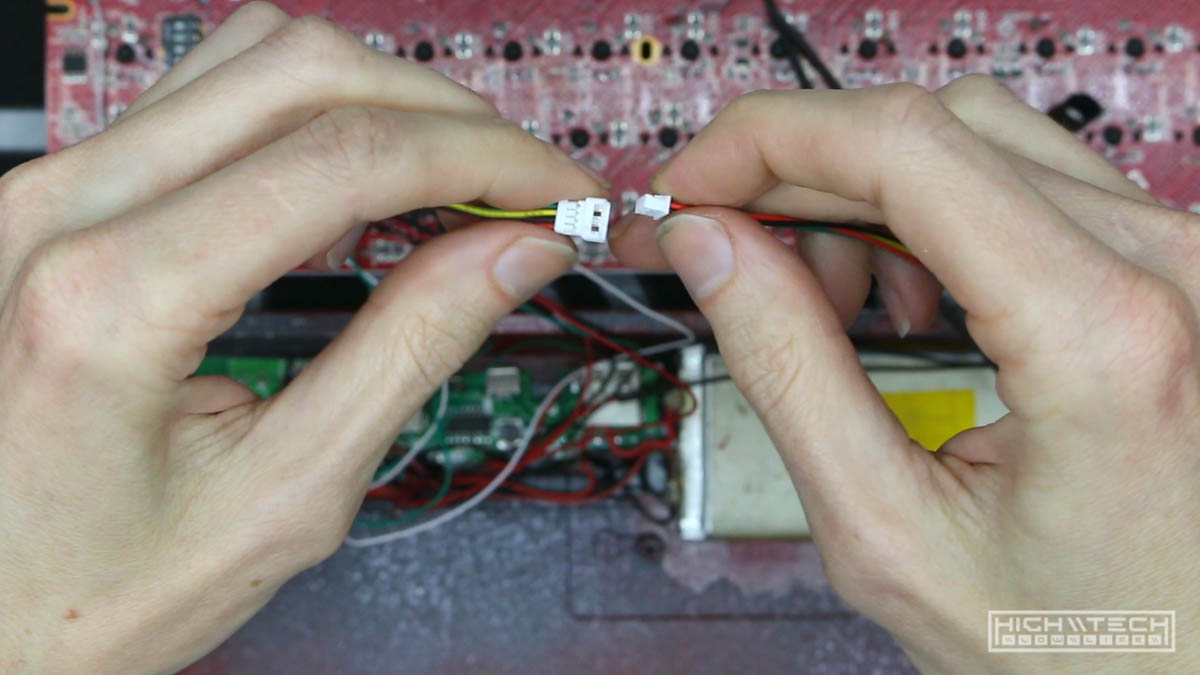
Connectors
After being sent the wrong connectors last time, I finally got the right ones - let’s put them in.
Switches, Plate, and LEDs
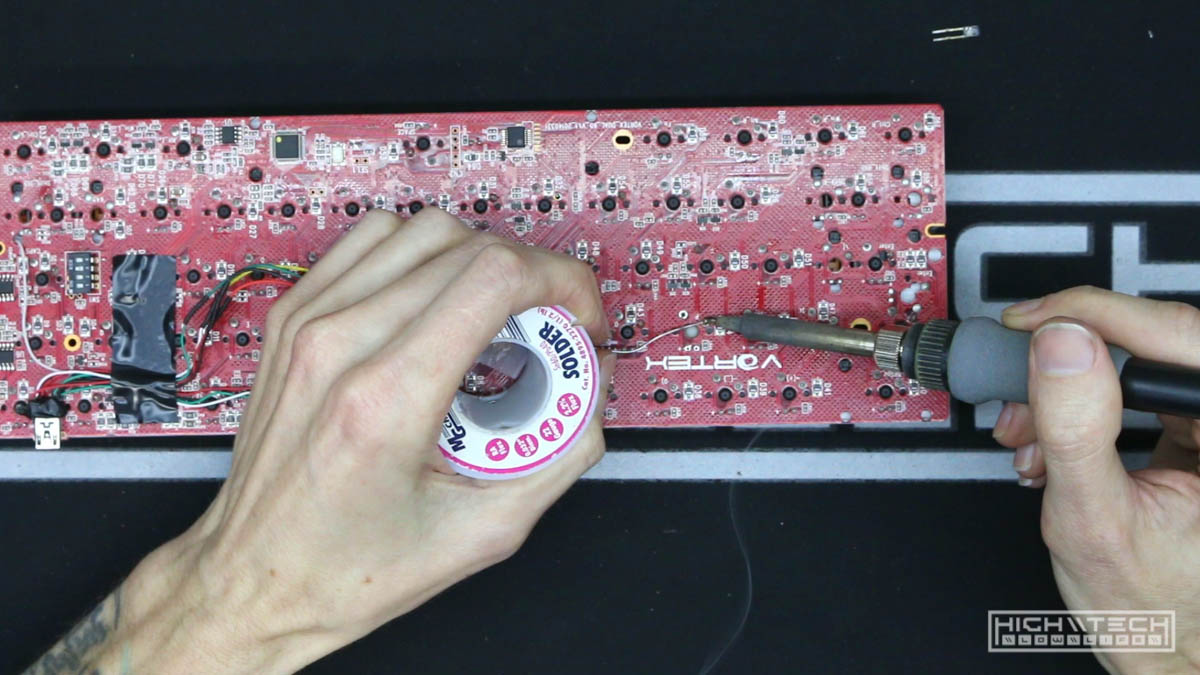 To replace the switches I first needed to take out all of the LEDs, the Hakko 808 solder-sucker makes shorter work of this (although it’s still a very long and tedious process).
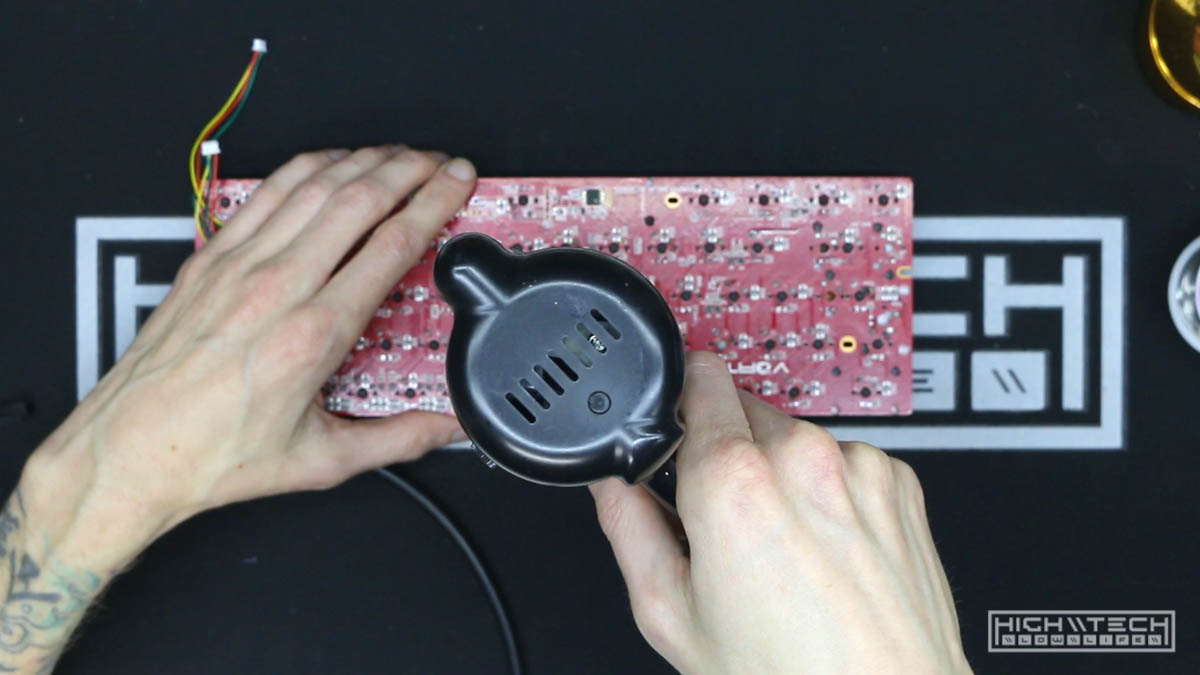
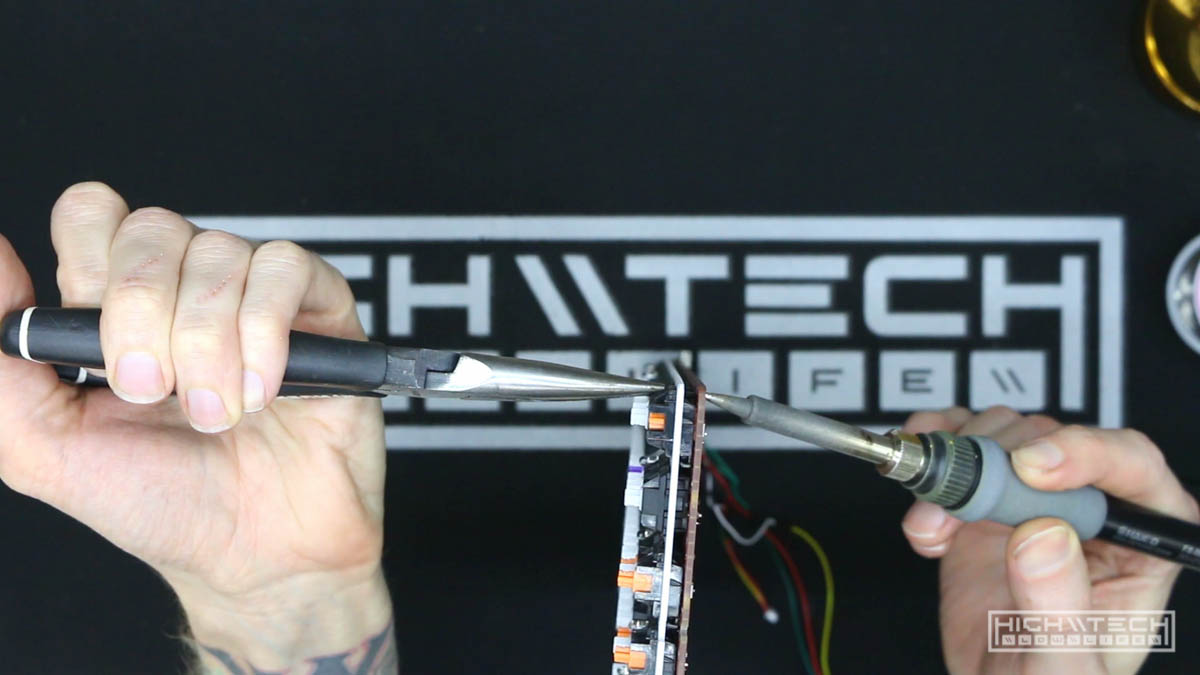 Even with the fancy tool, there are some stubborn LEDs that don’t want to come out. I usually just attack them manually with a gentle grip with pliers on one side and the iron on the other.
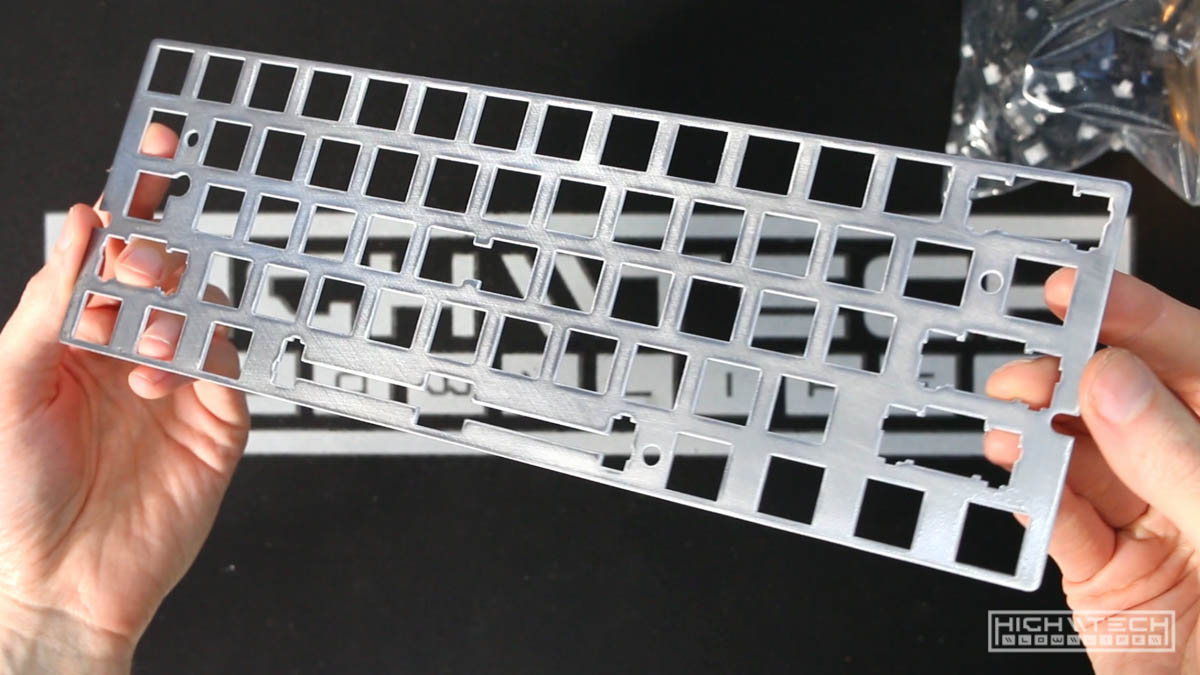
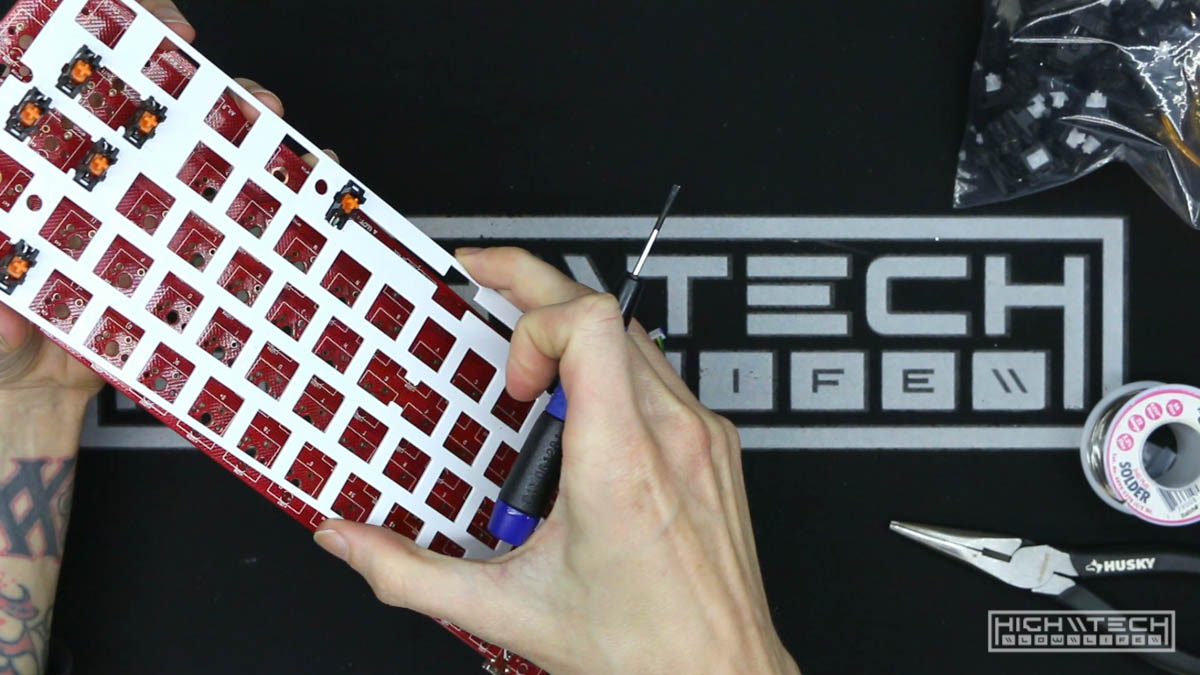 Now that I have all of the LEDs and switches removed I can take care of the plate. There was a part of this top plate that had corroded a bit, and I wanted to take care of that. I was going to just paint this a different color but I had the idea of just stripped the paint off and having the raw steel look.
 It came out pretty good!
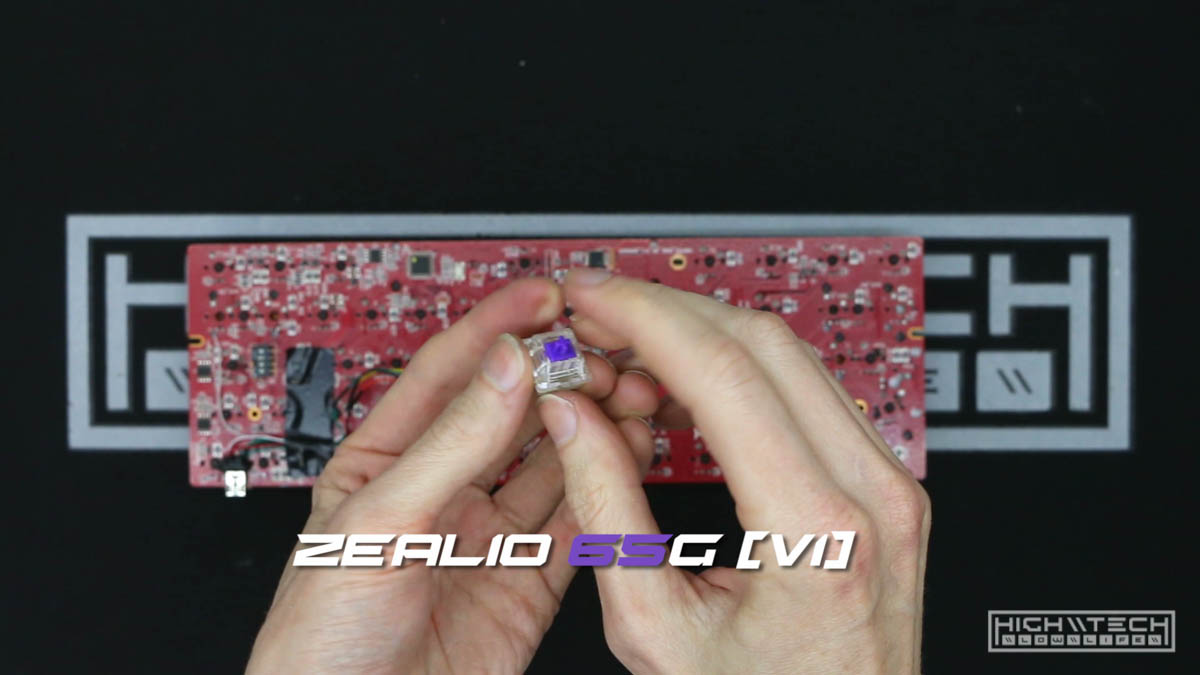 I’m installing some Zealio Z65 (V1) switches, these are comparable to the feels of MX browns in tactile bump and spring weight.
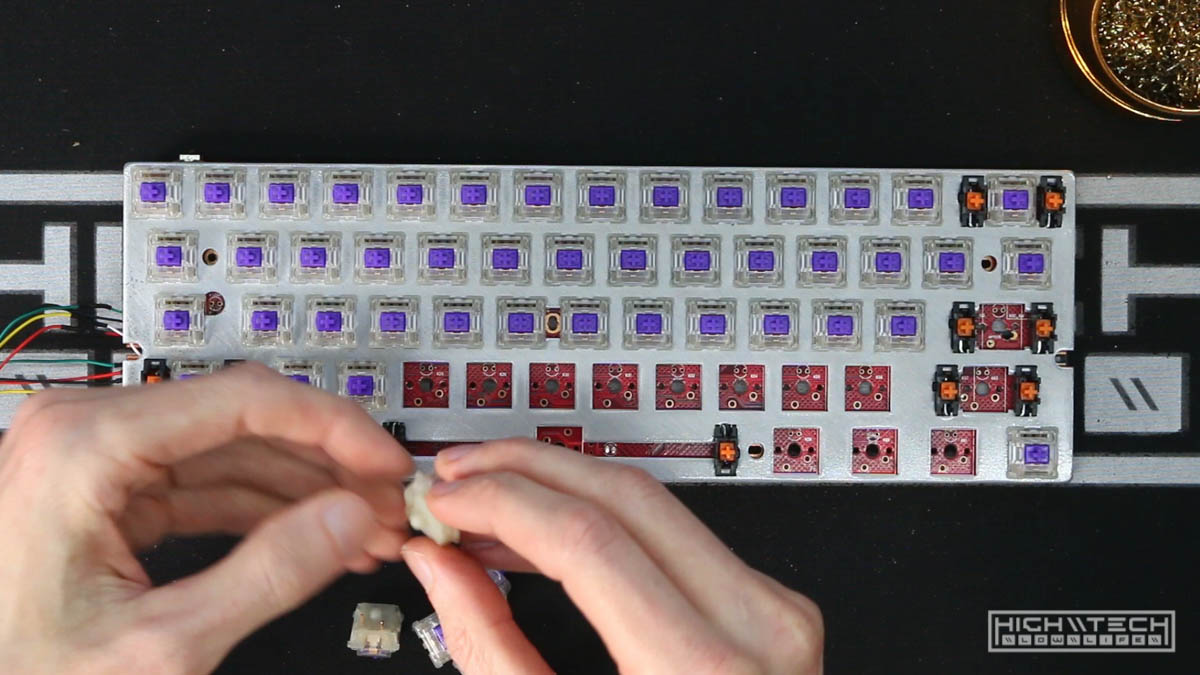
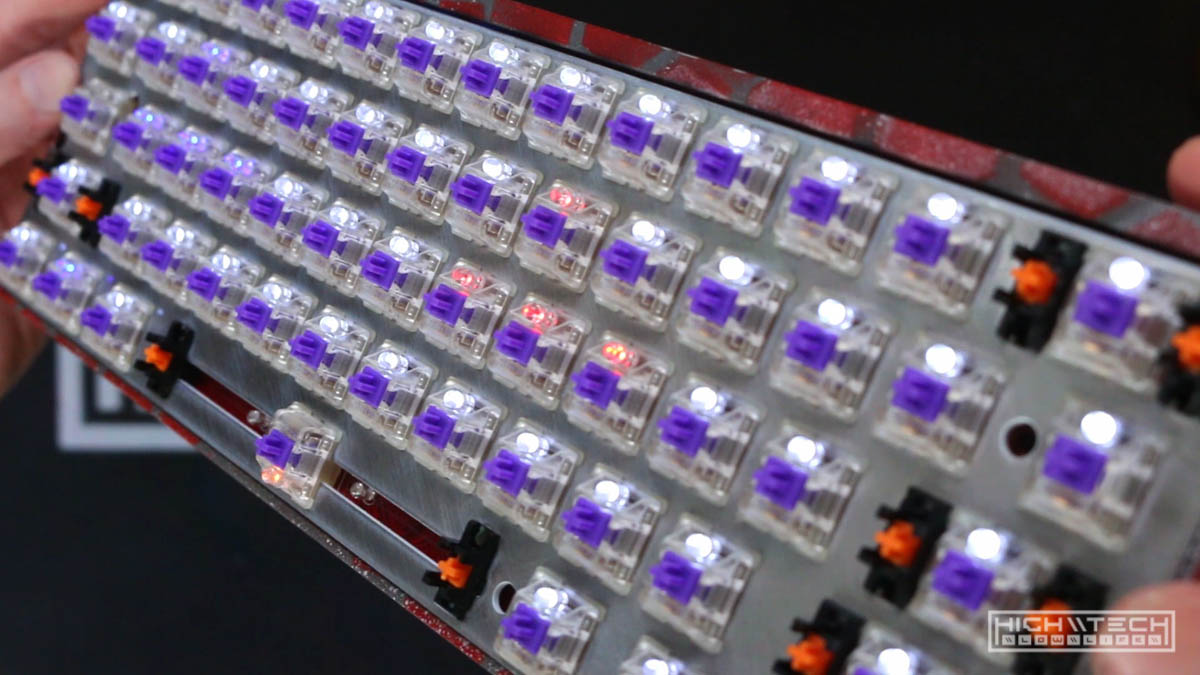
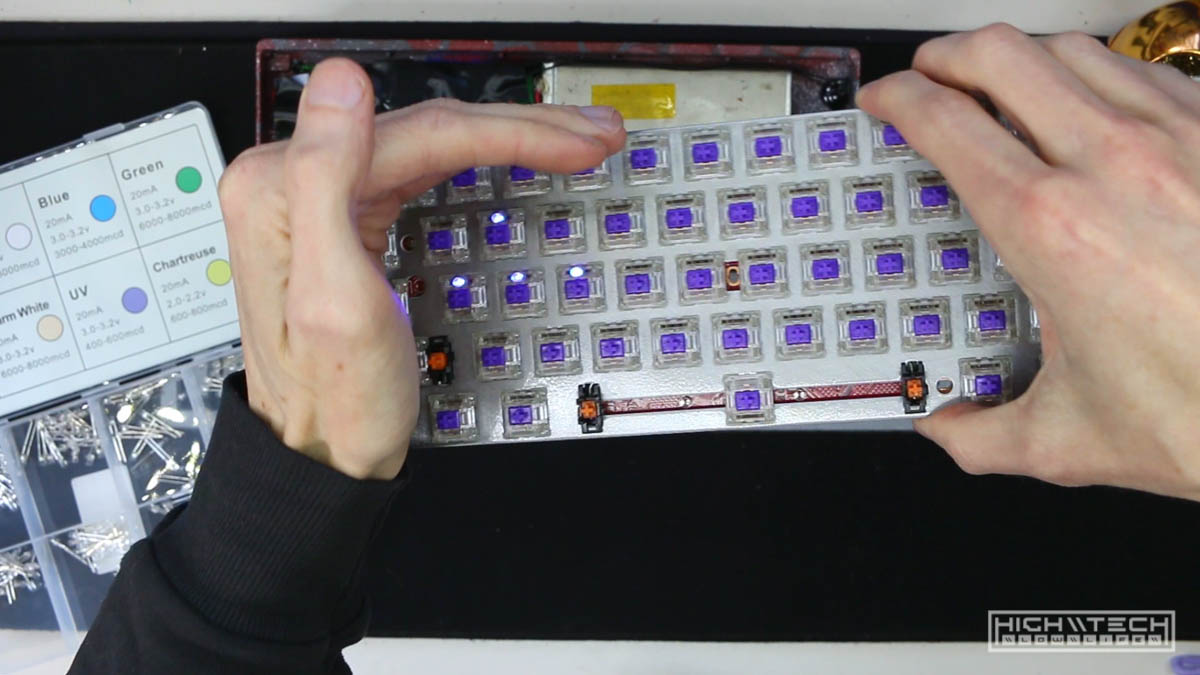 After the switches comes the LEDs to be installed, I changed some of them up for variety.
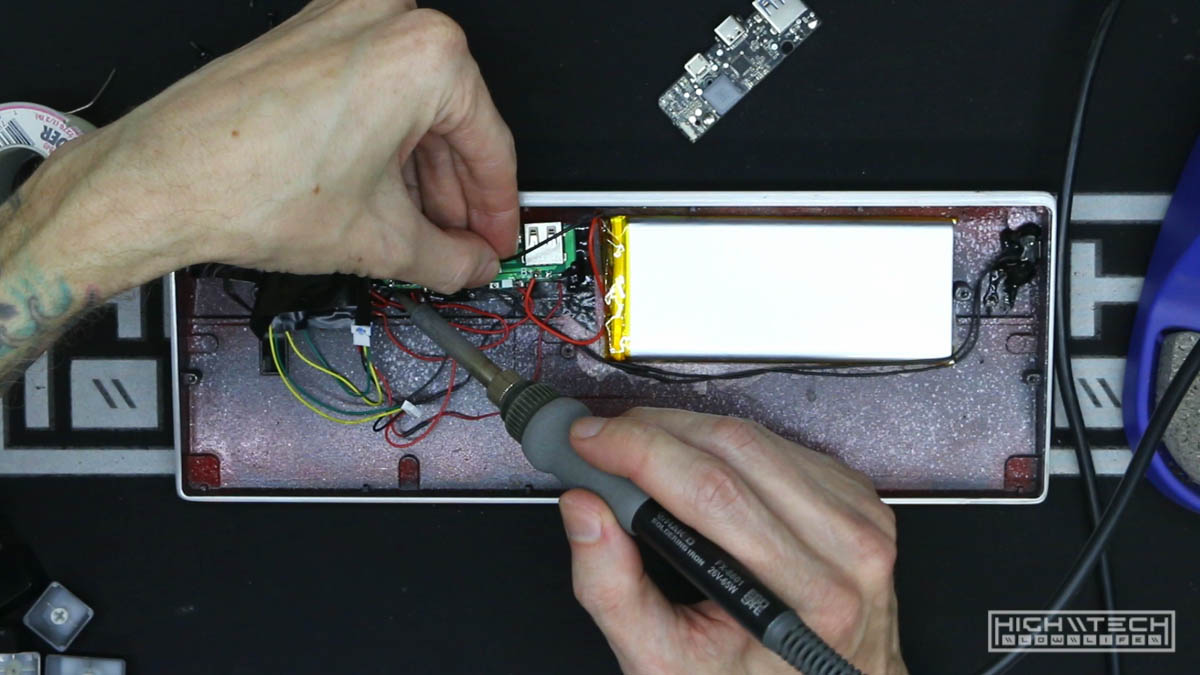
I ran into a problem with the battery, and I couldn’t quite figure out what was going wrong.
 To mitigate the troubleshooting I figured I’d remove the relays and wired switch, this seemed to help so I thought I was done with this problem, but I was wrong.
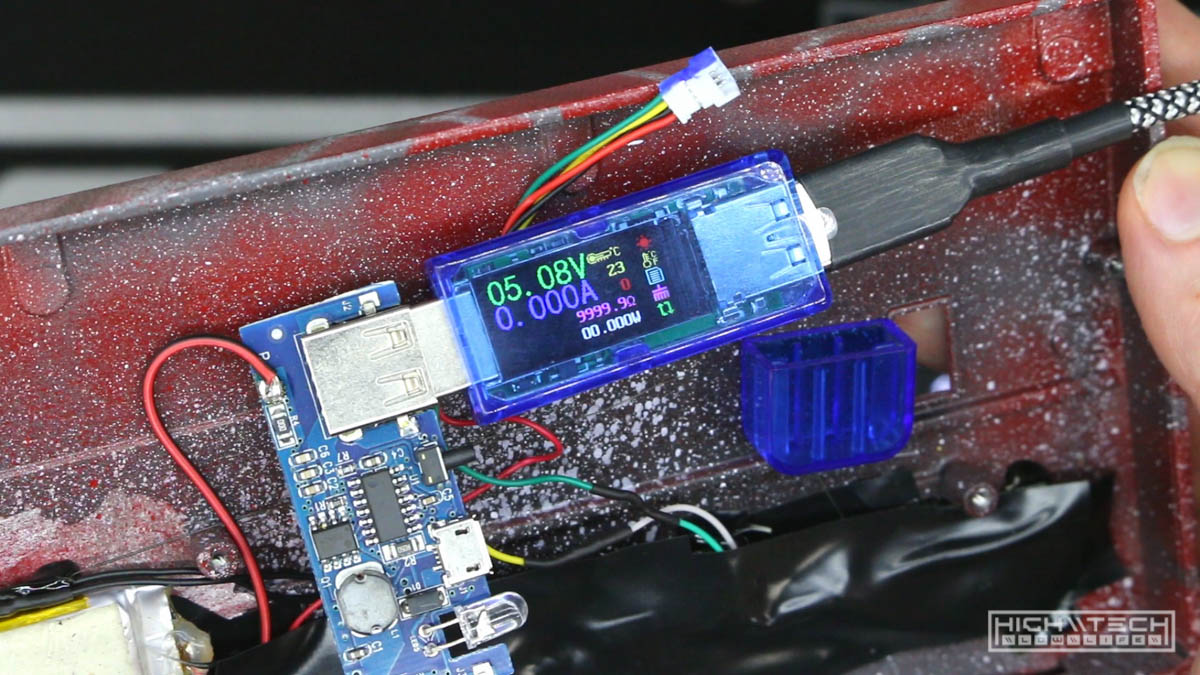 It turned out that the problem really was that this battery was just dead. So I found a newer (and smaller) battery to put inside, but I wasn’t satisfied with that.
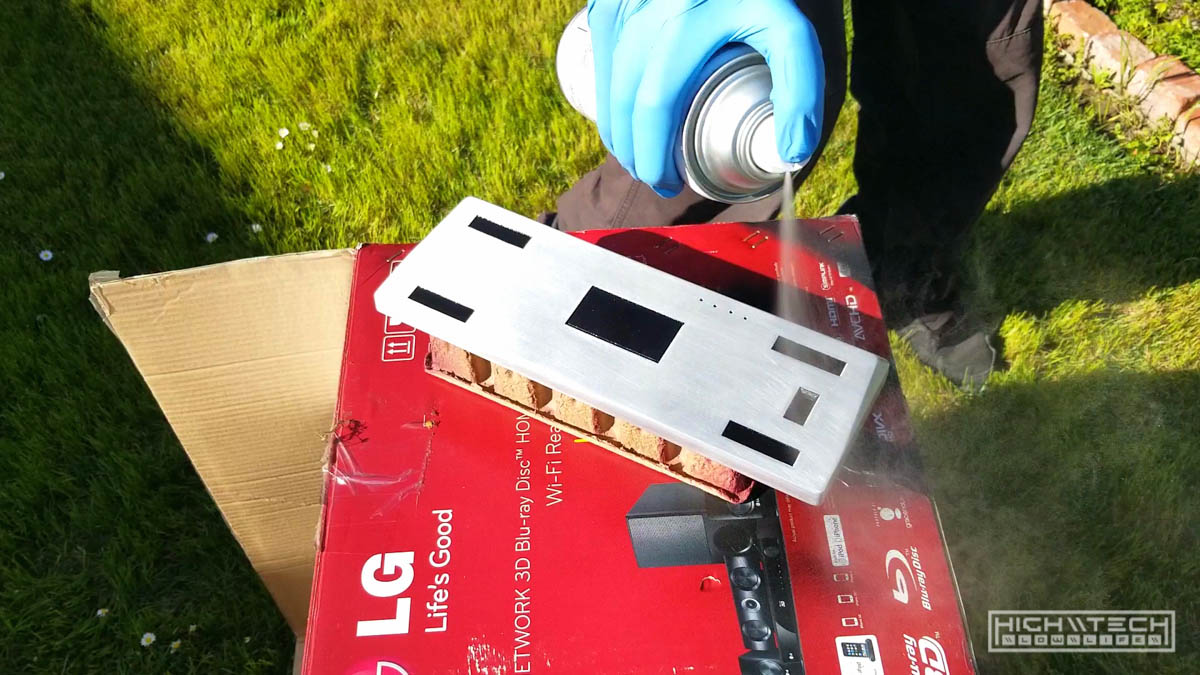
Case Finish
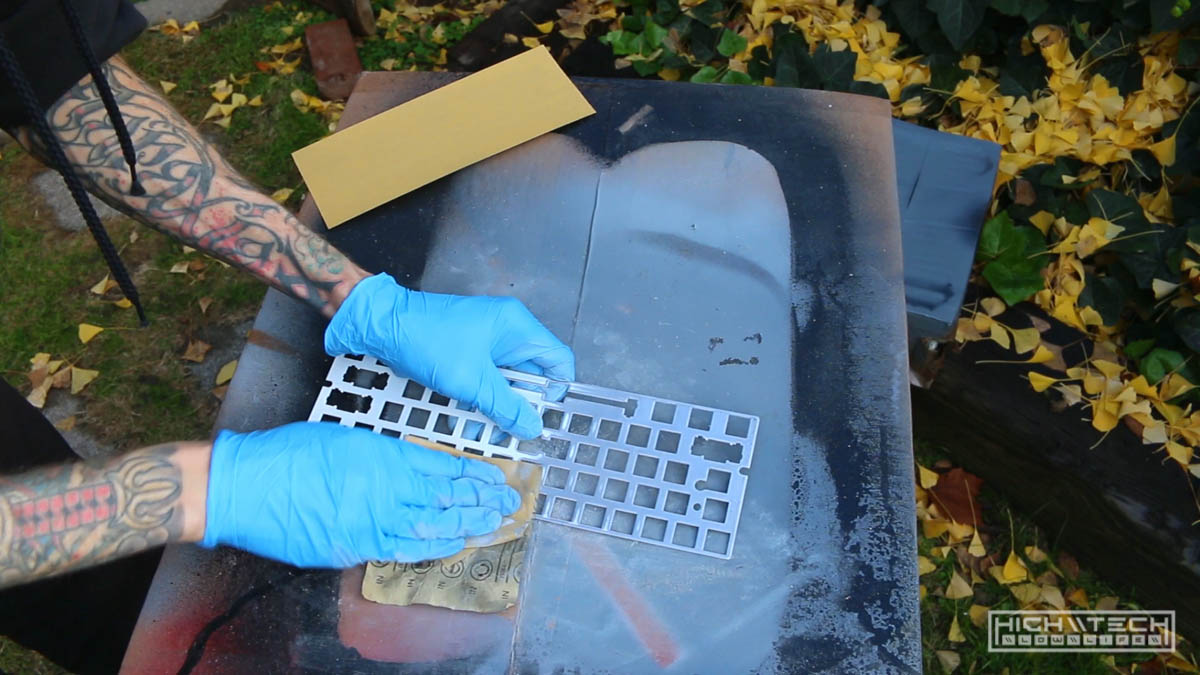
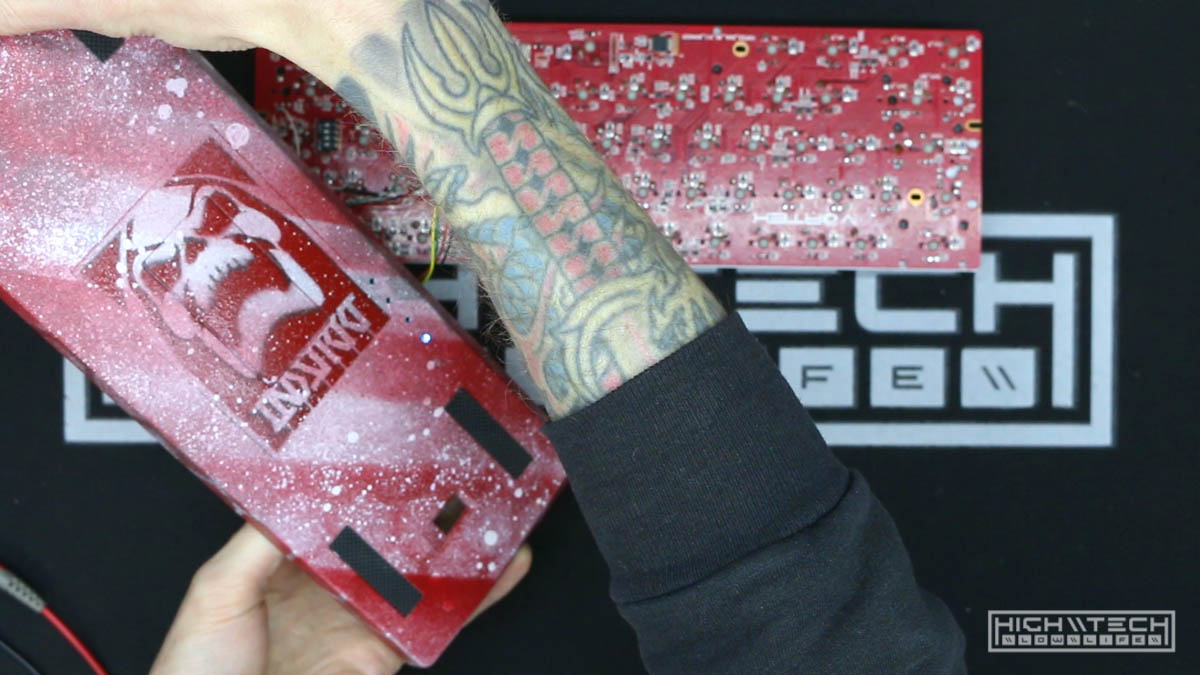
I also wasn’t satisfied with this paint job I originally put on the case, I was really happy with how the raw steel top plate came out and I wanted to try and do a raw finish on the case to match that.
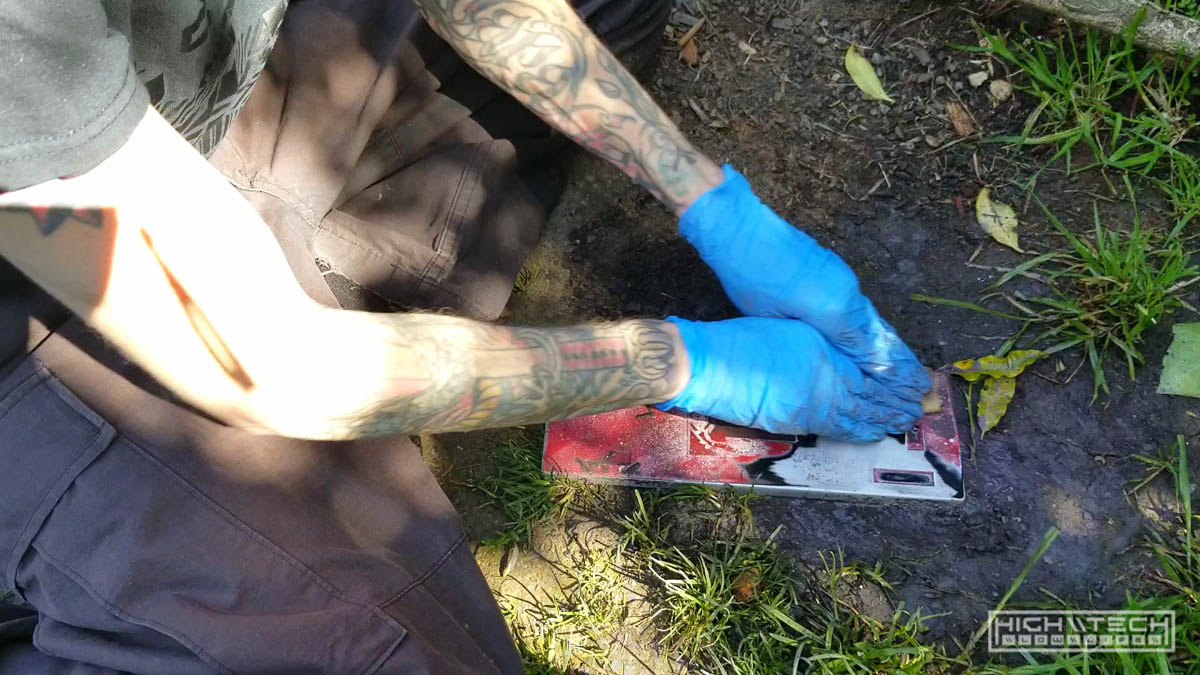 After a lot of sanding I had gotten about 99% of the paint off, but there still were some crevices that were hard to get to. Instead of spending so much extra time getting that all out I figured I’d just paint those areas black and it would offer up some contrast. After that I sealed it all up with some clearcoat.
 Came out awesome!
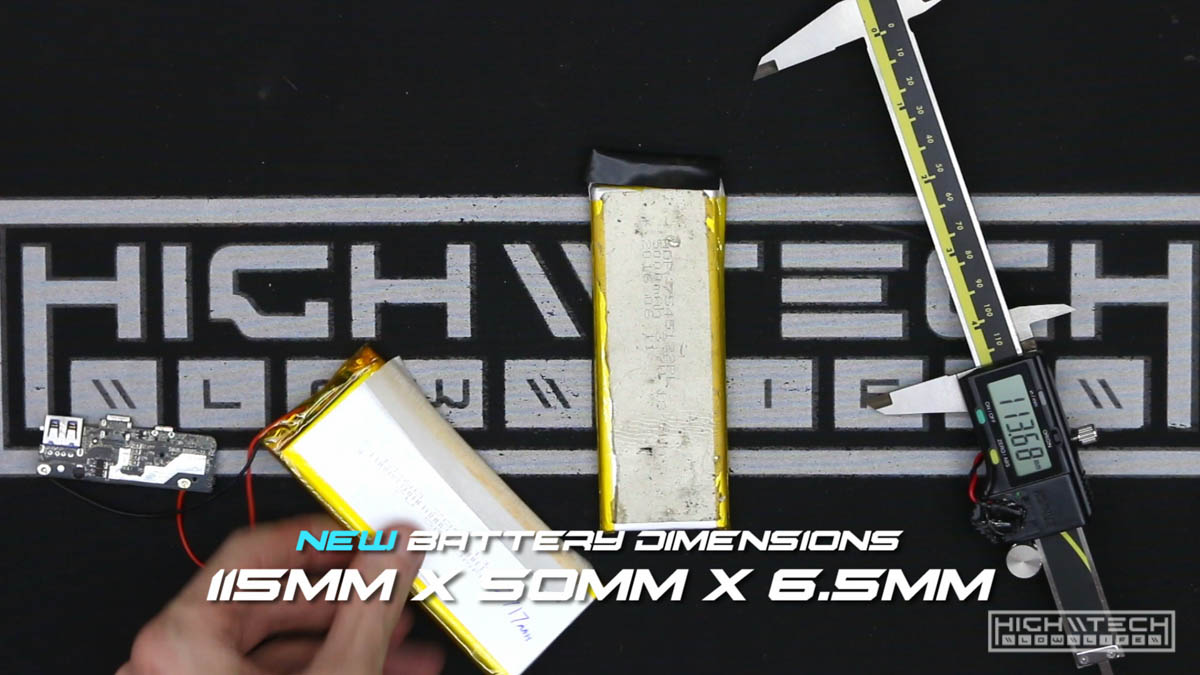
3rd Battery Replacement
So my first battery died, my 2nd battery was too small (only really 900mAh!), 3rd times the charm with this thinner but larger 2700mAh pack.
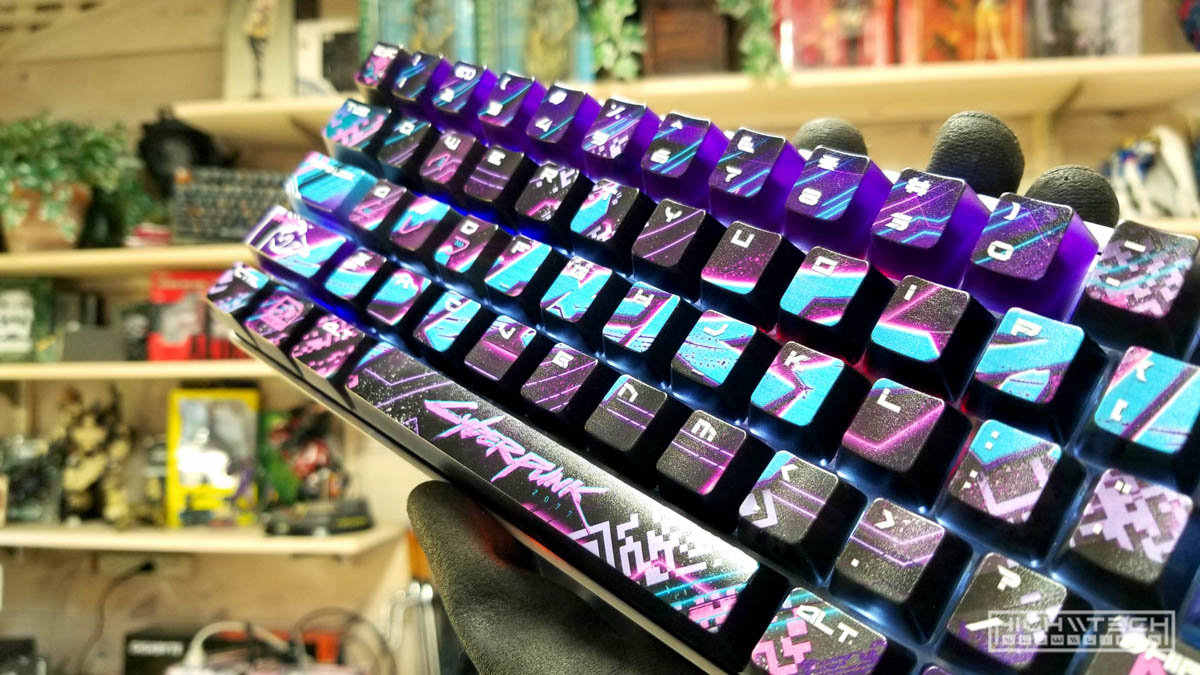
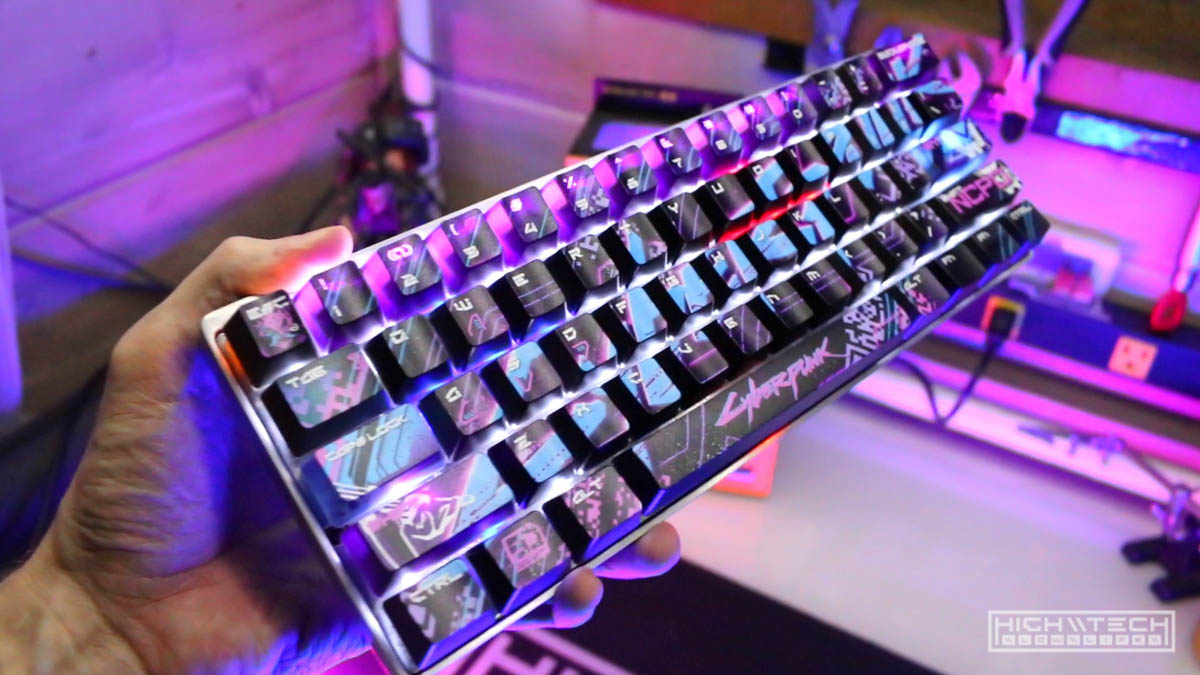
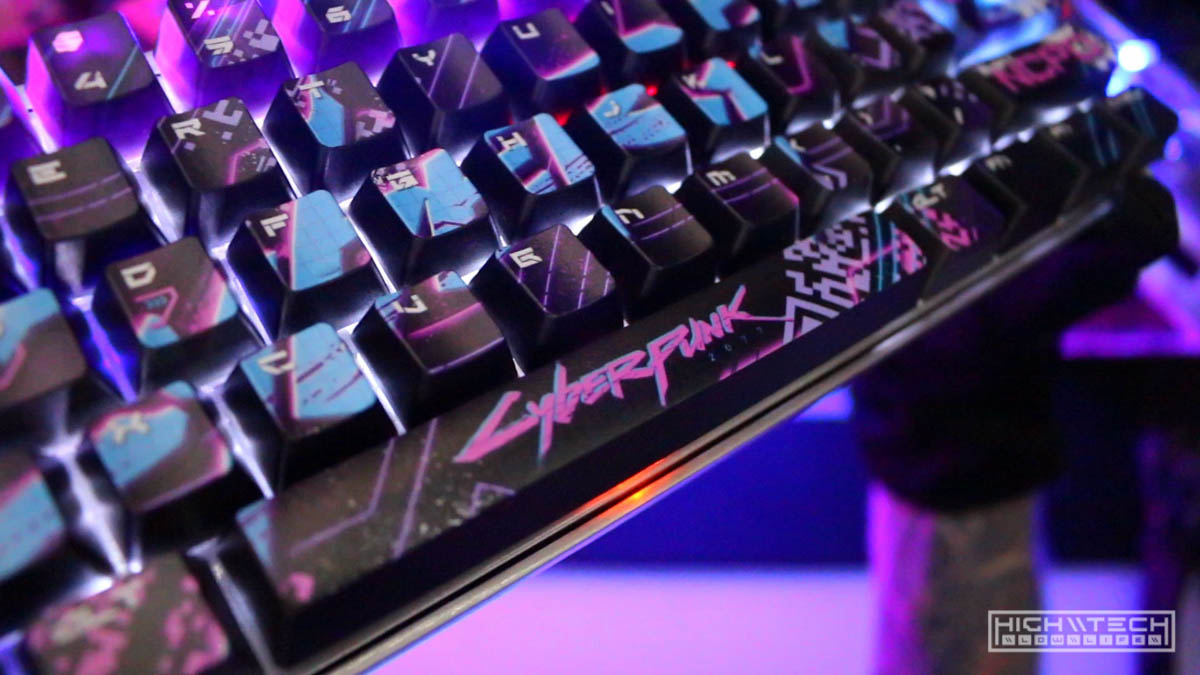
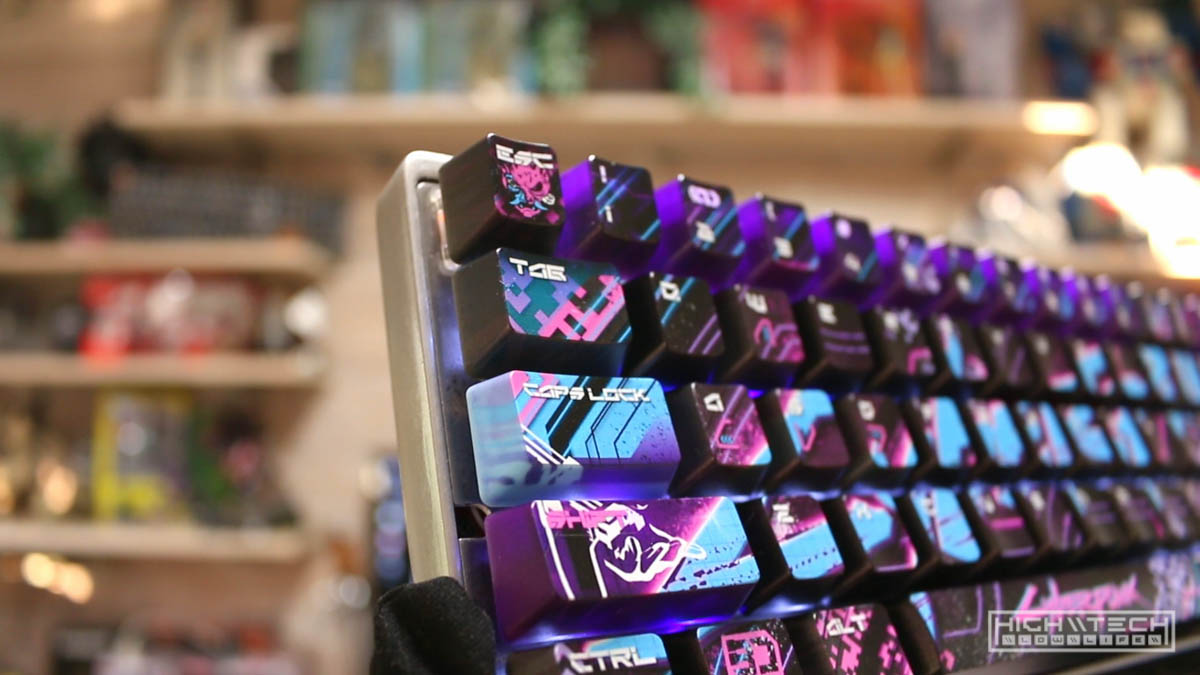
New Keycaps
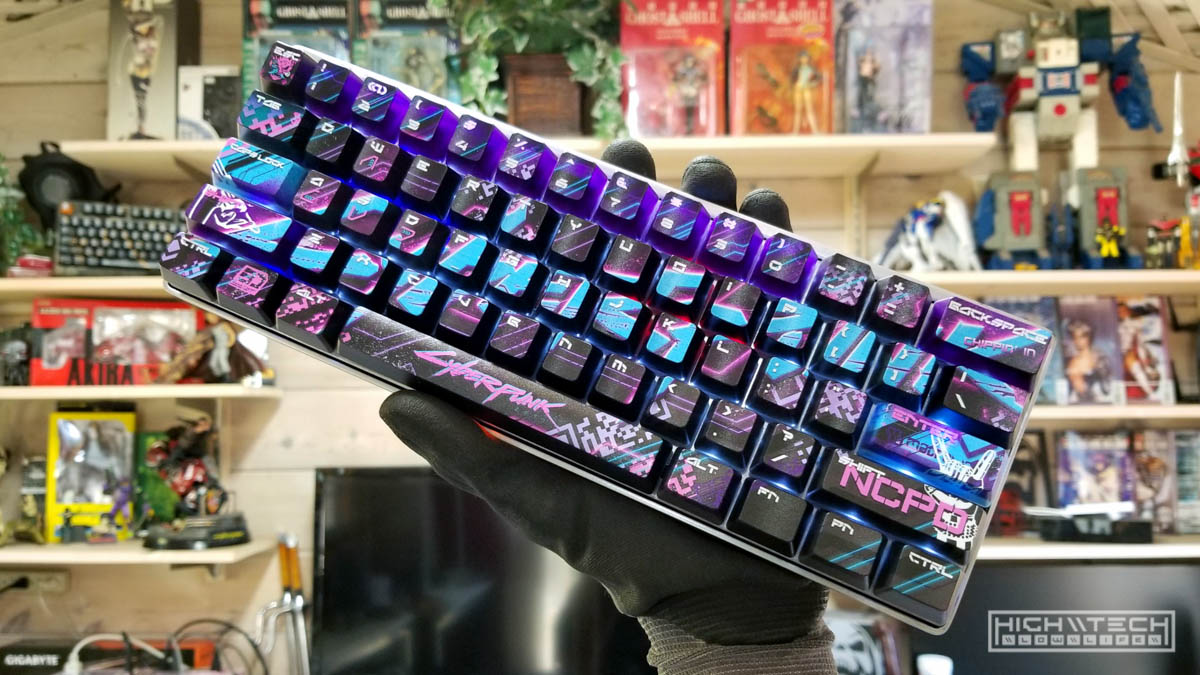
Because I spent so much on the case I figured I should finish it off with a custom printed keycap set - of course Cyberpunk 2077 themed.
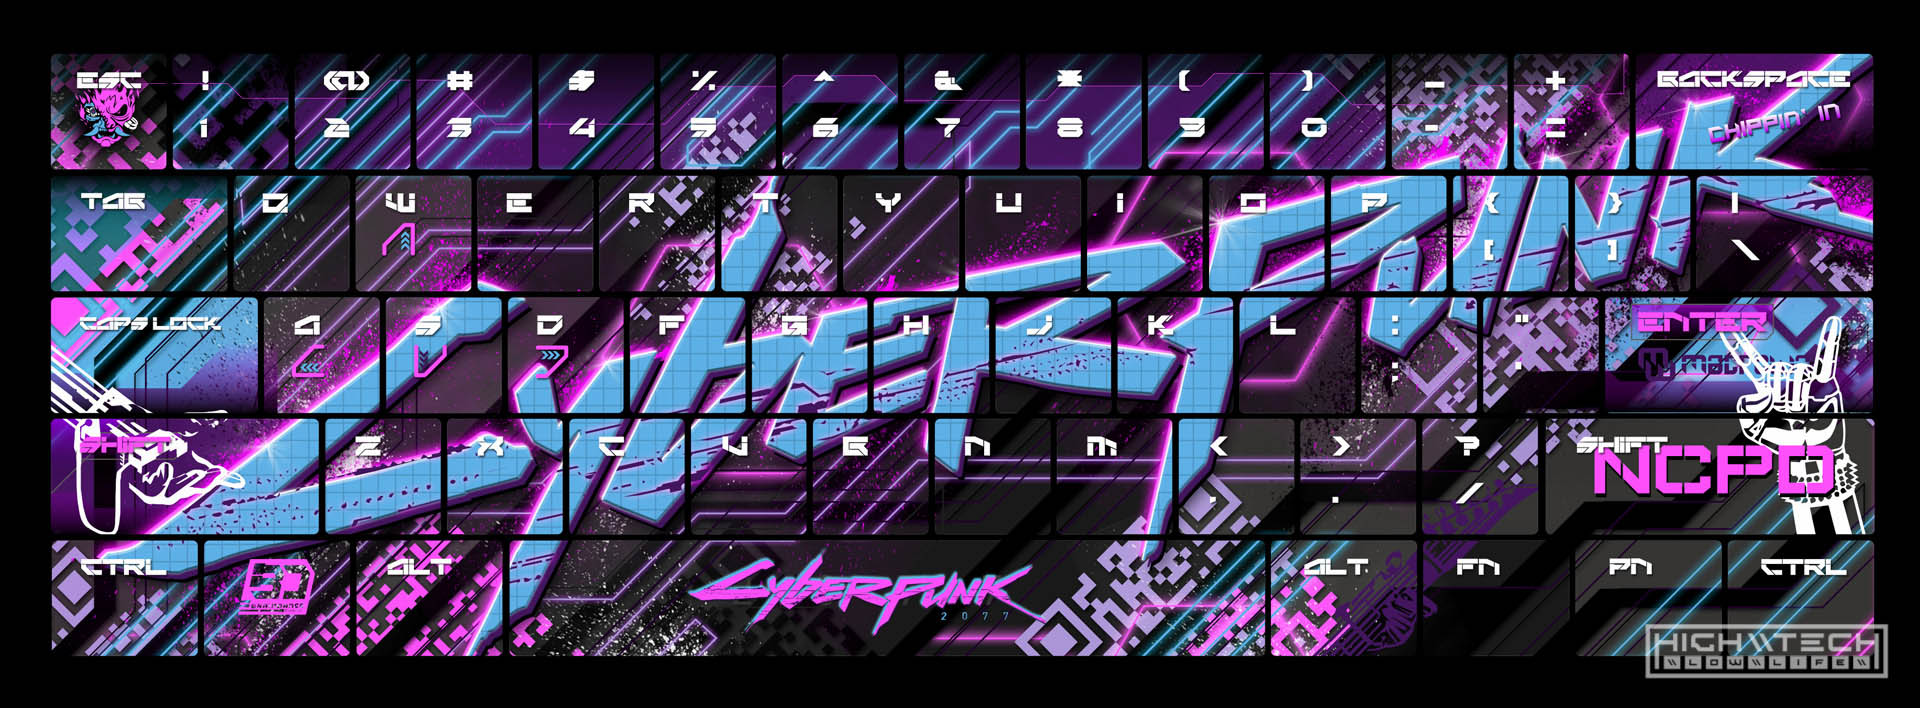
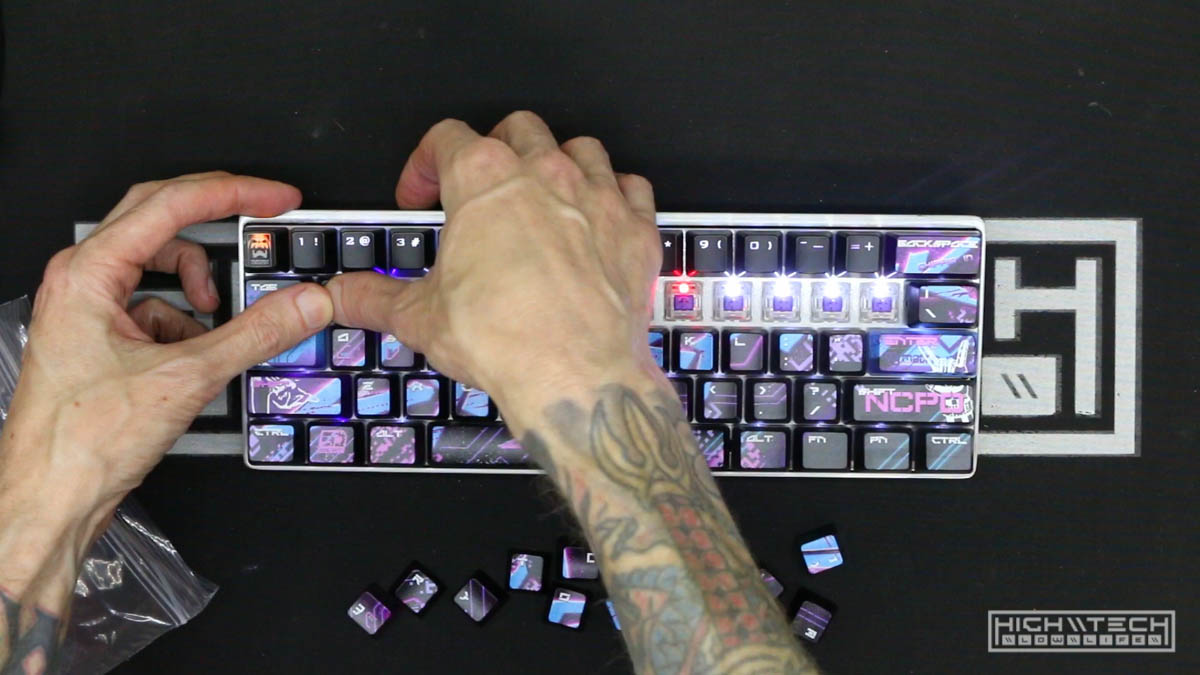 They’re ultra-wild but they’re a good contrast to the minimalist look of the raw steel and aluminum, plus they go with the ‘industrial’ feel.
Finishing Touches
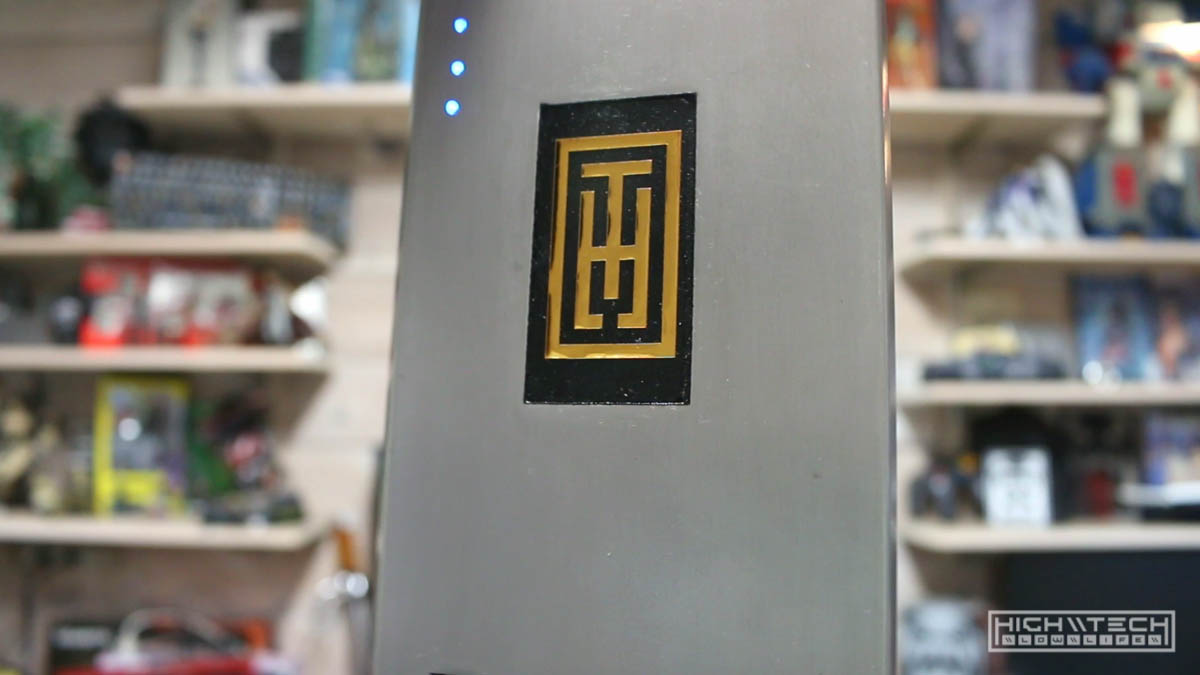
I think it came out really well!

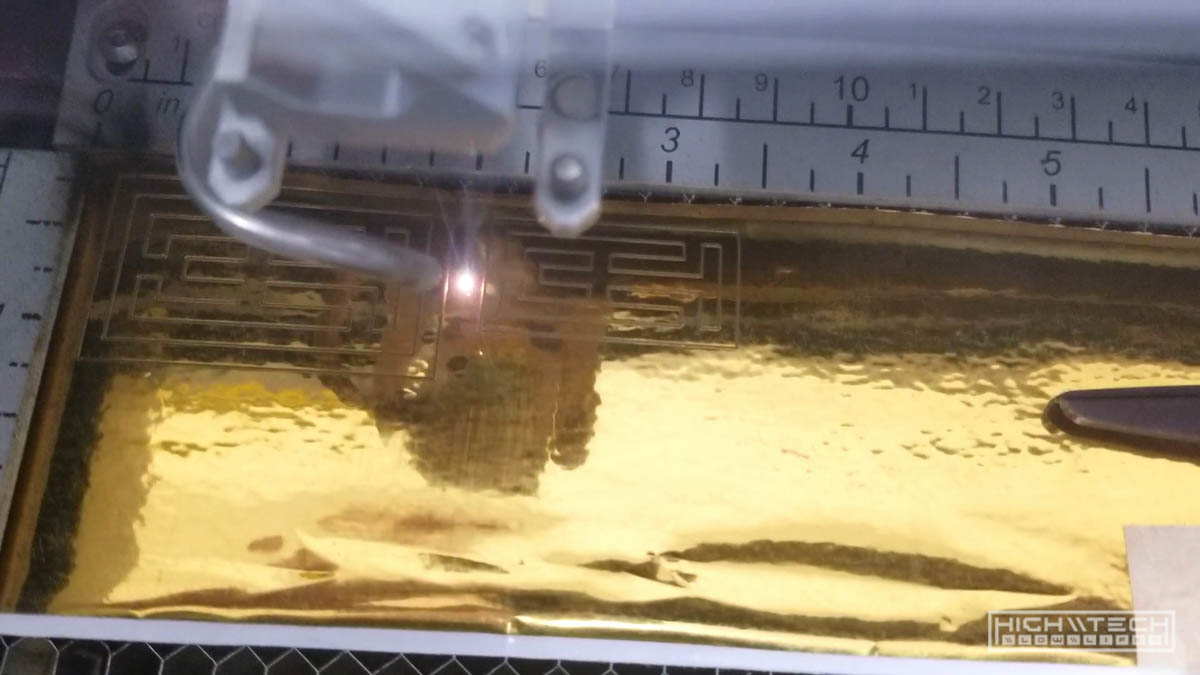
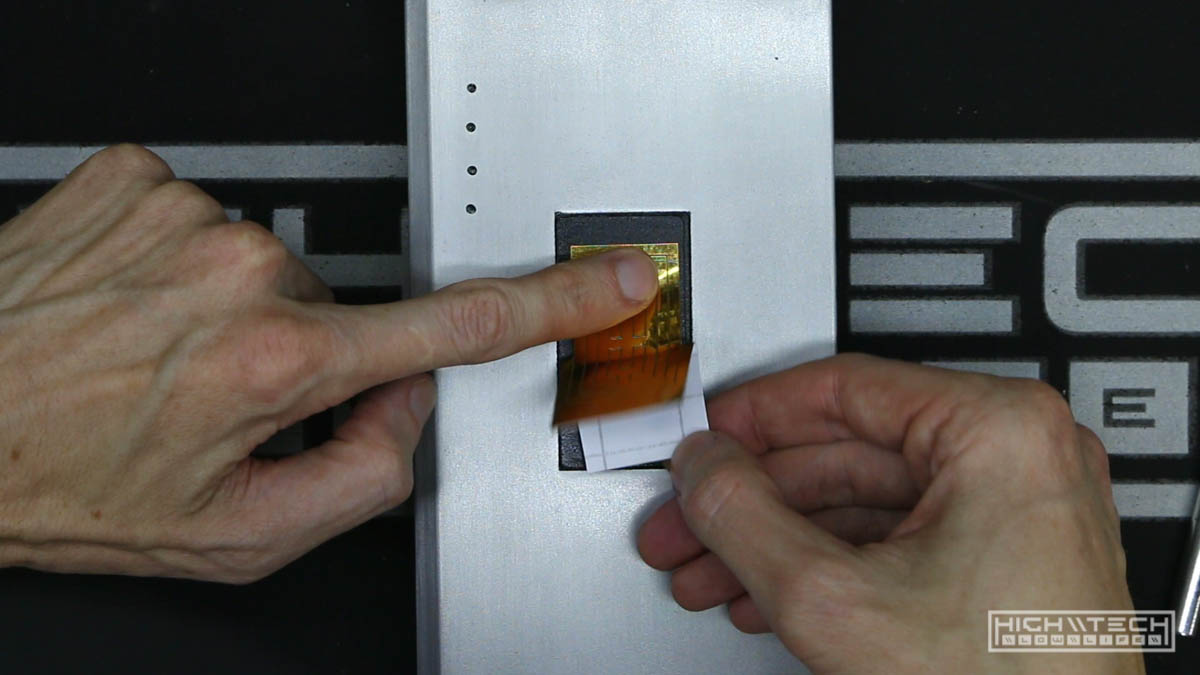
 The final touch was an HTLL logo, I wanted to put something in this spot on the bottom of the board and I’ve been on a gold kick lately so this gold vinyl really set it off.
Overall I’m very happy with how things worked out, it was a ton of work to get it to this point but it was worth it.